
How to Get Verified on Twitter ? [An Easy Guide]

By Abhinav Girdhar | Last Updated on September 6th, 2023 10:58 am | 5-min read
Table of Content
 The first step to get verified on Twitter is to find out your eligibility for Twitter verification.
Eligibility for Verification
Eligibility for Twitter is unorthodox. There are no set conditions for what makes an account eligible for verification. There’s no minimum limit on followers or posts. There is no prerequisite number of posts or shares required to get a verification. To be eligible for Twitter verification you need to simply update your phone number, email address in your Twitter account, and add a profile picture. Following that, there is a specialized verification form that you must fill. Twitter executives then determine if your profile is legit enough for verification. Do not be dismayed if they reject your application as you can apply for it again after 30 days. Here is a step by step breakdown of the process through which you can apply for the verification of your Twitter account.Step-by-Step Breakdown of the Verification Process
Step 1: Update your Mobile Number:
On linking your phone number to your twitter account, you will receive a confirmation code that you must enter. Upon entering the code, the number becomes permanently linked. If you’re linking a business account, the phone number to be used can be the founder’s phone number. The number is hidden from the eyes of the public.Step 2: Confirm your Email address:
Your email address is likely to be confirmed when you’re making a Twitter account. If it isn't, connect and link your email address to your Twitter account.Step 3: Add your Profile Picture:
A person needs to add a portrait of themselves to their Twitter profile. Businesses can simply add their logo as a profile picture.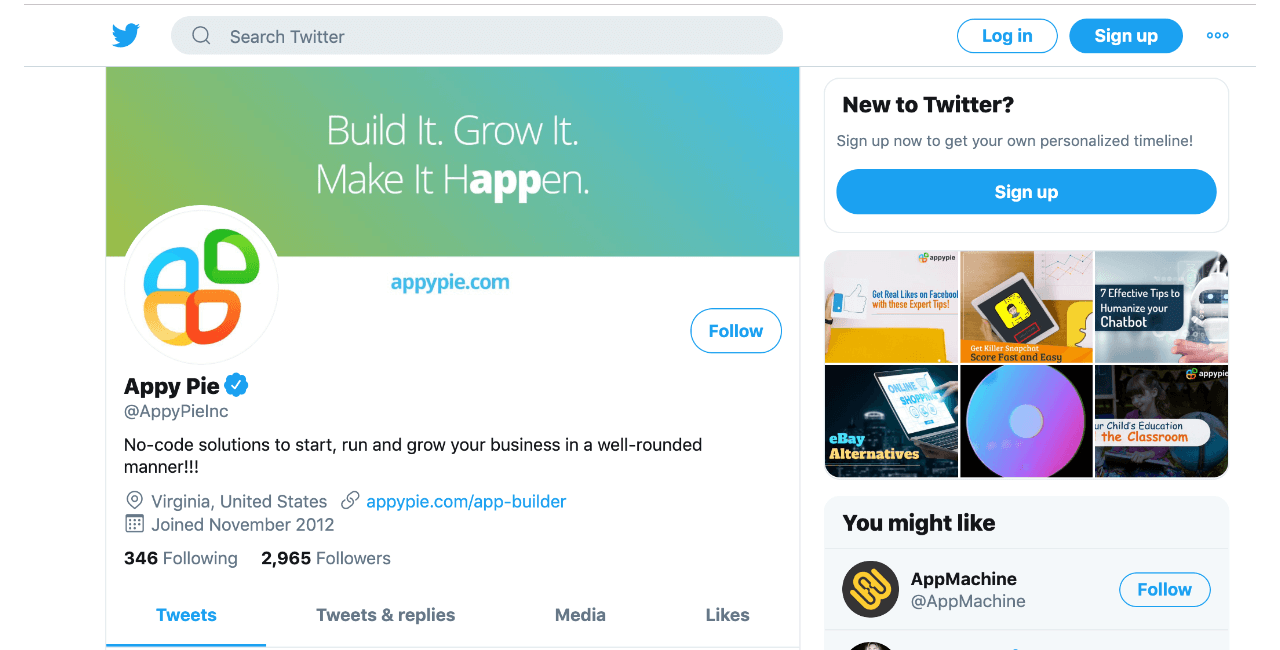
Step 4: Add a Cover Photo:
A cover photo can be anything. It can either be a simple photo of you doing something or a photo that shows you doing something important. For a brand or a company, adding an appropriately sized image with your slogan or byline can be a good idea. You can see Appy Pie’s cover image in the image above.Step 5: Adding Birthday and Linking your Website:
Adding a birthday isn’t really necessary but linking your website is crucial. Linking your website to your Twitter account increases your legitimacy and makes your account authentic. In addition, it's good for your SEO.Step 6: Make your Tweets ‘Public’:
Tweets can either be set to Private or Public. Ensure that your Tweets are available to be viewed by the public. Private accounts rarely get verified which is why a public twitter account is crucial.Step 7: Fill in the Verification form:
There is a verification form that you can fill. Click here to get the verification form. You must be logged into your Twitter account to fill the form. If you are trying to verify a brand account, you can click a checkbox for the same. There is a description text box in the verification form where you have to write why you feel you deserve the verification tick. Be nice in this section. Get your best writers to write this section and make it simple yet heartfelt. Remember that actual people at Twitter’s HQ will read this. Once you’ve filled in the form on your Twitter account, submit the verification form, and wait until they respond.Maximizing Your Chances to Get Verified
Twitter verification is a process that you can apply for multiple times if your application is rejected. However, it is in your best interests to ensure that your verification is done as soon as possible. Therefore, given below are various tips that will help you maximize your chances of getting verified.- Post Regularly
 The following quote sums up how you can easily get verified and make sure that it is not taken away.
A tweet a day makes the verification stay.
- Don’t apply for verification immediatelyA mistake many people make is that they apply for verification immediately after creating their account. Don’t do that. Begin by generating a following and let your account become at least 6 months old. Be active during that 6 month period and you will get verified easily.
- Link other verified accounts
- The Numbers gameIf you are an organization trying to get verified on Twitter, prompts about the founding, success, etc of your business can help make your case. For example, ‘With over 5 million satisfied customers’, ‘Founded in 1957’ or ‘Helping 13 million people worldwide‘. Such prompts help Twitter realise that your business is legit and functions well.
- Perfect your verification pitch
Conclusion
Your Twitter will be verified within a few weeks. In the scenario of it not being verified you can apply again or open a conversation with their customer support team. Good Luck with your verification process. Before you go, check out Appy Pie’s Academy. Appy Pie Academy has blown up since the start of the pandemic. With focused courses on social media marketing, you could learn various courses for free. Check Them out!Citations:
TwitterRelated Articles
- 30 Best Movie Download Websites in 2024 – A Legal Guide [Includes Infographics]
- The Ultimate Guide to IT Ticketing Systems in 2023
- Calendly vs. Doodle: Selecting the Right Scheduling Tool for Your Needs [2024]
- A Guide to Employee Satisfaction: Definition, Importance, and Technological Solutions
- 20 Best Software Download Websites in 2024
- How to Use Appy Pie Design for Education?
- 10 Best Smartsheet Integrations for Your Team in 2023
- Flower Background: Power of Floral Backgrounds Across Creative Disciplines
- 10 Best Websites Down Checker Tools for Developers
- Uncovering the mysteries of Charcoal Color: A comprehensive exploration of its Significance, History, and Exploration
Most Popular Posts
- CRM Managers: Roles, Skills, Salary, and Best Practices
- How Many Types of Pokémon Are There? [Types of Pokémon Characters]
- How to Create Color Blind-Friendly Palettes: A Guide to Enhancing Chart Accessibility
- How to Add Multiple Pictures on Instagram Story? [5 Easy Ways]
- A Beginner’s Guide to Chatbot Marketing [Benefits and Tips]