
Microsoft Excel is a flexible and potent tool that gives users the ability to efficiently organize, process, and analyze data in the ever-changing field of data management. But when blank rows appear in their spreadsheets, even the most experienced Excel users might run into problems. We will cover a wide range of techniques and sophisticated approaches in this comprehensive guide, enabling users of all experience levels to remove blank rows from Excel with ease. The goal is to create a data structure that is clear, simple, and well-organized to guarantee an effective and efficient workflow automation. Explore the added benefits of Microsoft Excel integration to further enhance your data management capabilities.
Here's a step-by-step guide on how to delete blank rows in Excel:
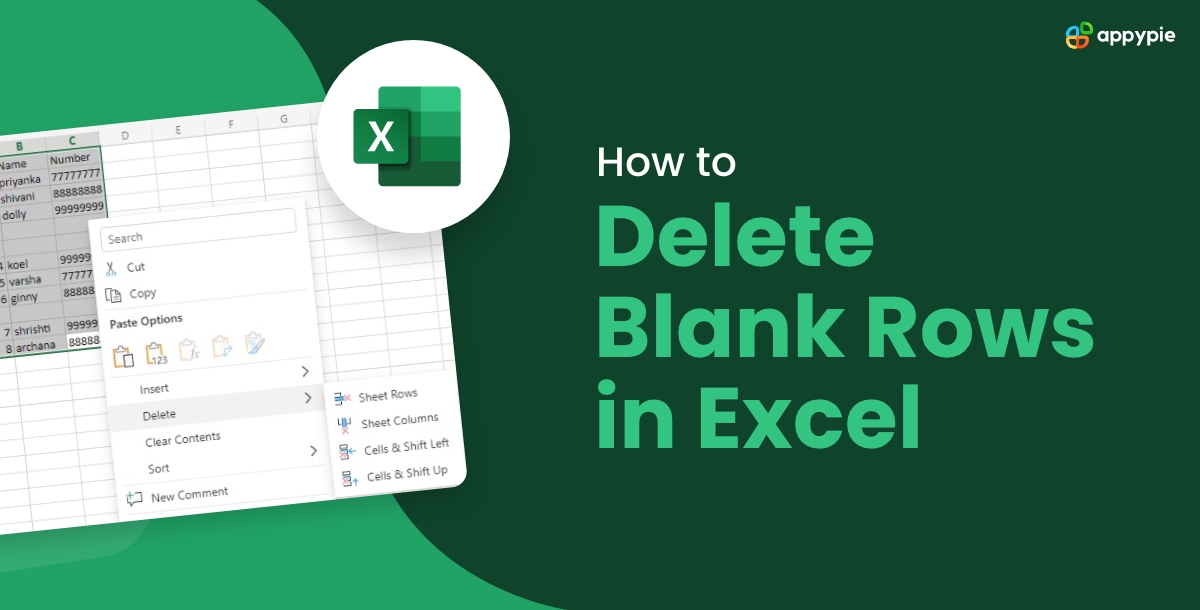
Method 1: Manual Deletion
In the process of data management using Excel, the method of manual deletion serves as a fundamental yet effective approach. This hands-on method involves identifying, selecting, and removing individual blank rows, contributing to a more organized and streamlined spreadsheet.
Step 1: Open your Excel Spreadsheet
Launch Microsoft Excel and open the spreadsheet containing the blank rows you want to delete.
Step 2: Identify Blank Rows
Scroll through your data to visually identify the blank rows you wish to remove.
Step 3: Select Blank Rows
Click on the row number on the left side of the spreadsheet to select the entire row. You can also select multiple rows by clicking and dragging.
Step 4: Right-Click and Delete
Right-click on the selected row(s), and from the context menu, choose "Delete." This will prompt a dialog box.
Step 5: Choose "Entire Row" and Confirm
In the "Delete" dialog box, select "Entire Row" and click "OK" to confirm the deletion.
Step 6: Verify Change
Check your spreadsheet to ensure that the selected blank rows have been successfully removed.
Method 2: Excel Functions for Automated Deletion
For a more streamlined approach to data cleanup in Excel, leveraging built-in functions provides efficiency. This method employs functions such as IF, COUNTBLANK, and FILTER to detect and remove blank rows automatically. This automated process enhances precision and accelerates the data cleansing workflow, making it particularly advantageous for larger datasets.
Step 1: Identify Blank Rows with a Helper Column
Create a helper column next to your data. Use a formula like =IF(COUNTA(A2:Z2)=0, 1, 0) where A2:Z2 is the range of your data. This formula outputs 1 for blank rows.
Step 2: Filter and Select Blank Rows
Apply a filter to your data range and filter the helper column to show only rows with the value 1.
Step 3: Select Filtered Rows
Click and drag to select the visible rows (the blank rows) in your spreadsheet.
Step 4:Delete Selected Rows
Right-click on the selected rows, choose "Delete," and select "Entire Row."
Step 5: Remove Filter
Finally, remove the filter to display your complete, modified dataset.
Method 3: Using Excel's "Go To Special" Feature
For a precise and systematic approach to eliminating blank rows, Excel's "Go To Special" feature is invaluable. This method involves selecting and deleting blank cells, offering enhanced control over the deletion process. Here is how:
Step 1: Select Data Range
Highlight the range of cells that contains the data, including the blank rows you want to delete.
Step 2: Go to the "Home" Tab
Navigate to the "Home" tab in the Excel ribbon.
Step 3: Find the "Editing" Group
Look for the "Editing" group on the ribbon.
Step 4: Click on "Find & Select"
Within the "Editing" group, click on "Find & Select."
Step 5: Choose "Go To Special"
From the dropdown menu, choose "Go To Special."
Step 6: Select "Blanks"
In the "Go To Special" dialog box, choose "Blanks" and click "OK." This will select all the blank cells in the highlighted range.
Step 7: Right-Click and Delete
Right-click on any of the selected blank cells, choose "Delete," and then select "Entire Row." This will remove the entire row where blank cells are located.
Step 8: Clear Filters (Optional)
If you have filters applied, you may need to clear them to ensure that all blank rows are selected.
Step 9: Review and Save
Double-check your data to make sure you haven't deleted any necessary information. Once satisfied, save your Excel file.
Do More with Microsoft Excel with Appy Pie Connect IntegrationsUnlock the full potential of Microsoft Excel by integrating it with Appy Pie Connect. Explore the dynamic synergy between Appy Pie Connect and Microsoft Excel, discovering how these integrations empower users to connect Excel with a diverse array of applications, automate tasks, and facilitate real-time collaboration. Whether you're an individual streamlining personal workflows or a business professional enhancing data management, this guide elucidates the transformative possibilities that arise from the fusion of Microsoft Excel and Appy Pie Connect. With this AI-powered automation tool, you can improve your capabilities and optimize your data experience.- Create Microsoft Excel rows from new scheduled Calendly events
- Create Trello cards from new rows on Microsoft Excel
- Add rows to Microsoft Excel when new Trello cards are moved to a list
- Generate Google Calendar events from new Microsoft Excel rows
- Create rows in Microsoft Excel for new Gravity Forms submissions
- Add new paid Shopify orders to Microsoft Excel rows
- Create custom Salesforce objects from new rows on Microsoft Excel
- Send emails via Gmail when Microsoft Excel rows are updated
- Send Gmail emails for new Microsoft Excel spreadsheet rows
- Send Slack messages whenever Microsoft Excel rows are updated
- Add new Facebook Lead Ads leads to rows on Microsoft Excel
- Add new GitHub issues to Microsoft Excel spreadsheet rows
Conclusion
Efficient data management is crucial in tools like Microsoft Excel, but the presence of blank rows can hinder productivity. This guide explores diverse methods to address this issue, from manual deletion to automated solutions using Excel functions and the specialized features like "Go To Special." Furthermore, it delves into the collaborative potential of integrating Microsoft Excel with Appy Pie Connect, providing users with a comprehensive understanding of how to enhance data organization and streamline workflows. By leveraging these insights, users can significantly optimize their data-handling practices for improved efficiency and productivity.
Related Articles
- 13 Best Telegram Bots in 2023
- Chatbot Analytics: How to Measure your Chatbot Performance?
- Best Real Estate Website Builders in 2022
- 15+ Best Freelance Websites to Find Work Online in 2023
- 7 Ways Artificial Intelligence Can Improve Help Desk Management
- 10 Best tools for Advertising your Mobile Apps in 2021[Expert Opinions]
- 15 Ways to Attract More Clients to Your Wedding Business
- Sales Cycle Secrets- Boost Efficiency & Customer Satisfaction Today
- 10 Best Microsoft Teams Features You Should Use in Your Meetings
- Top Tips to Prepare Your Apps for the Impending Holiday Shopping Spike