

Calendly is a powerful scheduling tool that allows individuals and businesses to automate appointment bookings. Embedding Calendly into your WordPress site offers an excellent opportunity to streamline your scheduling process through workflow automation, greatly simplifying how clients or customers book appointments or meetings with you. This seamless integration with Calendly not only eliminates the tedious back-and-forth communication often necessary for arranging meetings but also significantly enhances the overall user experience on your site. By leveraging Calendly integrations, you can effortlessly automate your appointment schedules, ensuring a smoother and more efficient workflow. This guide aims to walk you through the essential steps on how to use Calendly effectively, integrating it into your WordPress site for a seamless setup. Through this integration, you can achieve a more organized and automated approach to managing your appointments, allowing for a better allocation of time and resources.
Here is how to embed Calendly in WordPress:
Embedding Calendly in WordPress is a straightforward process, allowing you to integrate your scheduling page directly into your website. Here's how you can do it:
Step 1: Create a Calendly Account
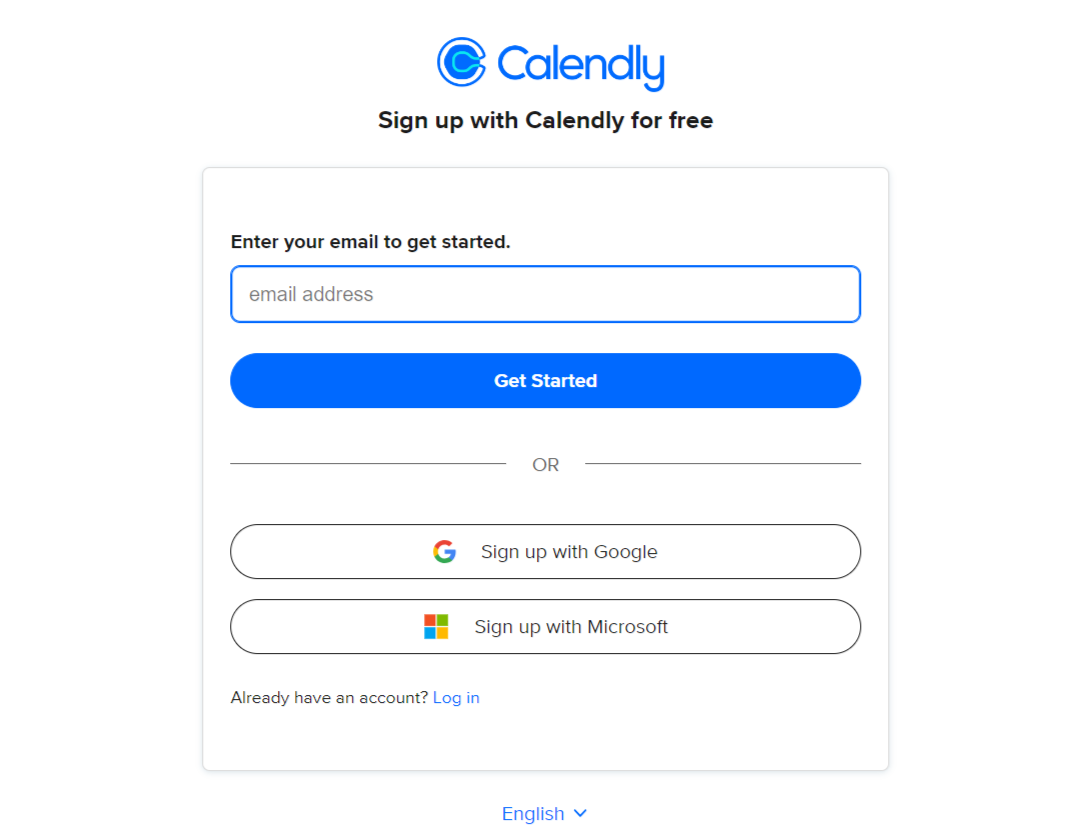
Before you can embed Calendly into your WordPress site, you need an active Calendly account. If you haven't already, go to Calendly's website and sign up. Choose the plan that best fits your needs; there's a free version for basic features and various premium plans for more advanced options.
Step 2: Customize Your Calendly Event Types
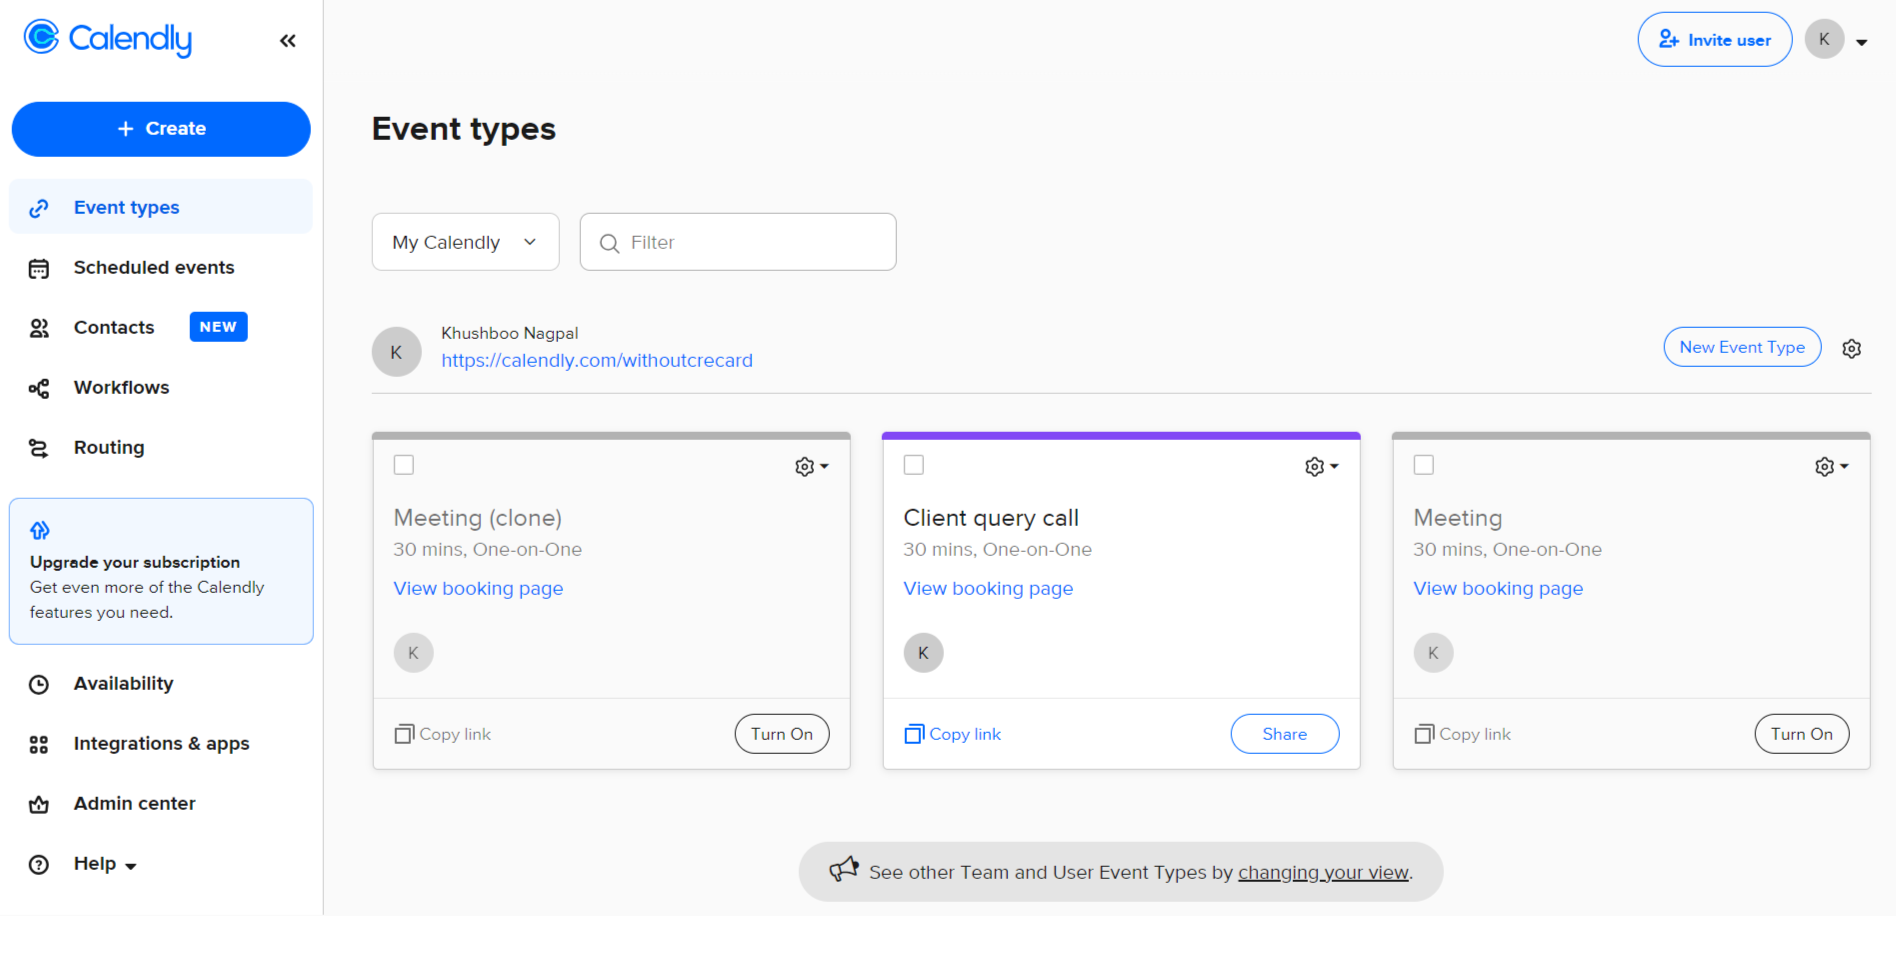
Once you have your account, set up the types of events you want to offer, such as 15-minute consultations, 1-hour meetings, etc. Customize each event type according to your availability, meeting length, and any other preferences. This step is crucial as it defines what your visitors will see and can book through your WordPress site.
Step 3: Obtain the Embed Code
After setting up your event types, navigate to the "Share" option on your Calendly dashboard and select "Embed on your Website." Choose the type of embed you prefer, such as Inline Embed, Popup Text, or Popup Widget. Customize the appearance if needed, then copy the provided HTML code.
Step 4: Embed Calendly in WordPress

With your Calendly embed code in hand, it's time to integrate it into your WordPress site. There are a couple of methods to do this, depending on where you want the Calendly scheduler to appear.
This is the generic method, but you can connect both using Appy Pie to automate a series of tasks. By integrating Calendly with WordPress through Appy Pie Automate, you can trigger actions in other apps (like email notifications, database updates, or social media posts) whenever a new appointment is scheduled, canceled, or rescheduled in Calendly. This level of automation not only further streamlines your scheduling process but also enhances your overall productivity and efficiency, allowing you to focus more on your business and less on manual administrative tasks.
Further reading: How to Make a WordPress Website for Free?
How to Integrate Calendly with WordPress using Appy Pie Automate
Integrating Calendly with WordPress using Appy Pie Automate can significantly enhance your scheduling and appointment management by automating workflows between your Calendly account and WordPress site. This integration can help automate tasks like updating your website content based on new bookings, sending customized emails to clients, or even managing your database entries automatically upon each Calendly event. Here's how you can set up this integration effectively:
Step 1: Sign Up or Log In to Appy Pie Automate
Start by creating an account with Appy Pie Automate if you don’t have one. If you already have an account, simply login to proceed.
Step 2: Create a New Connect
Once logged in, click on the “Create Connect” button to initiate a new automation setup. This process will require you to select a trigger event from one app (Calendly) that starts the automation and an action event in another app (WordPress) that completes the automation.
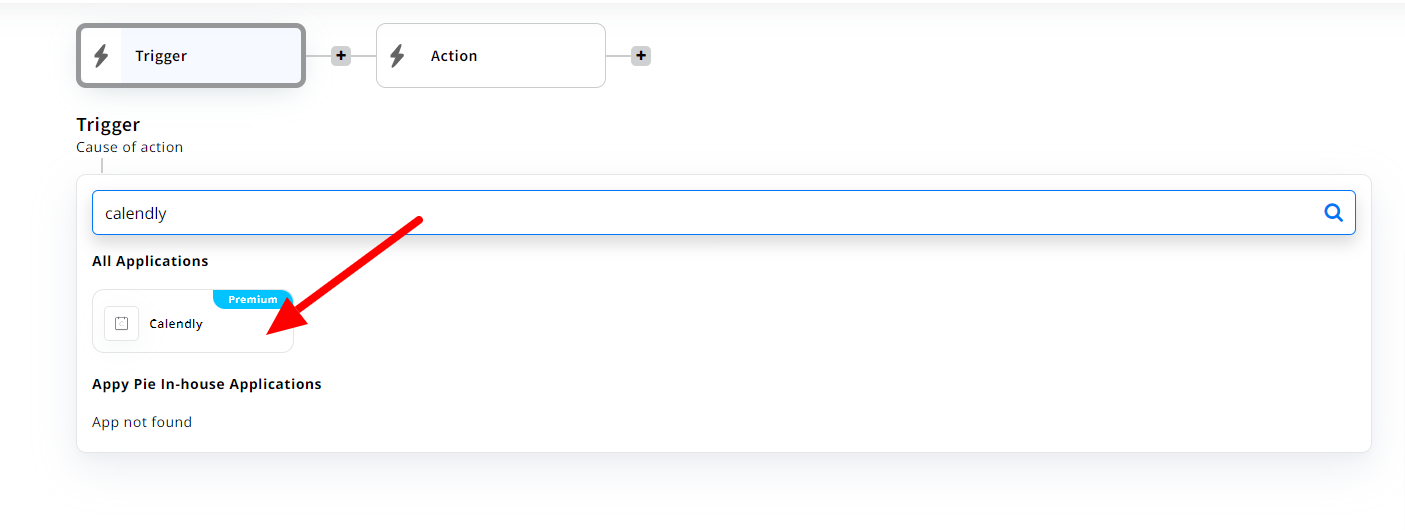
Step 3: Configure the Trigger with Calendly
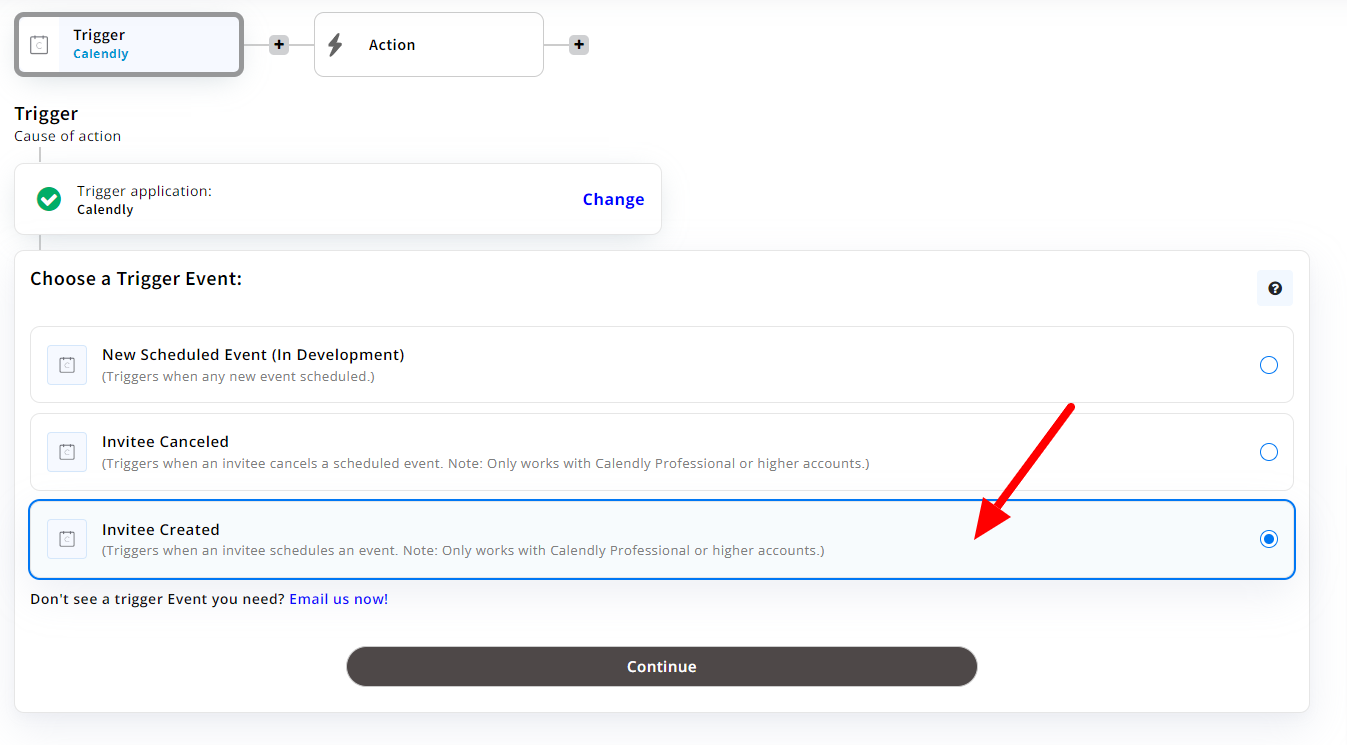
In the trigger section, choose Calendly as your trigger app. Then, select an event within Calendly, such as “New Invitee Created,” that will trigger the automation. Connect your Calendly account by logging in through Appy Pie Automate and authorizing it to access your Calendly information.
Step 4: Set Up the Action in WordPress
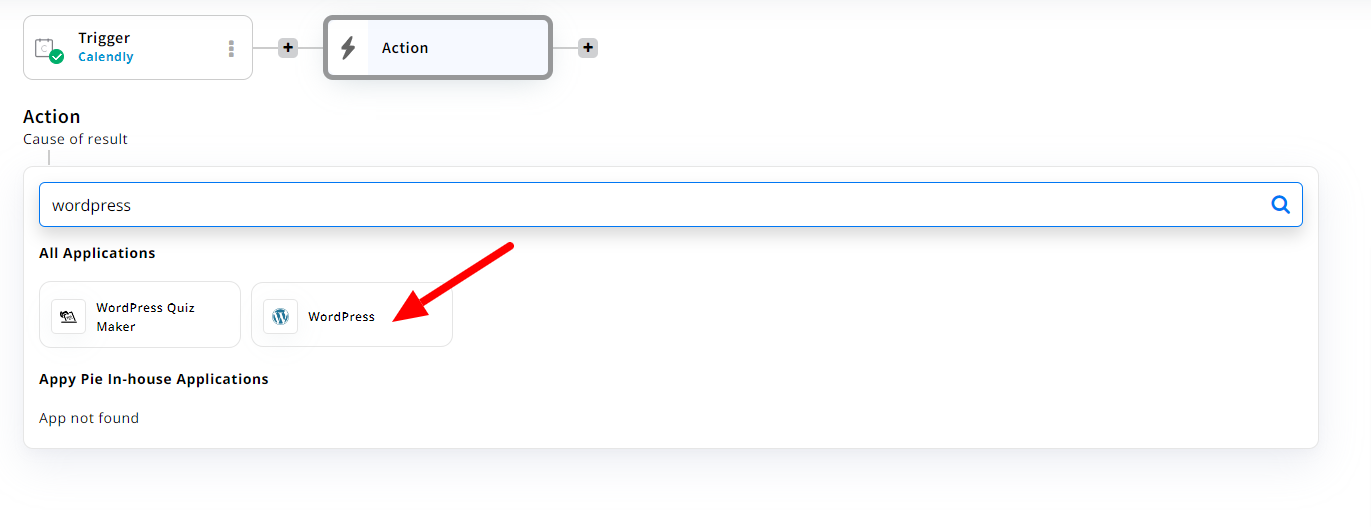
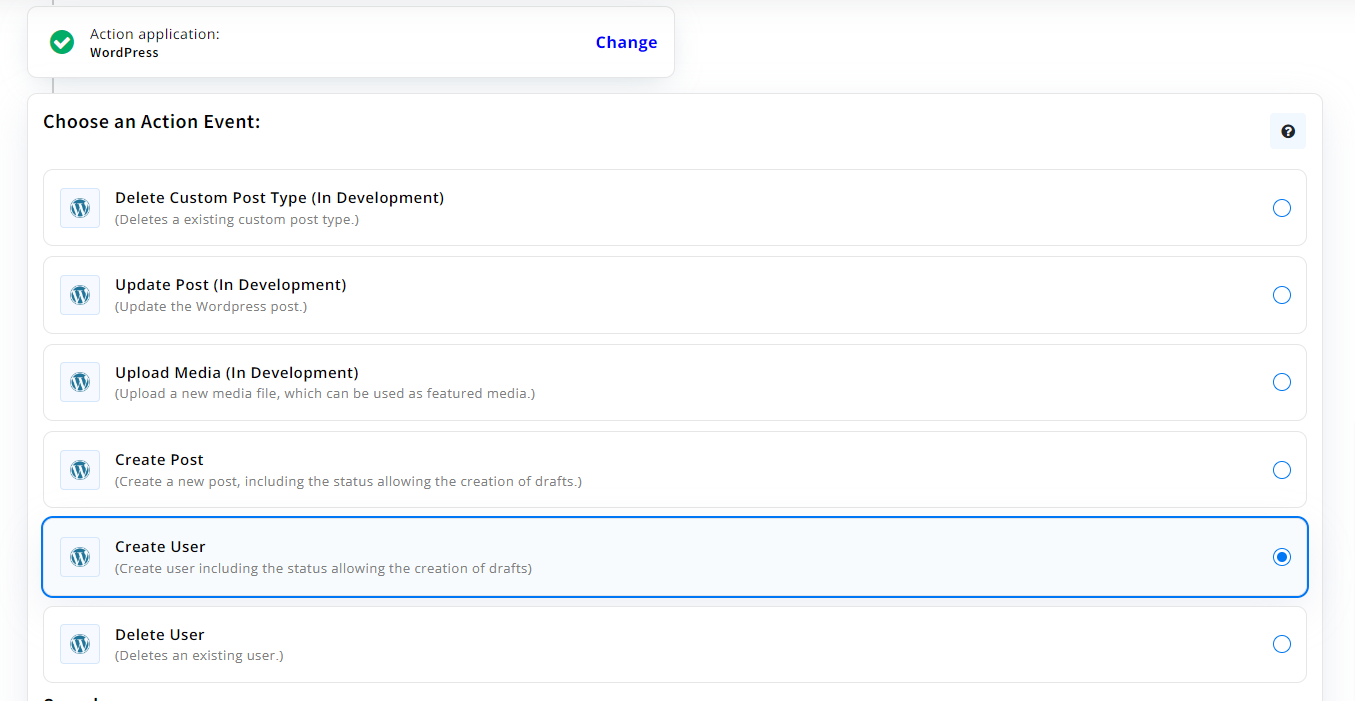
For the action part of your automation, select WordPress as the action app. Choose what action you want to occur in WordPress when the Calendly trigger event happens, such as creating a new post or updating an existing one. Connect your WordPress site to Appy Pie Automate by providing your site’s URL and necessary authentication details. This step may also involve installing and activating an Appy Pie Automate plugin on your WordPress site for integration.
Step 5: Customize the Automation
After setting up the trigger and action, tailor the automation to your needs by mapping out the specific information you want to transfer from Calendly to WordPress. This customization involves specifying how the data from Calendly should be inserted into your WordPress action, ensuring that the information aligns correctly and serves your intended purpose.
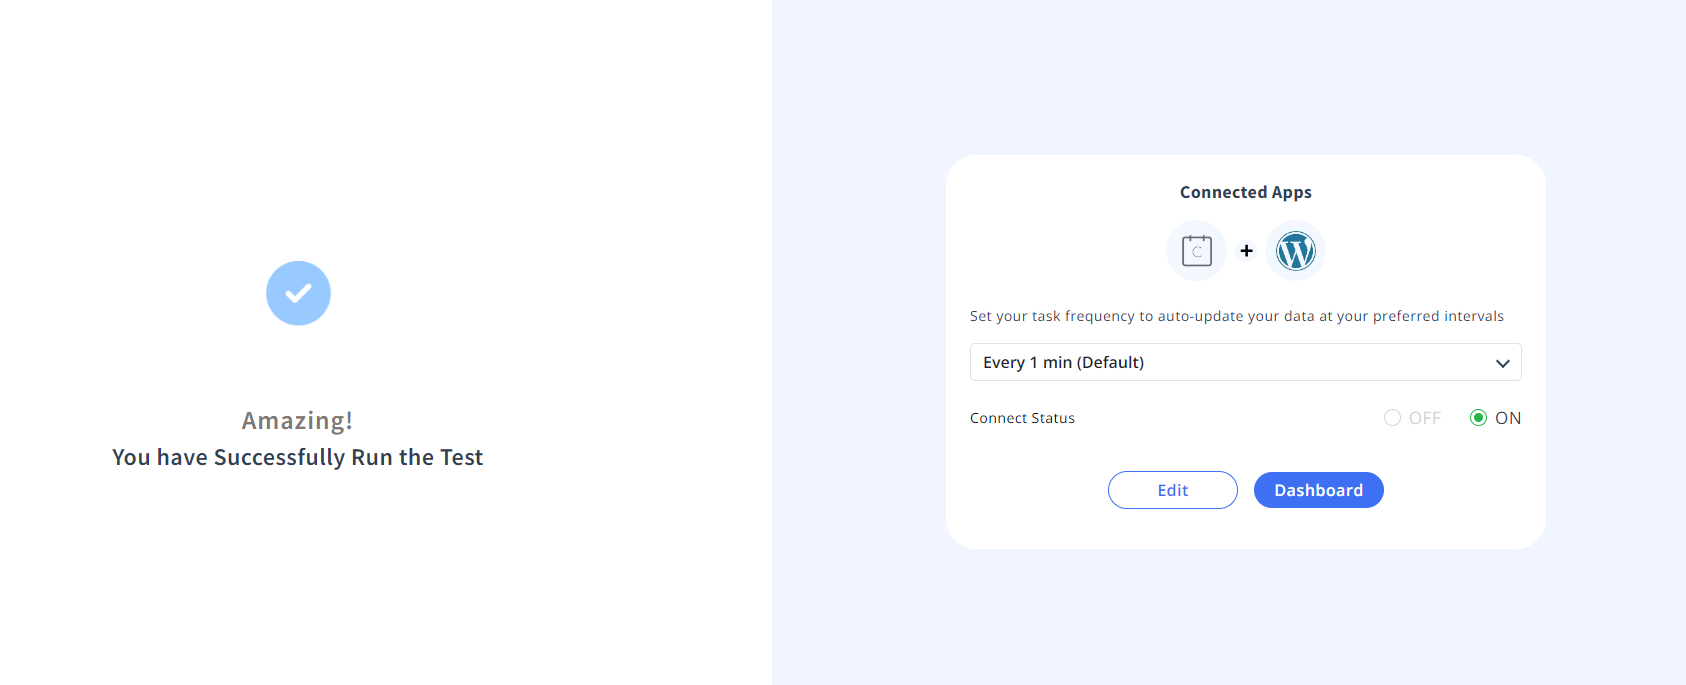
Step 6: Test and Activate

Before fully implementing your automation, test it through Appy Pie Automate to verify that the trigger and action work as expected. This testing ensures that the integration operates smoothly and meets your requirements. Once satisfied with the performance during the test, activate the Connect to make your automation live.
Step 7: Monitor Your Connect
With your automation now active, use Appy Pie’s monitoring tools to keep an eye on your Connect’s performance. These tools help you to troubleshoot any issues and ensure that the integration between Calendly and WordPress functions efficiently, enhancing your productivity and streamlining your scheduling process on your website.
Popular Calendly and WordPress Integrations on Appy Pie Automate
Appy Pie Automate facilitates a variety of popular integrations between Calendly, WordPress, and other platforms, streamlining various aspects of business operations, from scheduling to content management, and enhancing overall productivity. Here’s a detailed look at some of the most sought-after Calendly and WordPress integrations on Appy Pie Automate:
Integrate Calendly with WordPress
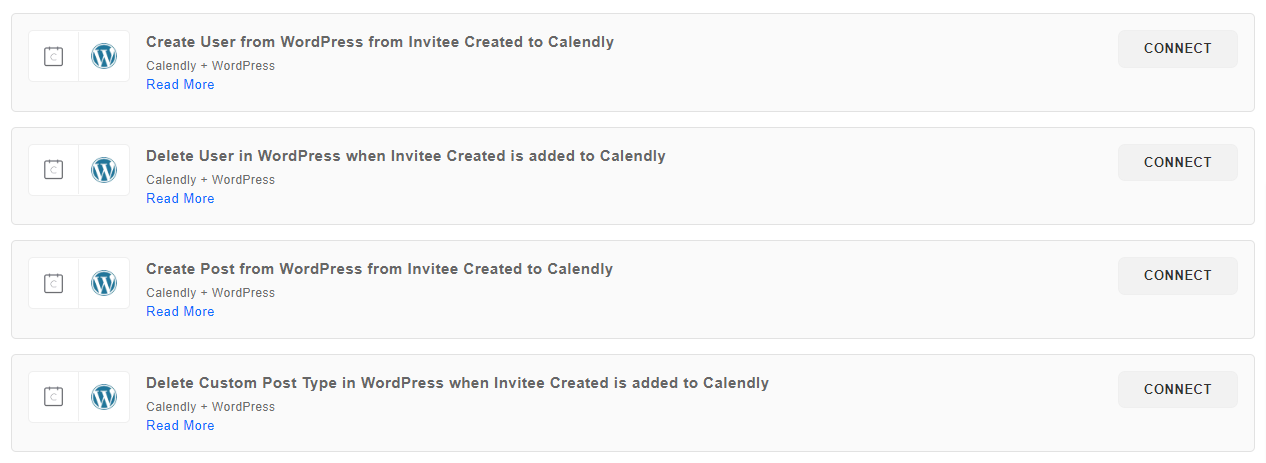
A Calendly and WordPress integration automates the process of updating your WordPress site based on activities in Calendly. For instance, you can automatically create a new post or update a page on your WordPress site whenever a new appointment is booked in Calendly. This is one of the best WordPress integrations and is ideal for businesses that want to highlight upcoming events or appointments directly on their website.
Integrate WordPress with Nutshell
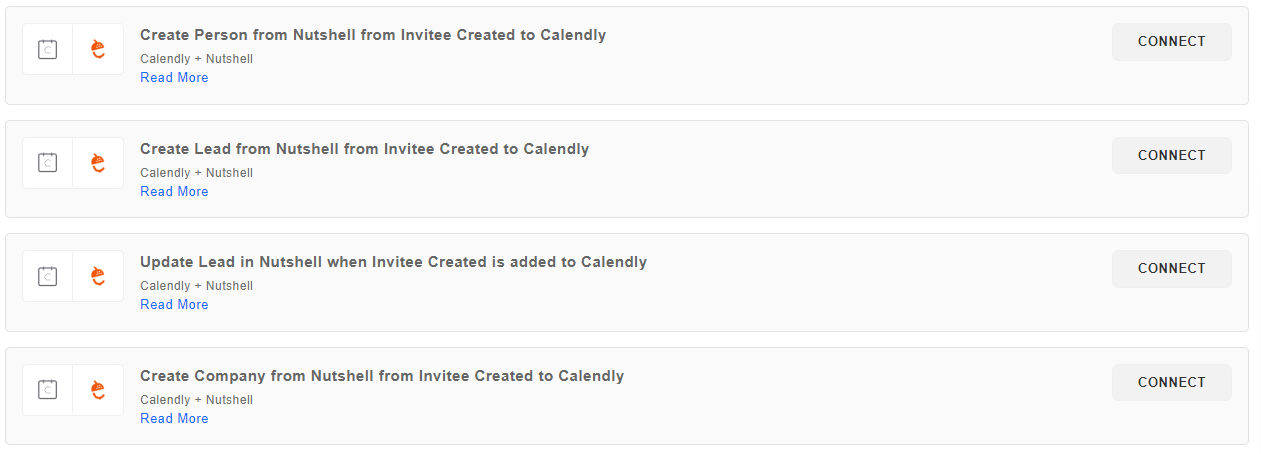
By integrating WordPress with Nutshell CRM, you can automatically create leads or update contacts in Nutshell when specific actions occur on your WordPress site, such as when a user fills out a contact form. This integration ensures that potential client information is immediately captured in your sales pipeline, streamlining lead generation and follow-up processes.
Integrate WordPress with SharePoint
For organizations using SharePoint for document management or intranet purposes, integrating SharePoint with WordPress allows for seamless content updates across platforms. You can set up automation to create or update WordPress posts whenever new documents are added to SharePoint or vice versa, ensuring consistent communication and content distribution.
Integrate GoHighLevel LeadConnector with Calendly

Integrating GoHighLevel LeadConnector with Calendly enables direct transfer of information from Calendly appointments into GoHighLevel. This facilitates immediate follow-up actions, such as lead nurturing or sales outreach, based on the details of the booked appointments, enhancing lead management and conversion efforts.
Integrate Freshsales with Calendly
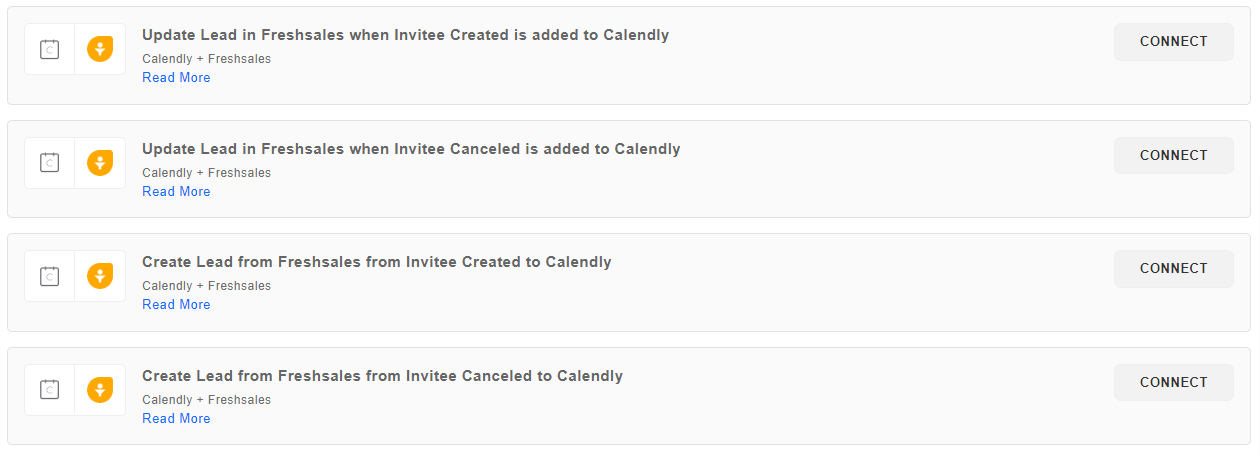
A Freshsales with Calendly integration syncs Calendly scheduled appointments with Freshsales CRM, automatically creating or updating leads, contacts, or deals based on the appointment details. It helps sales teams stay informed about upcoming meetings and ensures that all customer interactions are tracked and managed efficiently within the CRM.
These integrations via Appy Pie Automate not only help in automating and optimizing various business processes but also ensure that different platforms used by businesses communicate effectively with each other, reducing manual data entry and enhancing overall operational efficiency. Whether it’s about improving scheduling with Calendly, enhancing your WordPress site's functionality, or ensuring seamless flow between your marketing and sales platforms, Appy Pie’s integrations offer robust solutions for business automation. You can also learn how to make a WordPress website free.
Conclusion
Integrating Calendly with WordPress via Appy Pie Automate presents a powerful solution for automating and enhancing scheduling and content management processes on your website. This synergy not only streamlines the booking and appointment management experience but also significantly boosts efficiency and productivity by reducing manual data entry and ensuring seamless communication between different platforms. From automating updates on your WordPress site based on Calendly events to connecting with CRM systems like Nutshell and Freshsales, these integrations facilitate a smoother workflow, allowing businesses to focus more on growth and less on administrative tasks. Embrace these integrations to unlock the full potential of your scheduling and content management strategies, thereby elevating your overall business operations.
Related Articles
- How to Make Money from Blogging: The Complete Guide
- How to Automatically Send Outbound Sales Emails from Gmail?
- How to Track Student Attendance in Microsoft Teams?
- Best Tips to Create Animated Graphics That Stand Out
- Best Wedding Fonts and Wedding Font Combinations for Wedding Invitations
- Common App Design Mistakes to Avoid
- Pipedrive vs. Trello- What Tool to Use in 2024?
- 10 Best Smartsheet Integrations for Your Team in 2023
- Top 8 Best AI Background Remover Tools in 2023
- 6 Best Google Forms Settings You Should Use in 2024