Appy Pie : How to get PrintNode API Key in macOS / OS X ?
Follow steps mentioned below to get PrintNode API Key and Installing the PrintNode Client in macOS / OS X :
Note : For Get Printnode API key and Installing the PrintNode Client in Windows follow this tutorial How to Install the PrintNode Client in Windows ?
1. Go to PrintNode
2. If you have created an account with PrintNode, login, else Create an Account
3. Click on Download button to download client software on your system
4. Download the latest client version from here
5. Click open the downloaded PrintNode software
6. Click on PrintNode
7. Click on Open
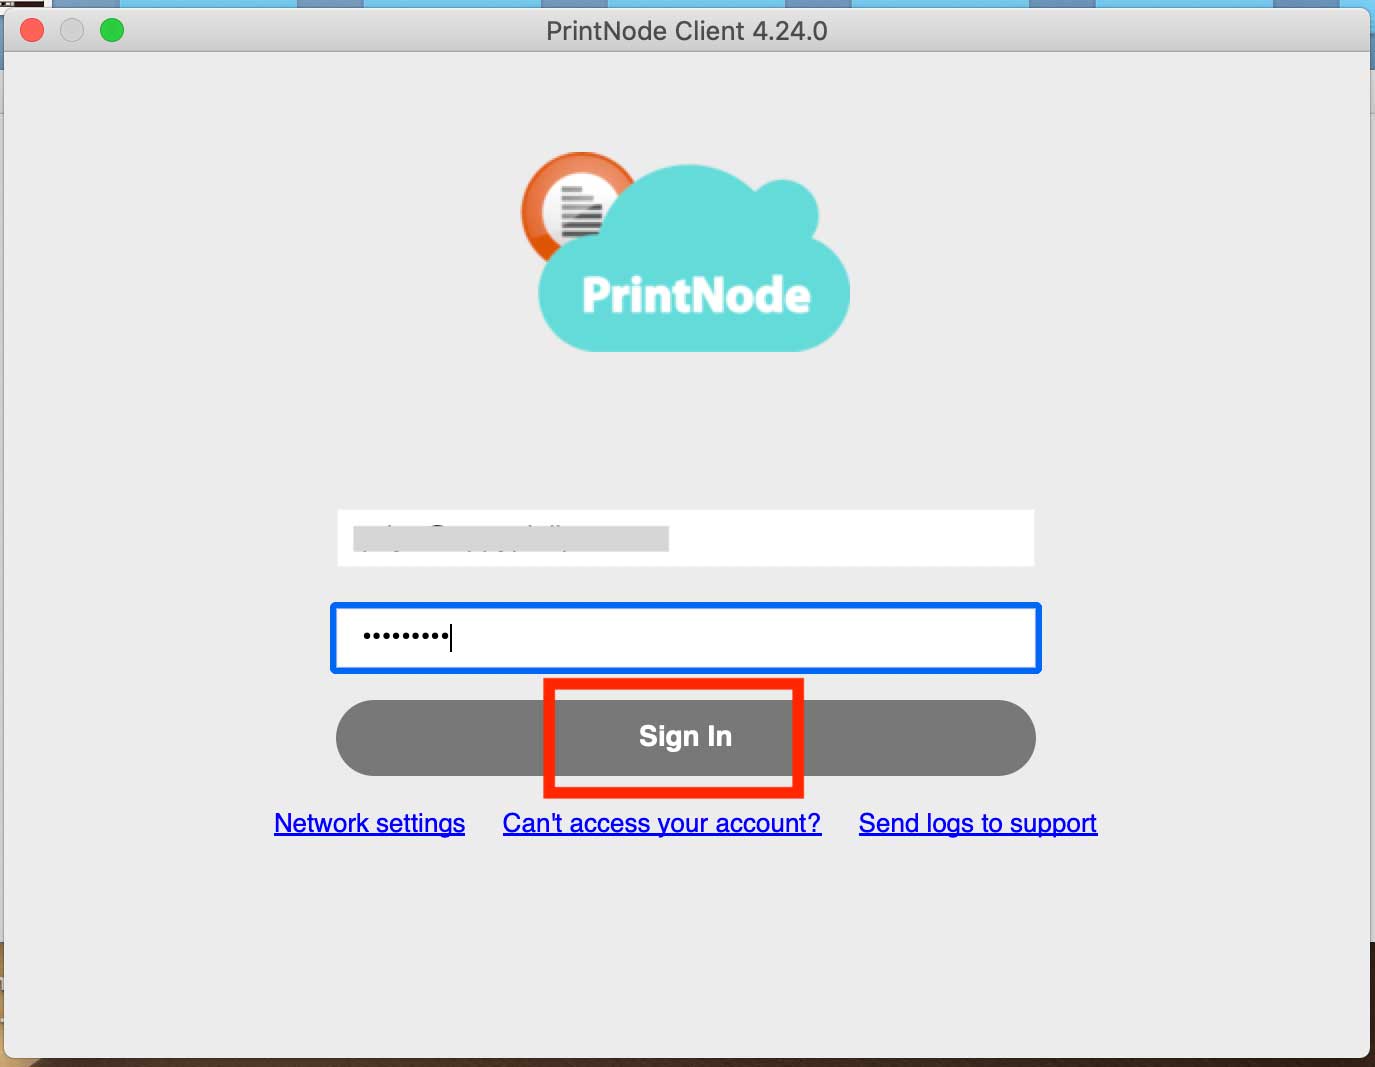
8. Enter your Email Address and Password
9. Click on Sign In
10. Go to Devices section present on left side panel
11. You can check the status of your connected computer here. Now you need to connect Printers and Scales
12. Open http://localhost:631on your web browser
13. Go to Administration
14. Click on Add Printer
15. Enter Username and Password to login into your account
16. Select the type of printer and click on Continue
17. Enter the Connection as shown in example
18. Click on Continue
19. Enter all the details like Name, Description, Location, etc.
20. Click on Continue
21. Select the Make type, and click on Continue
22. Select the Model, and click on Add Printer
23. Select Media Size, and Resolution, then click on Set Default Options
24. You will see the success message showing that the printer is successfully setup
25. On the dashboard, you will see the Printer is successfully connected. Click on API Keys

26. Enter your account password
27. Click on Next
28. Enter the API Key description
29. Click on Create
30. Here is your API Key, copy it
31. Now paste the copied key in the PrintNode API Keys field