How to deploy livechat’s widget in a website created in godaddy?
Following are the steps to deploy livechat’s widget in a website created in godaddy:
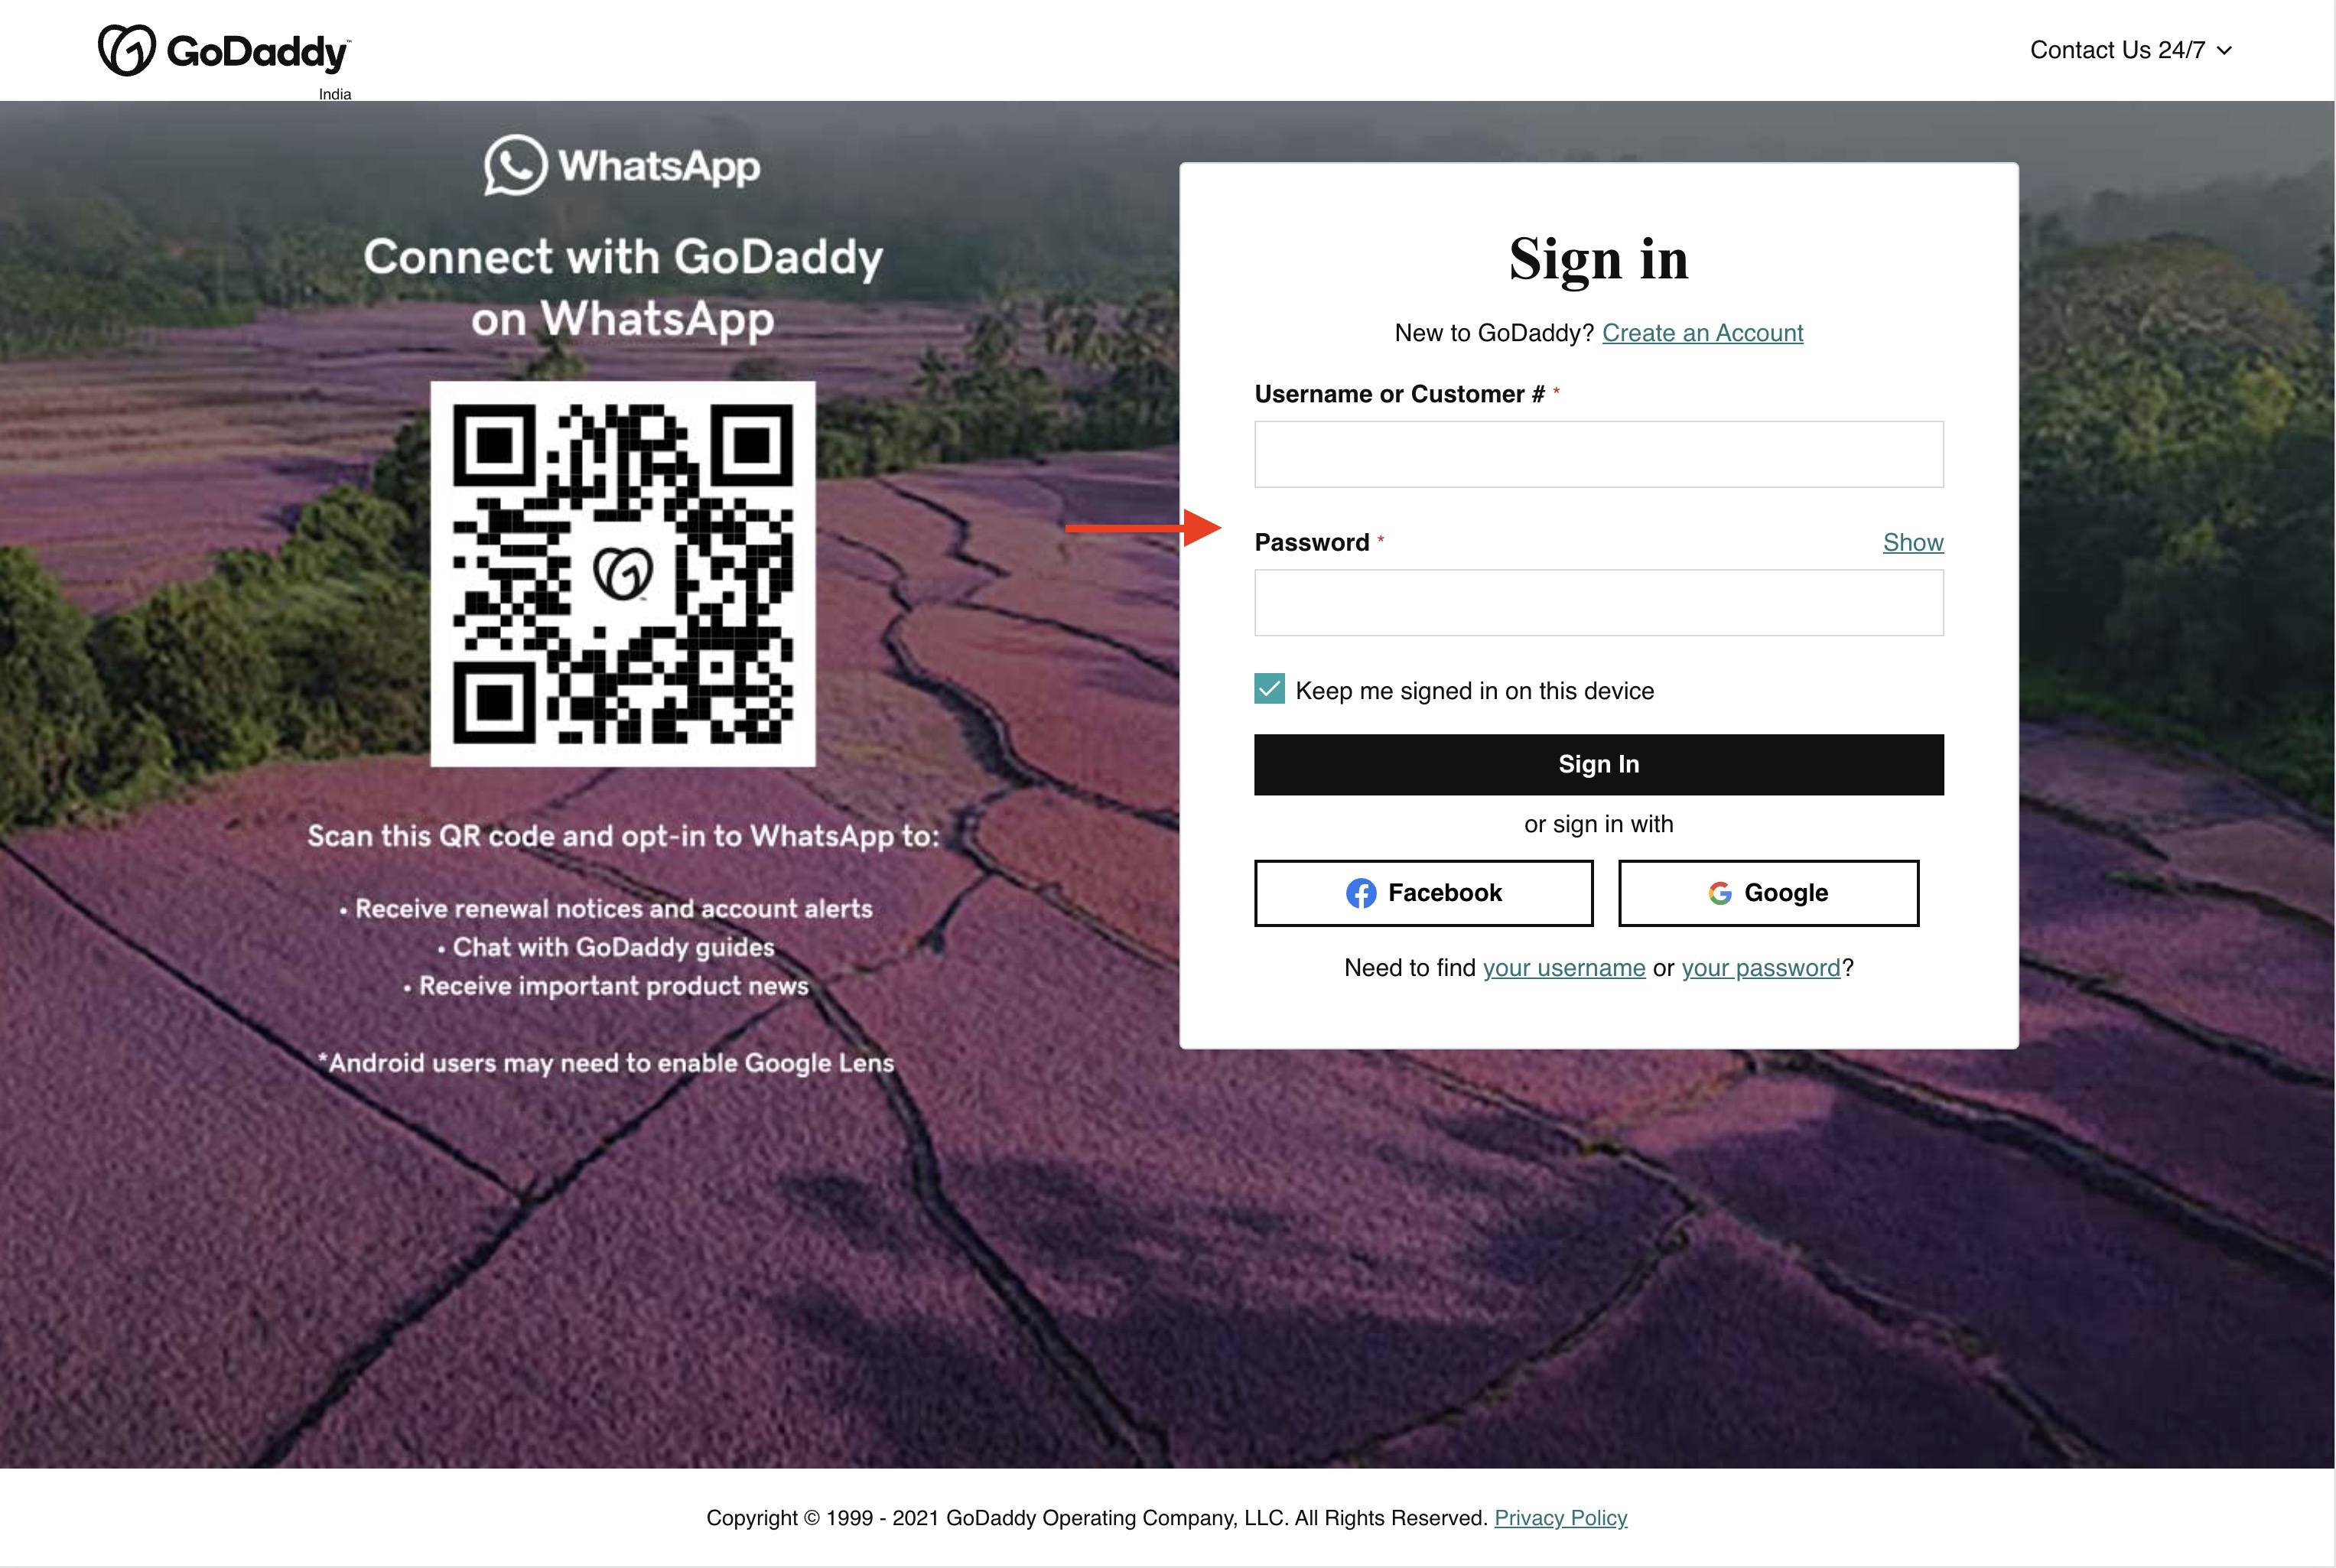
Step 1 : Log in to your Godaddy account.
Step 2 : Then click the My Products under the account user dropdown option at the top.

Step 3 : Click on Website name 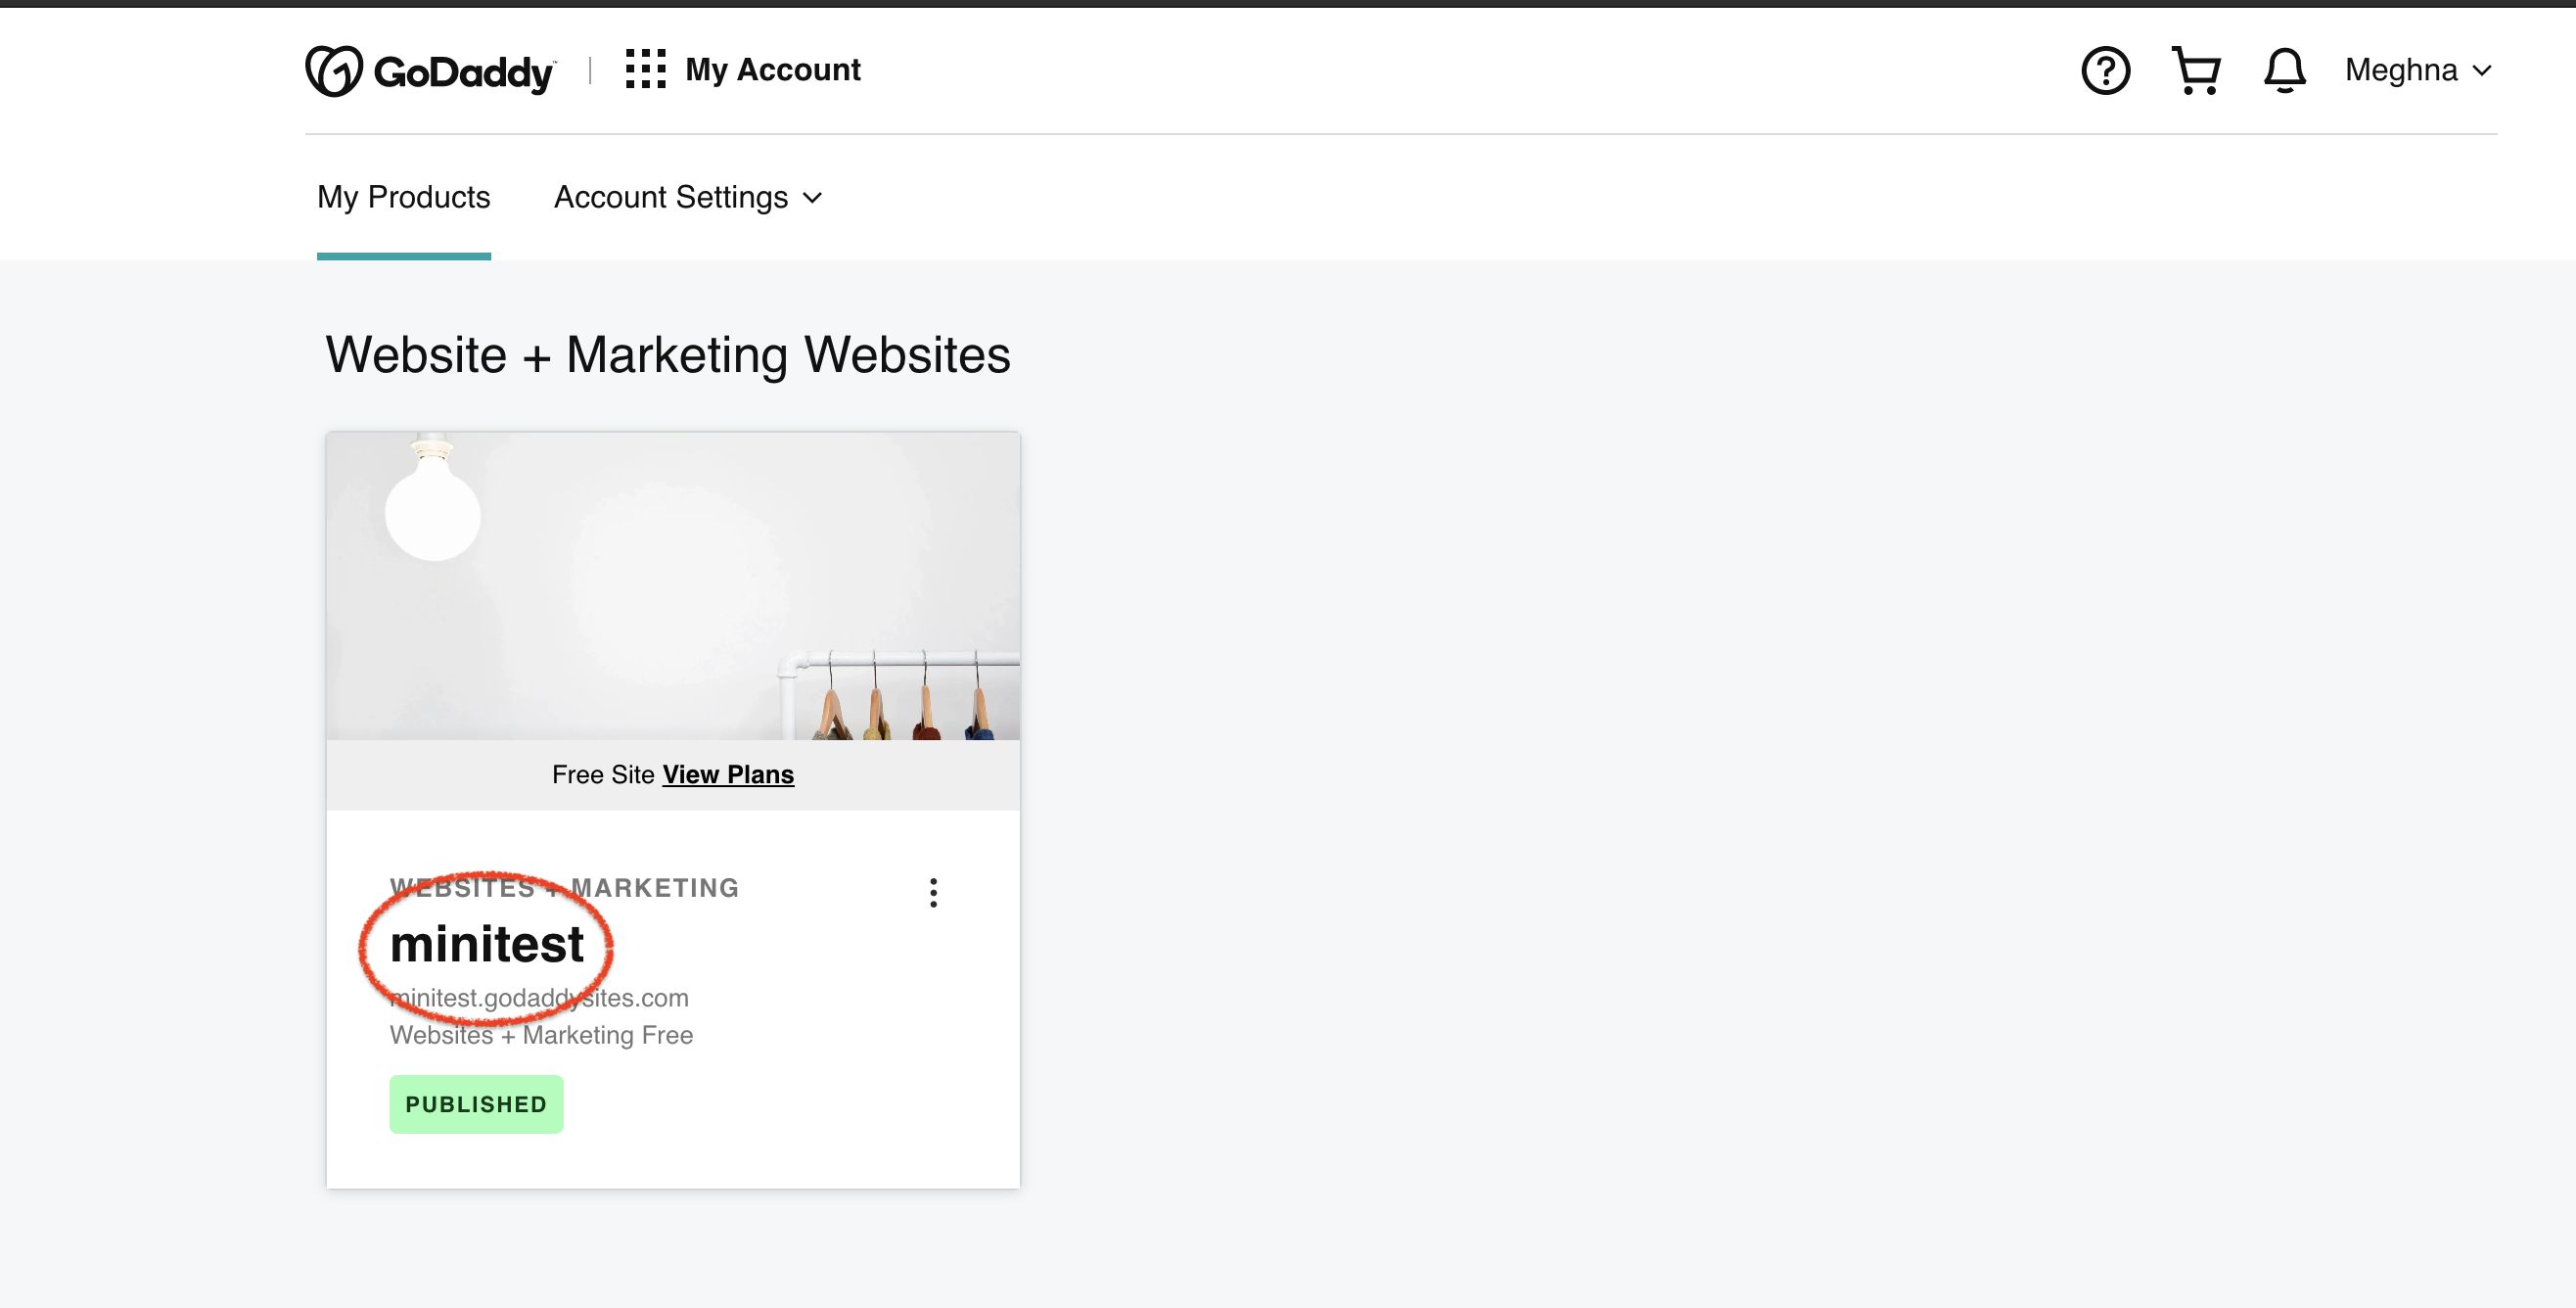
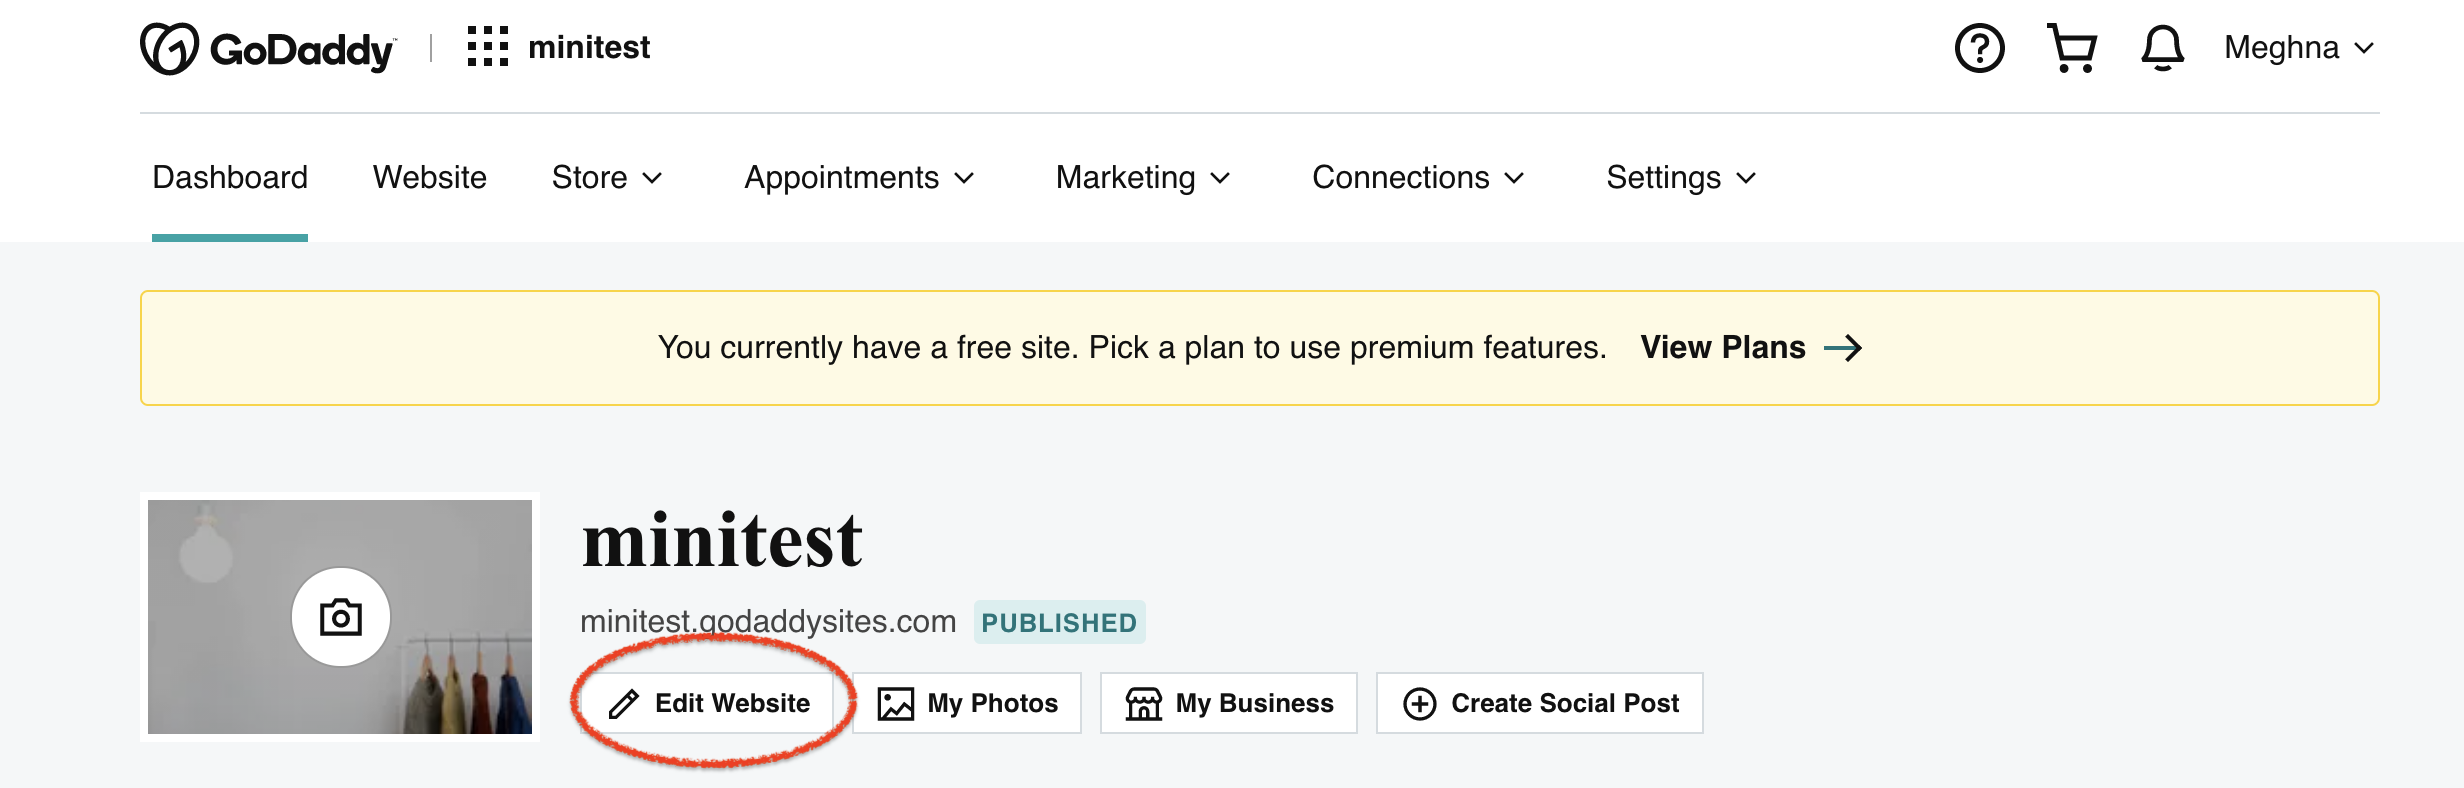
Step 4 : Then click the Edit website under your website name.
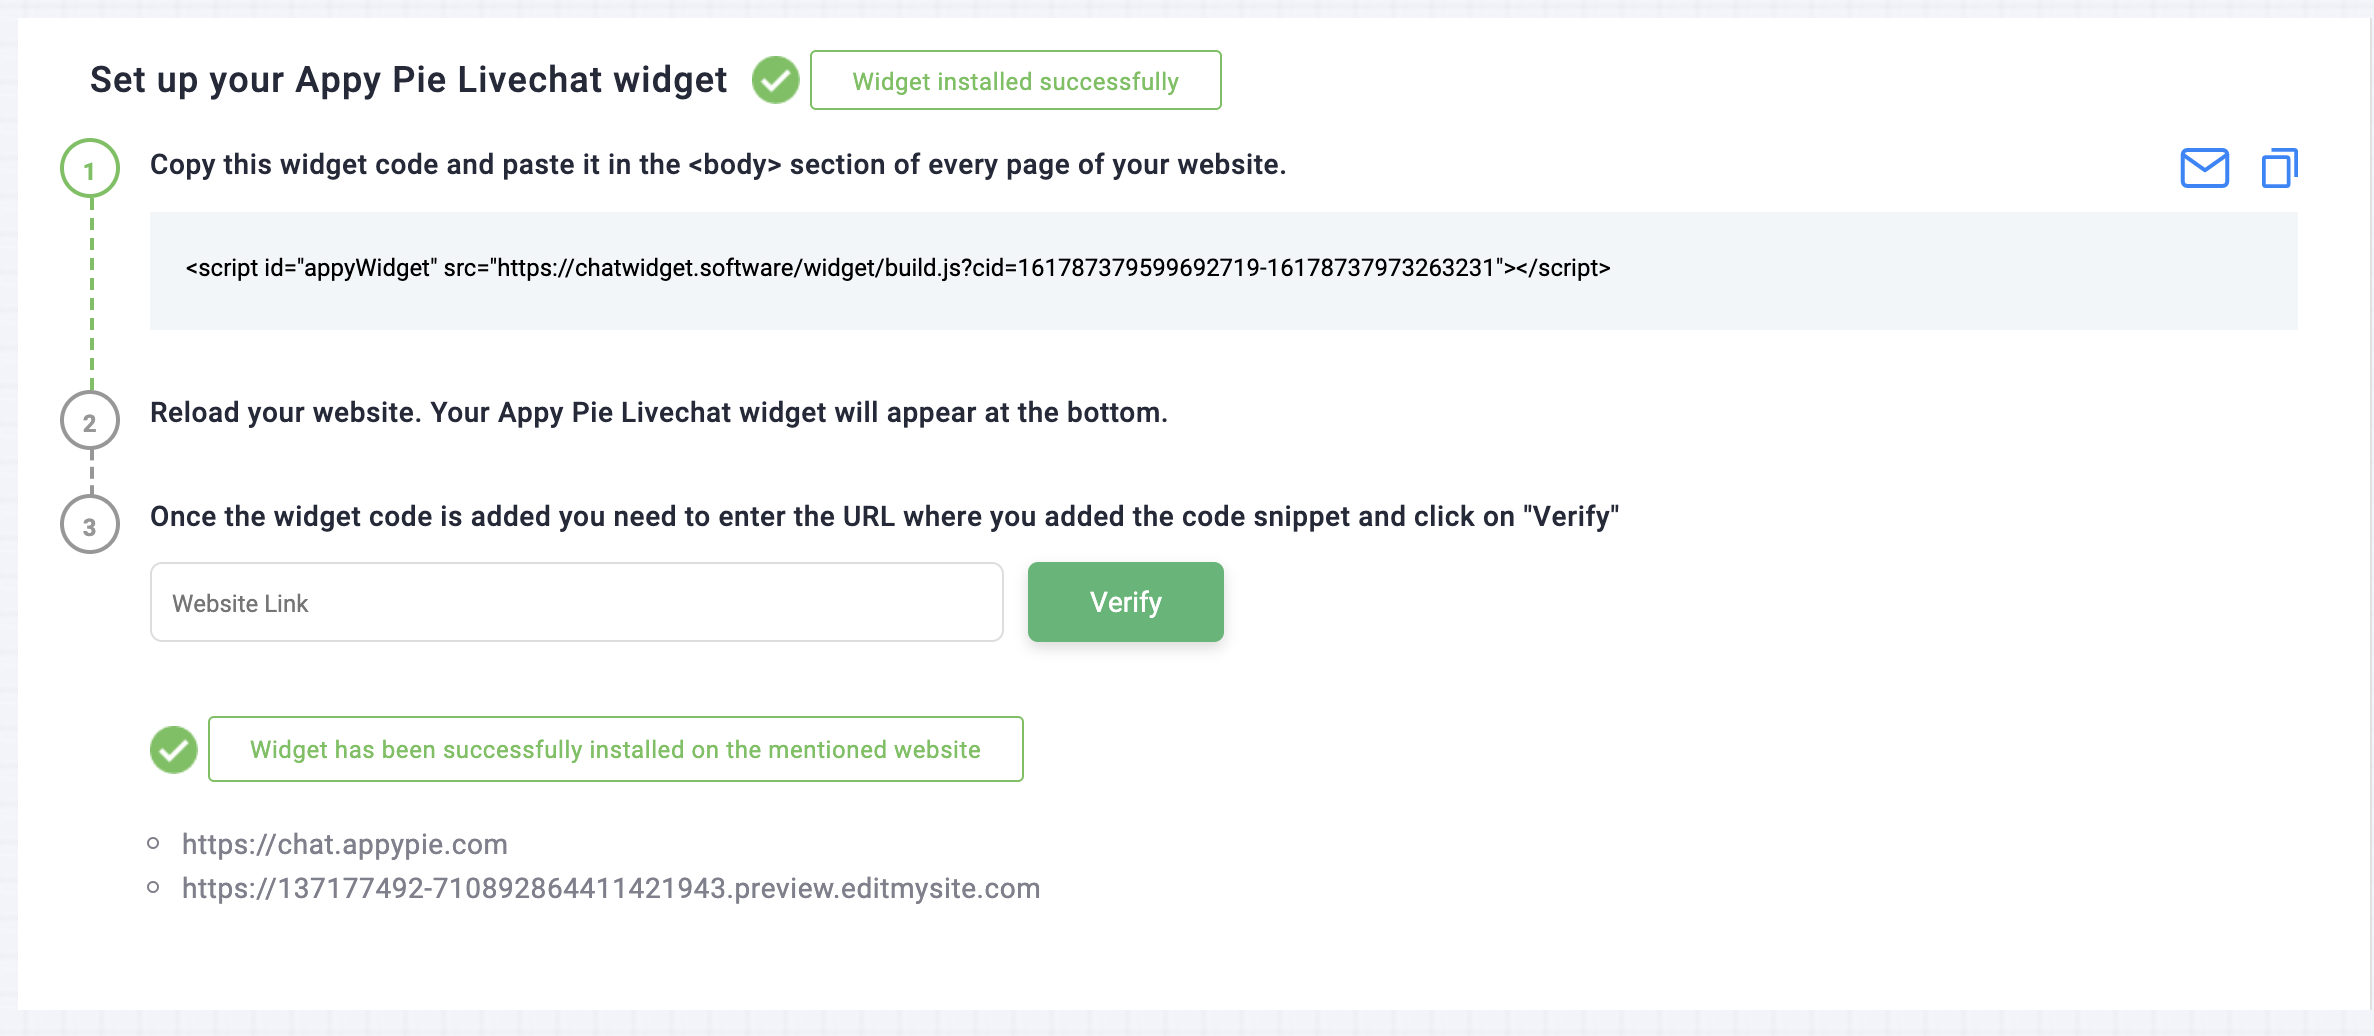
Step 5 : Log on to your Livechat account, click on setup and copy the widget code from the field
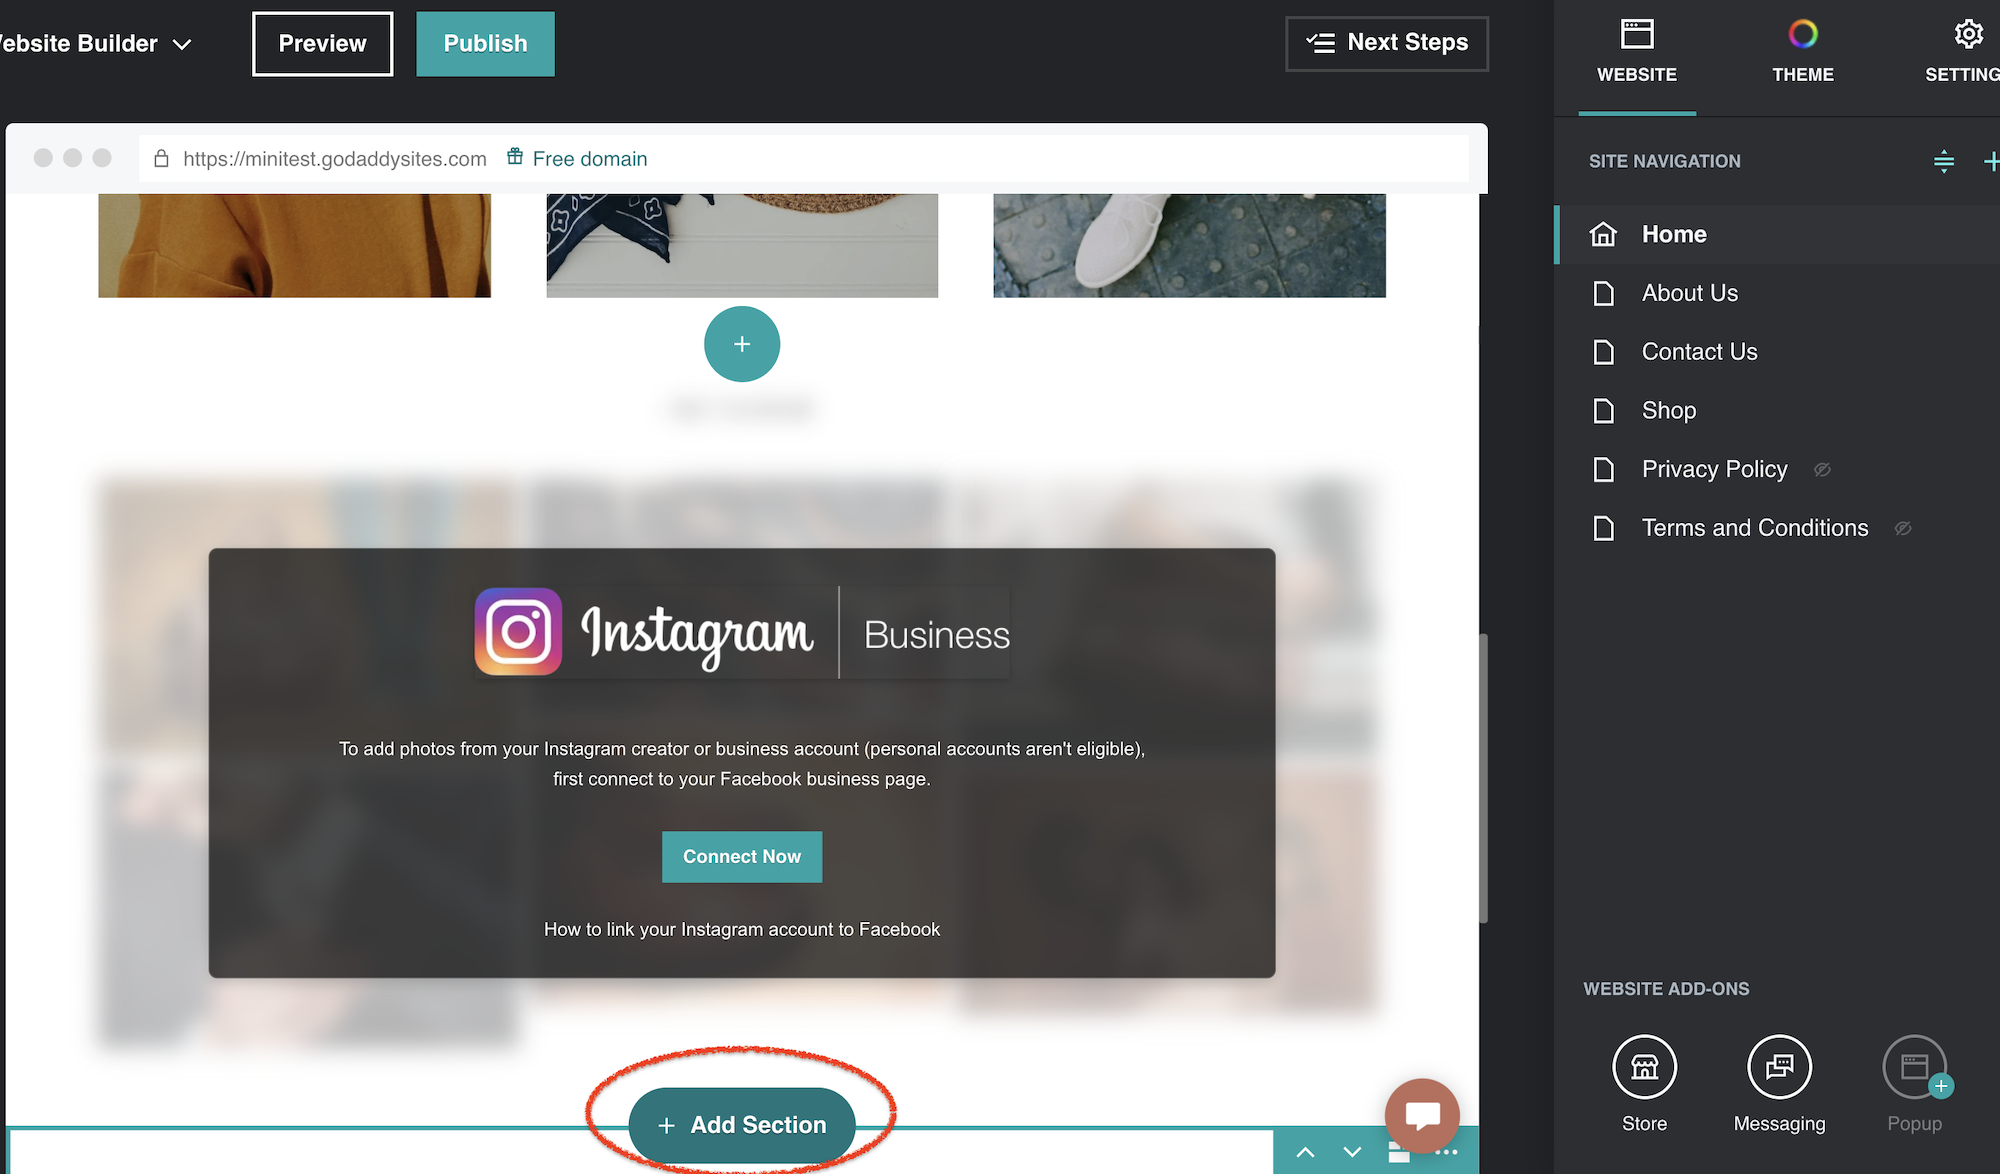
Step 6 : Click on the Add section button where you want to deploy your livechat widget on your Godaddy website.
Step 7 : Choose HTML and click Add again

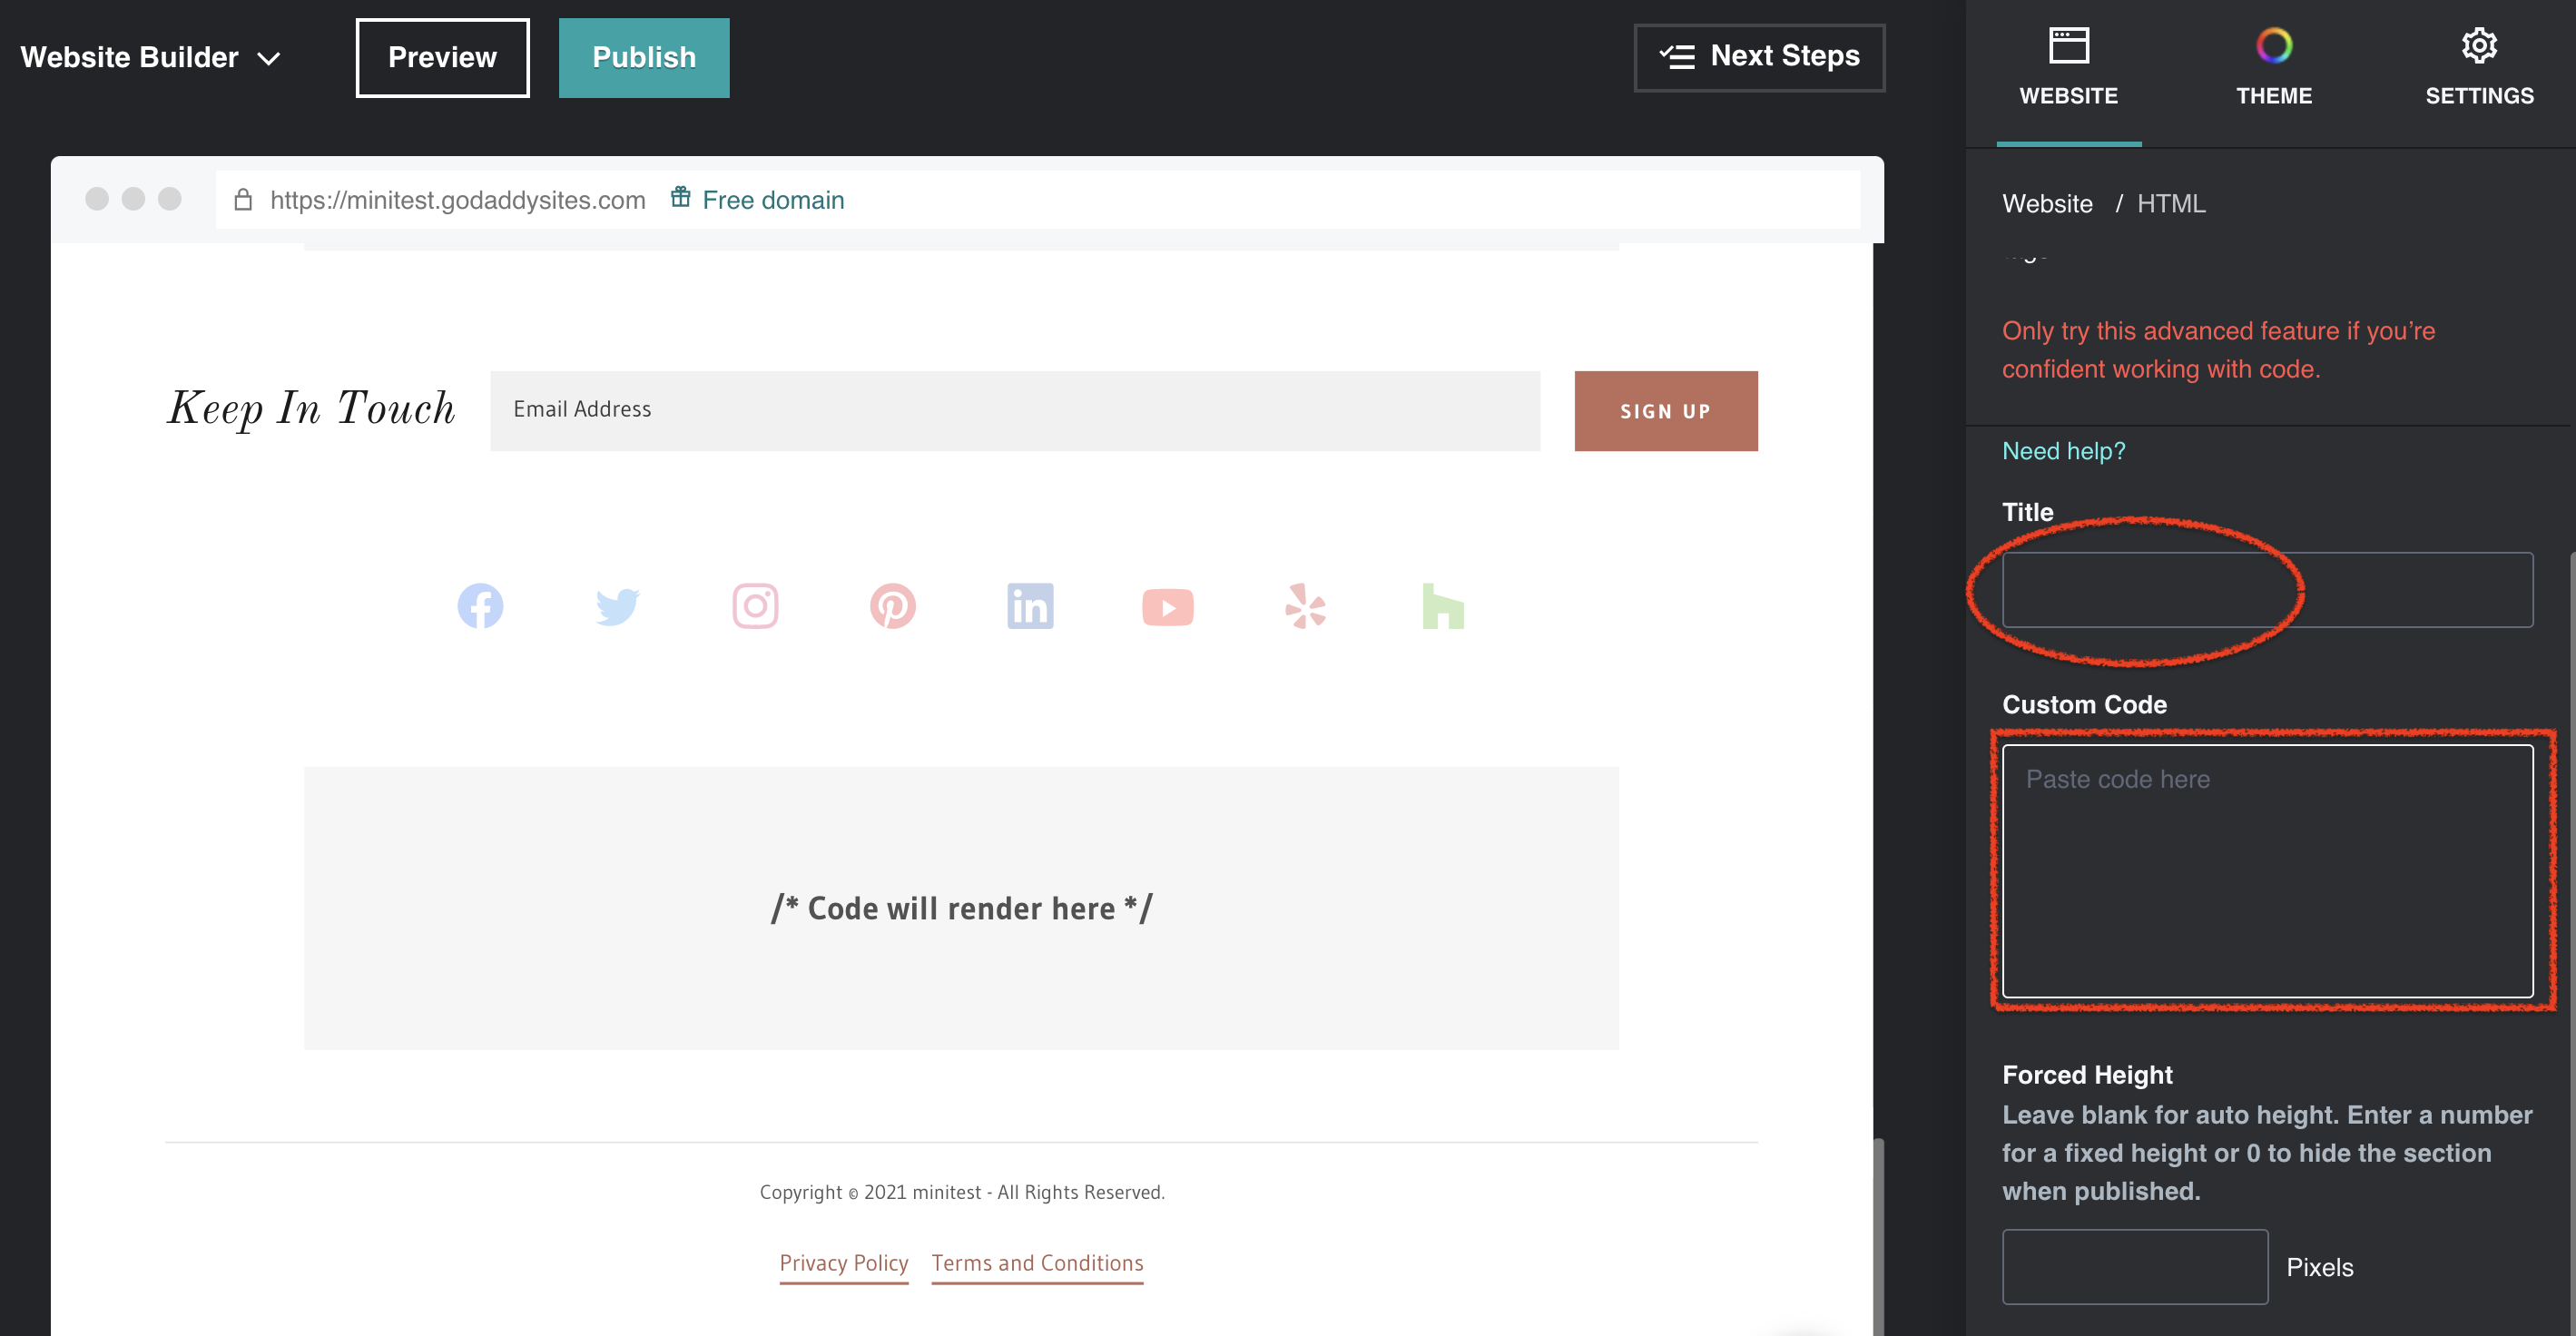
Step 8 : Now paste your Appypie Livechat widget code on the Custom code field on your Godaddy website. Give a title to your bot using the title field
Step 9 : Adjust the height of your Livechat widget using the Forced Height field so that the widget window opens up properly in the website. Then click on the Done button.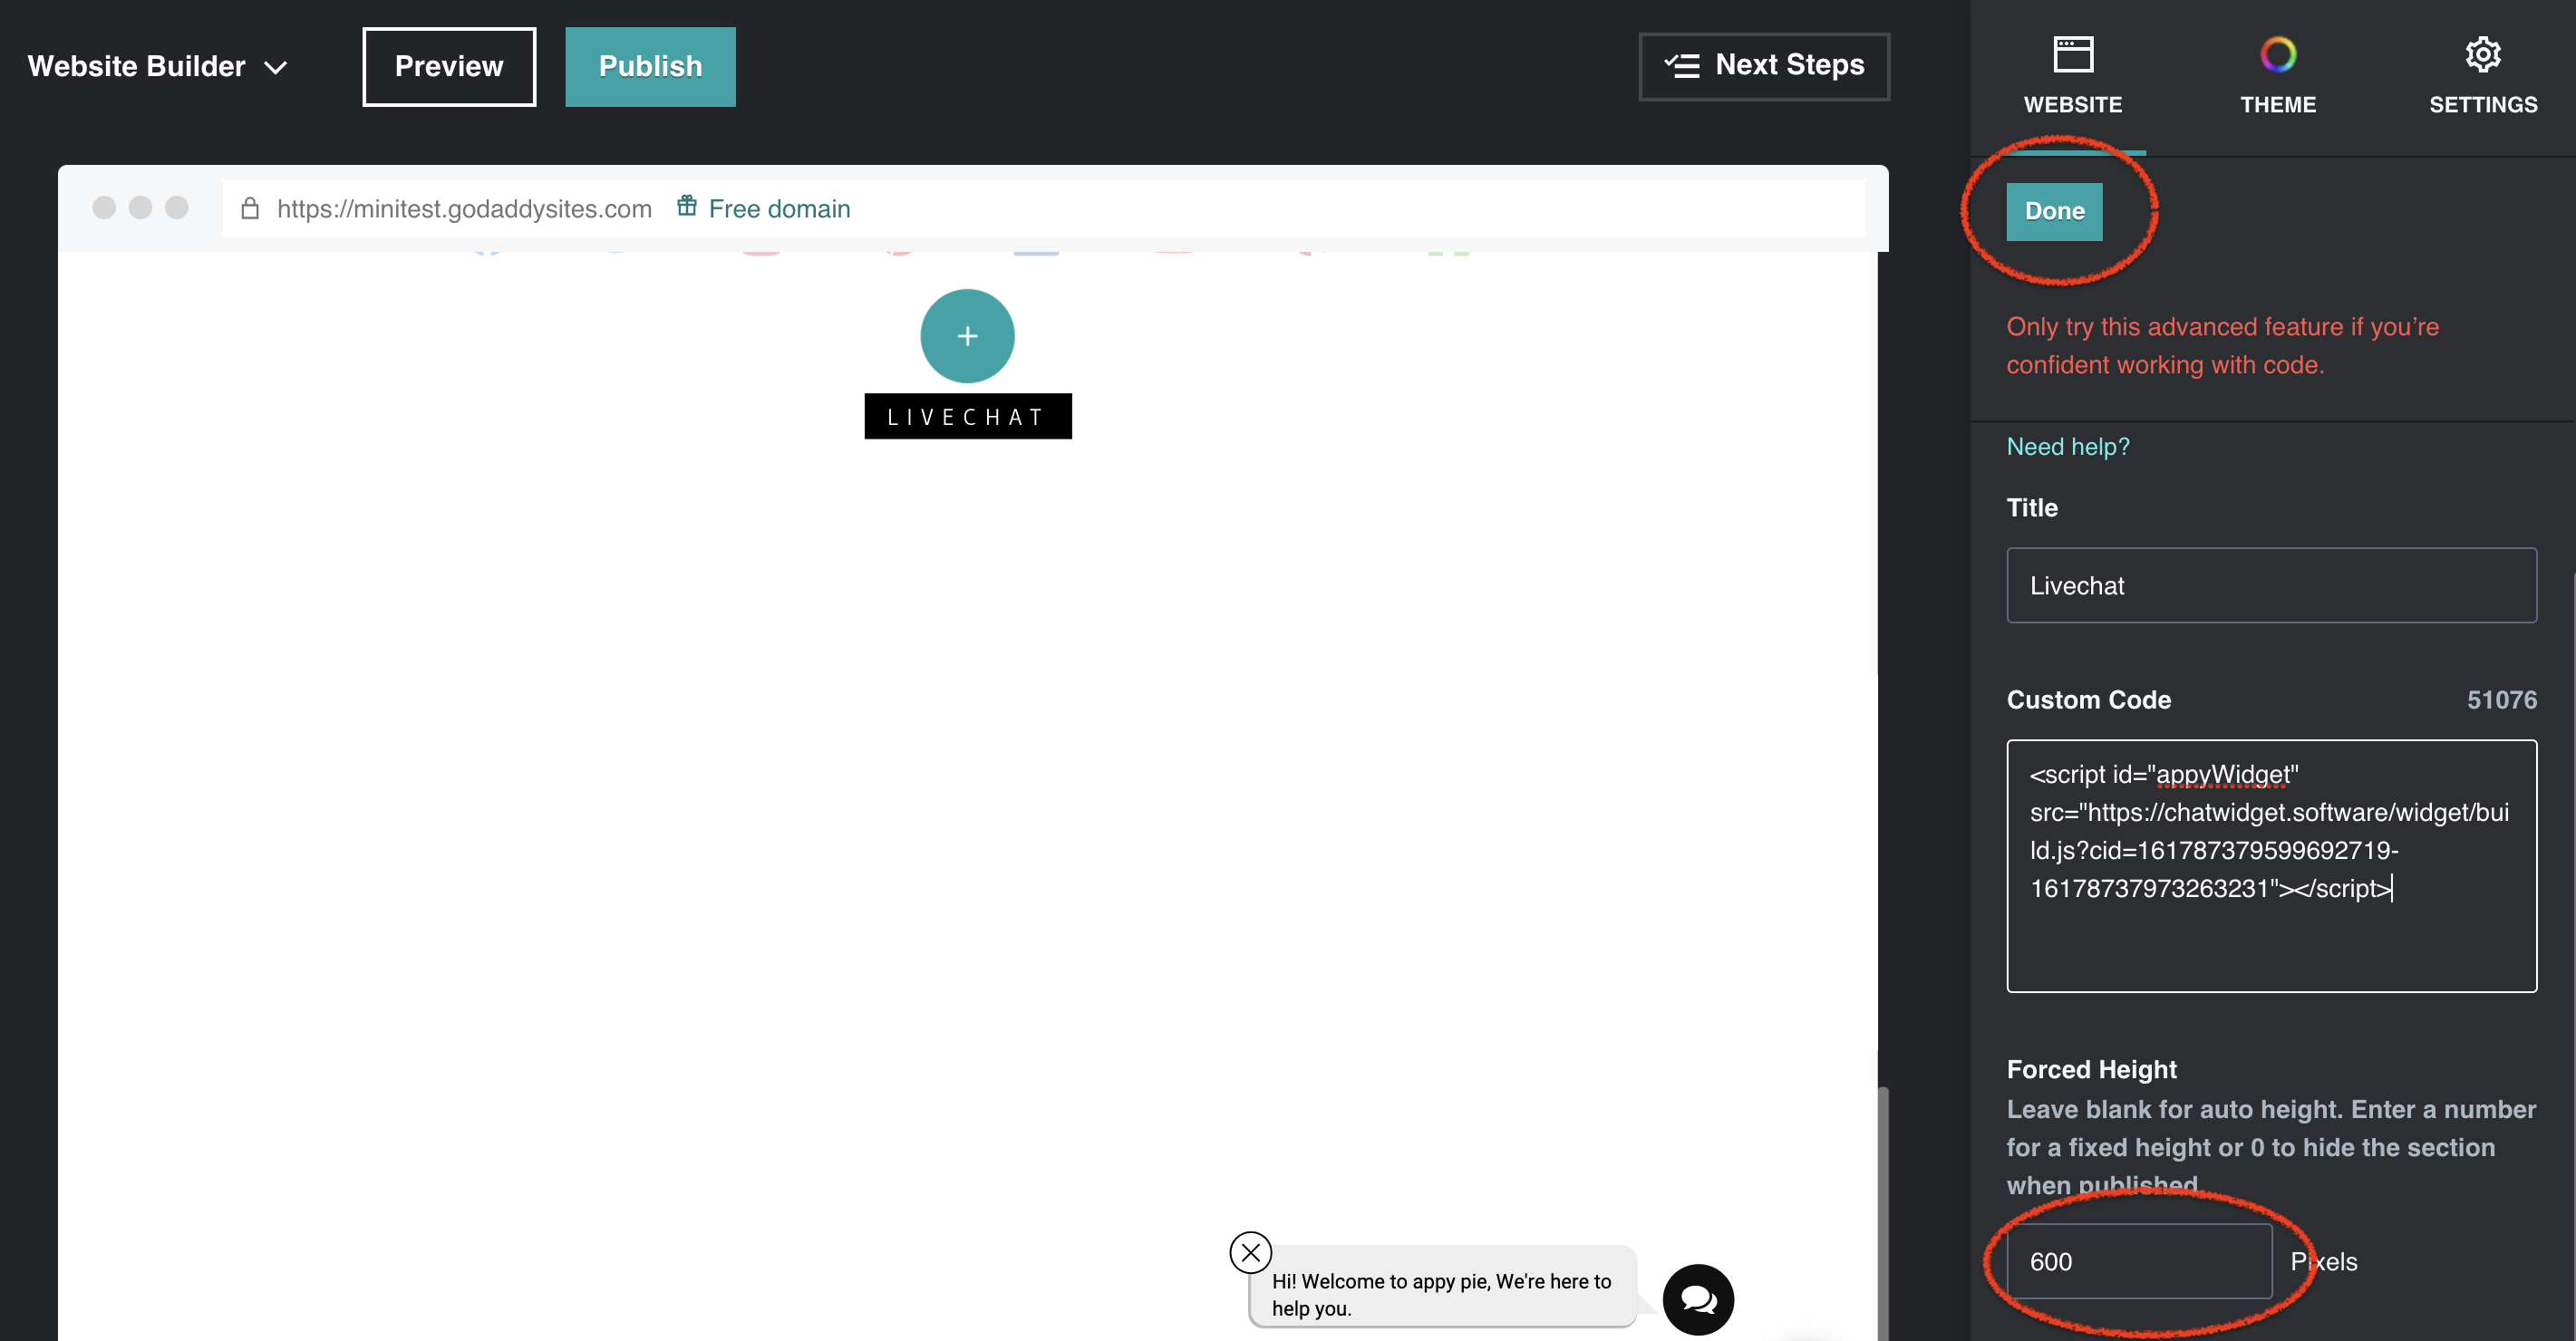
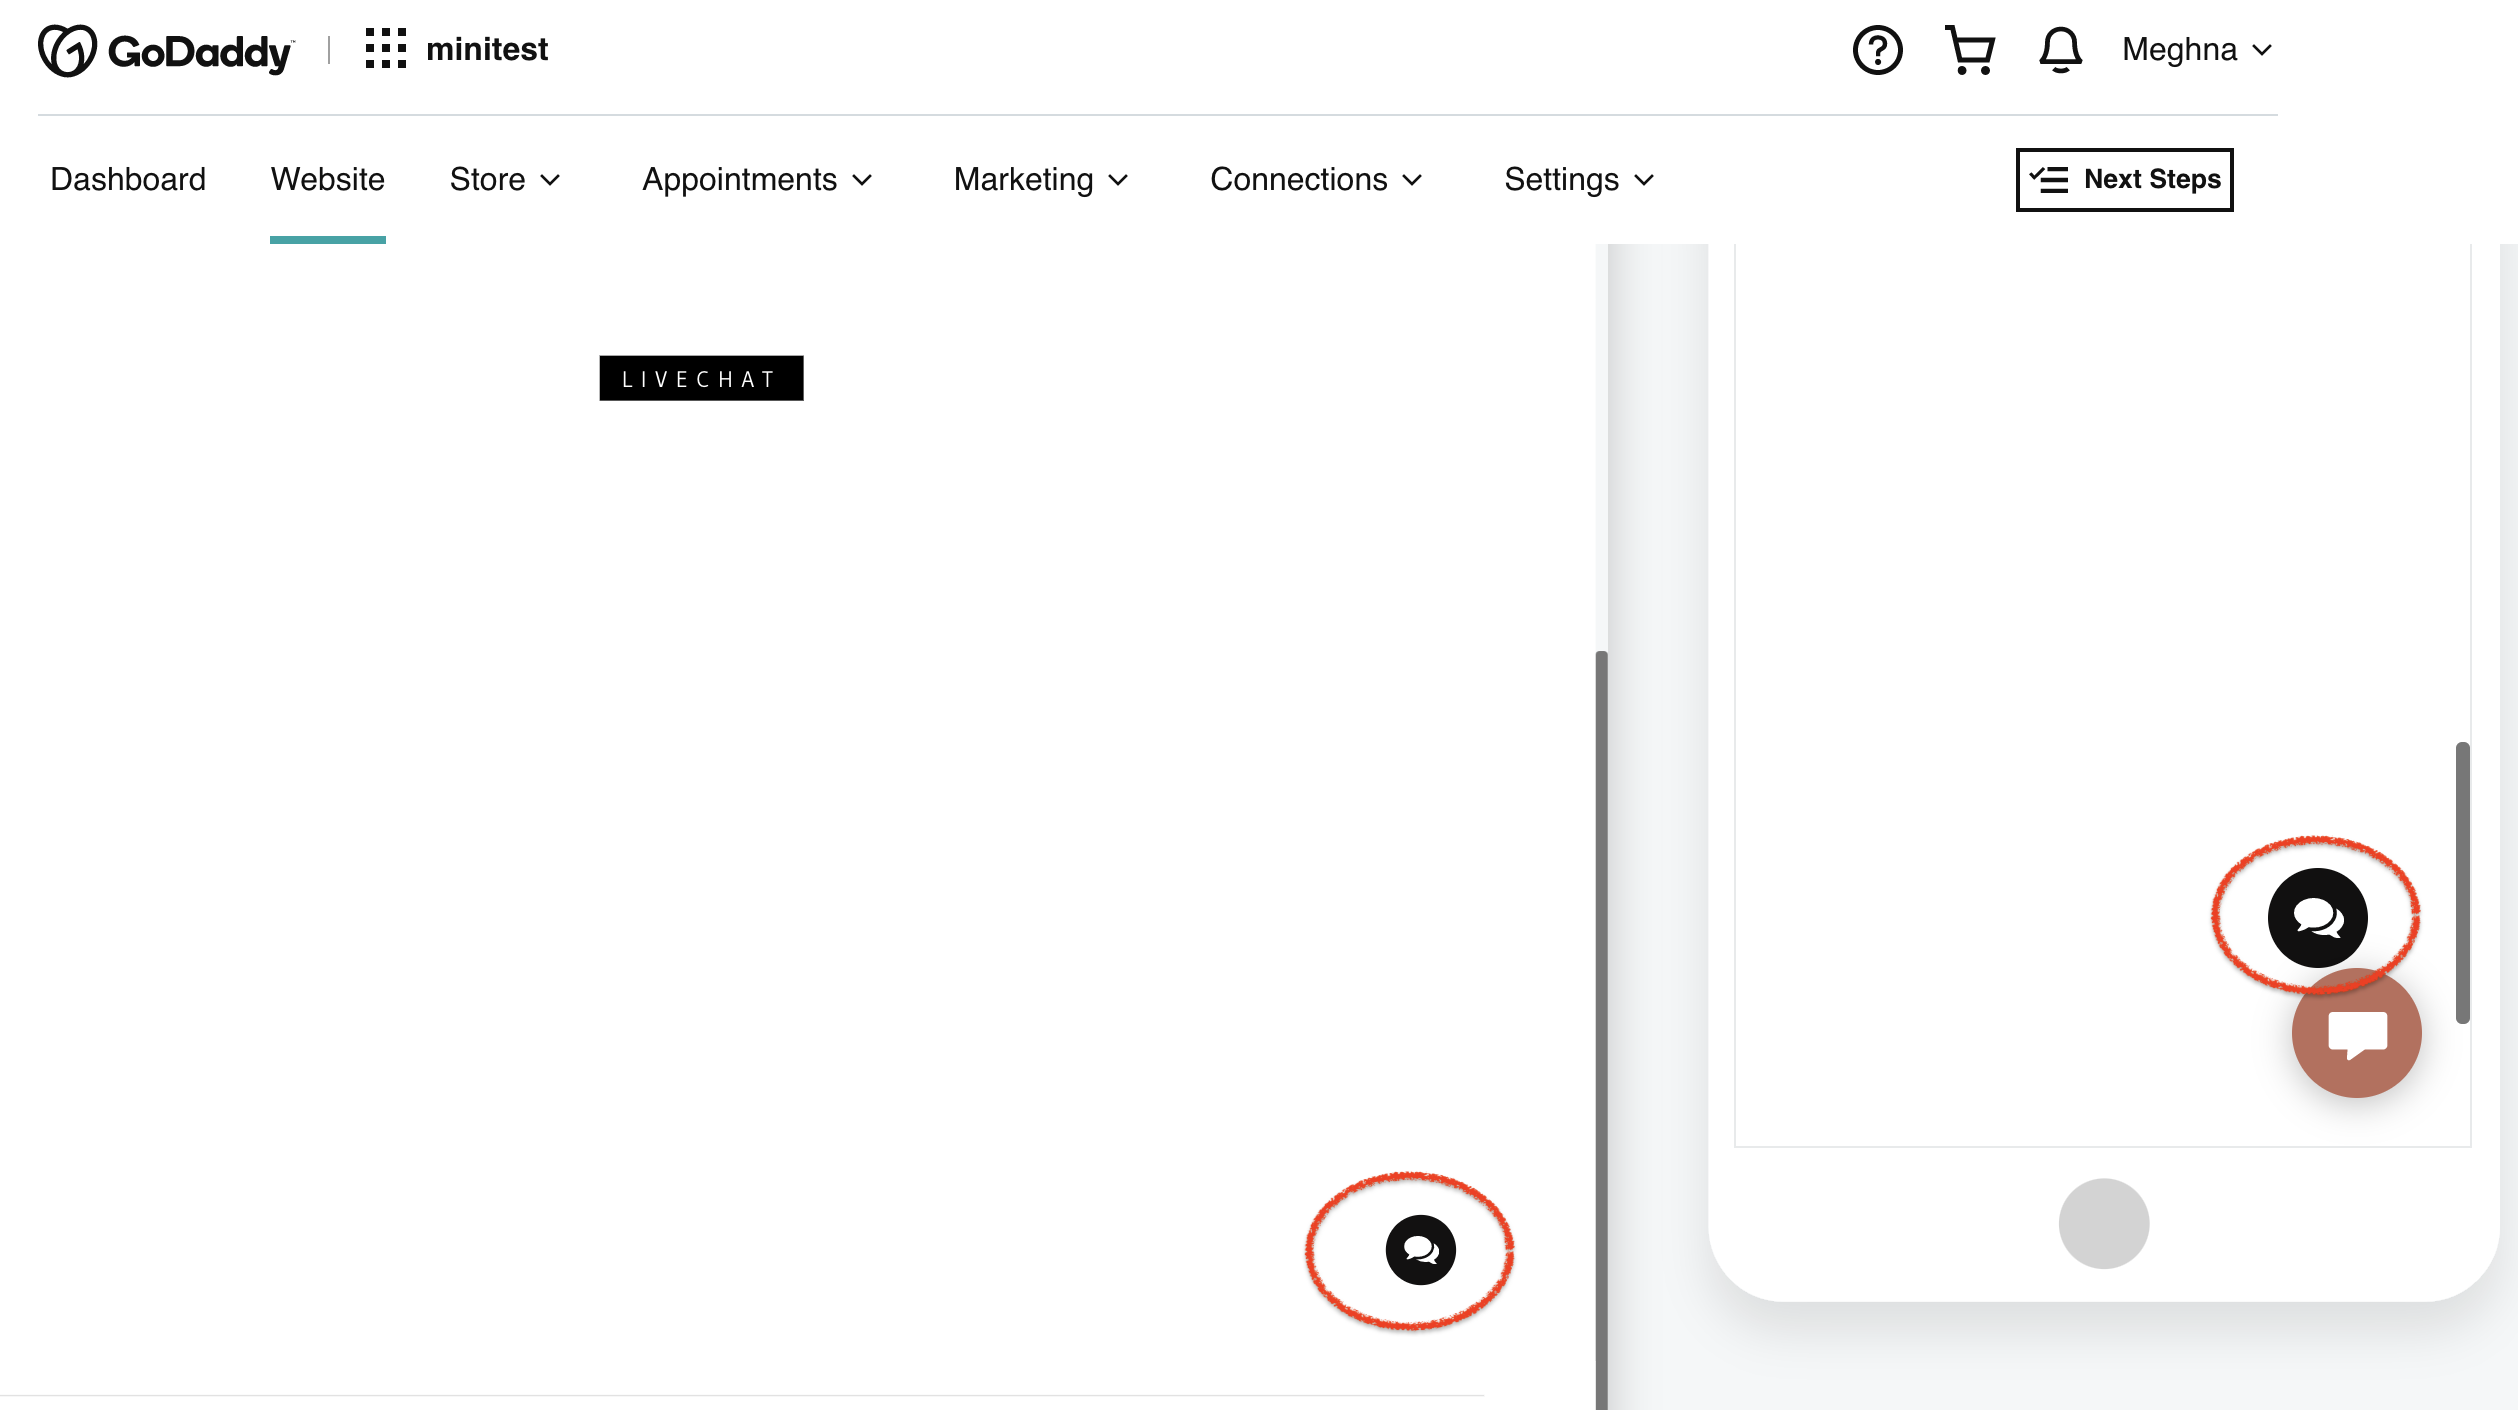
Step 10 : Click on the preview button to test your chatbot widget.
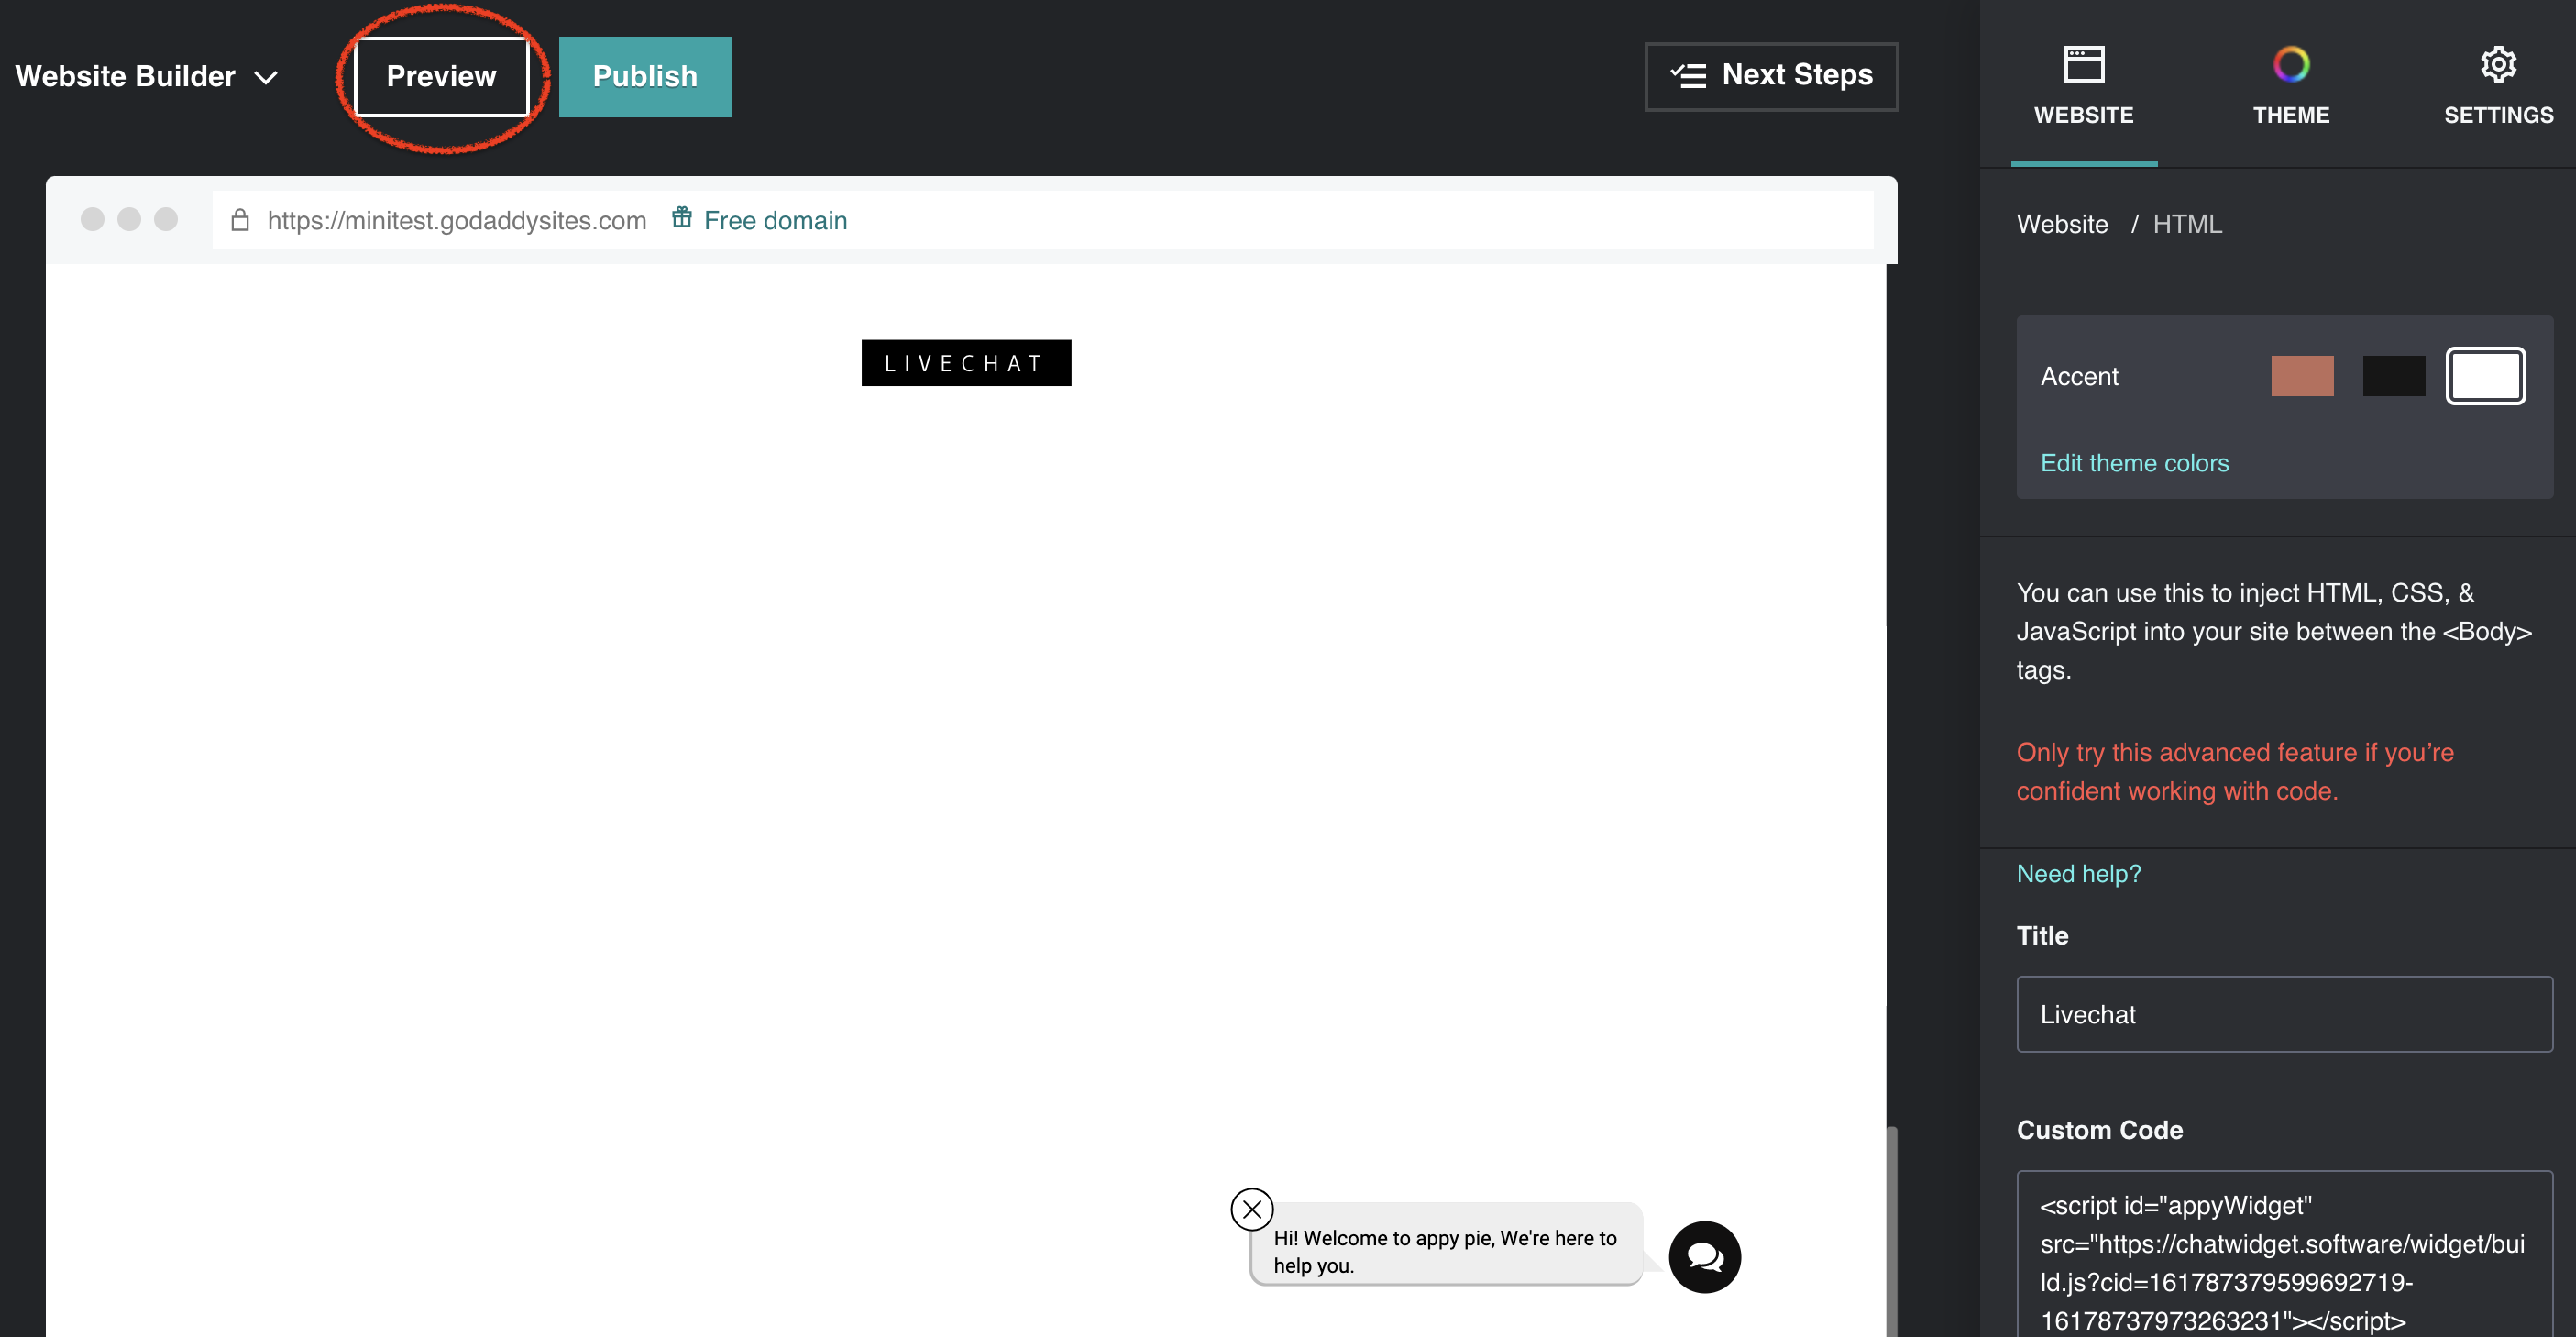
Step 11 : Scroll down to the section where the livechat code was added.Click on theAppyPie livechat widget icon to open your widget.
Step 12 : You can now view your appypie Livechat widget on your Godaddy website.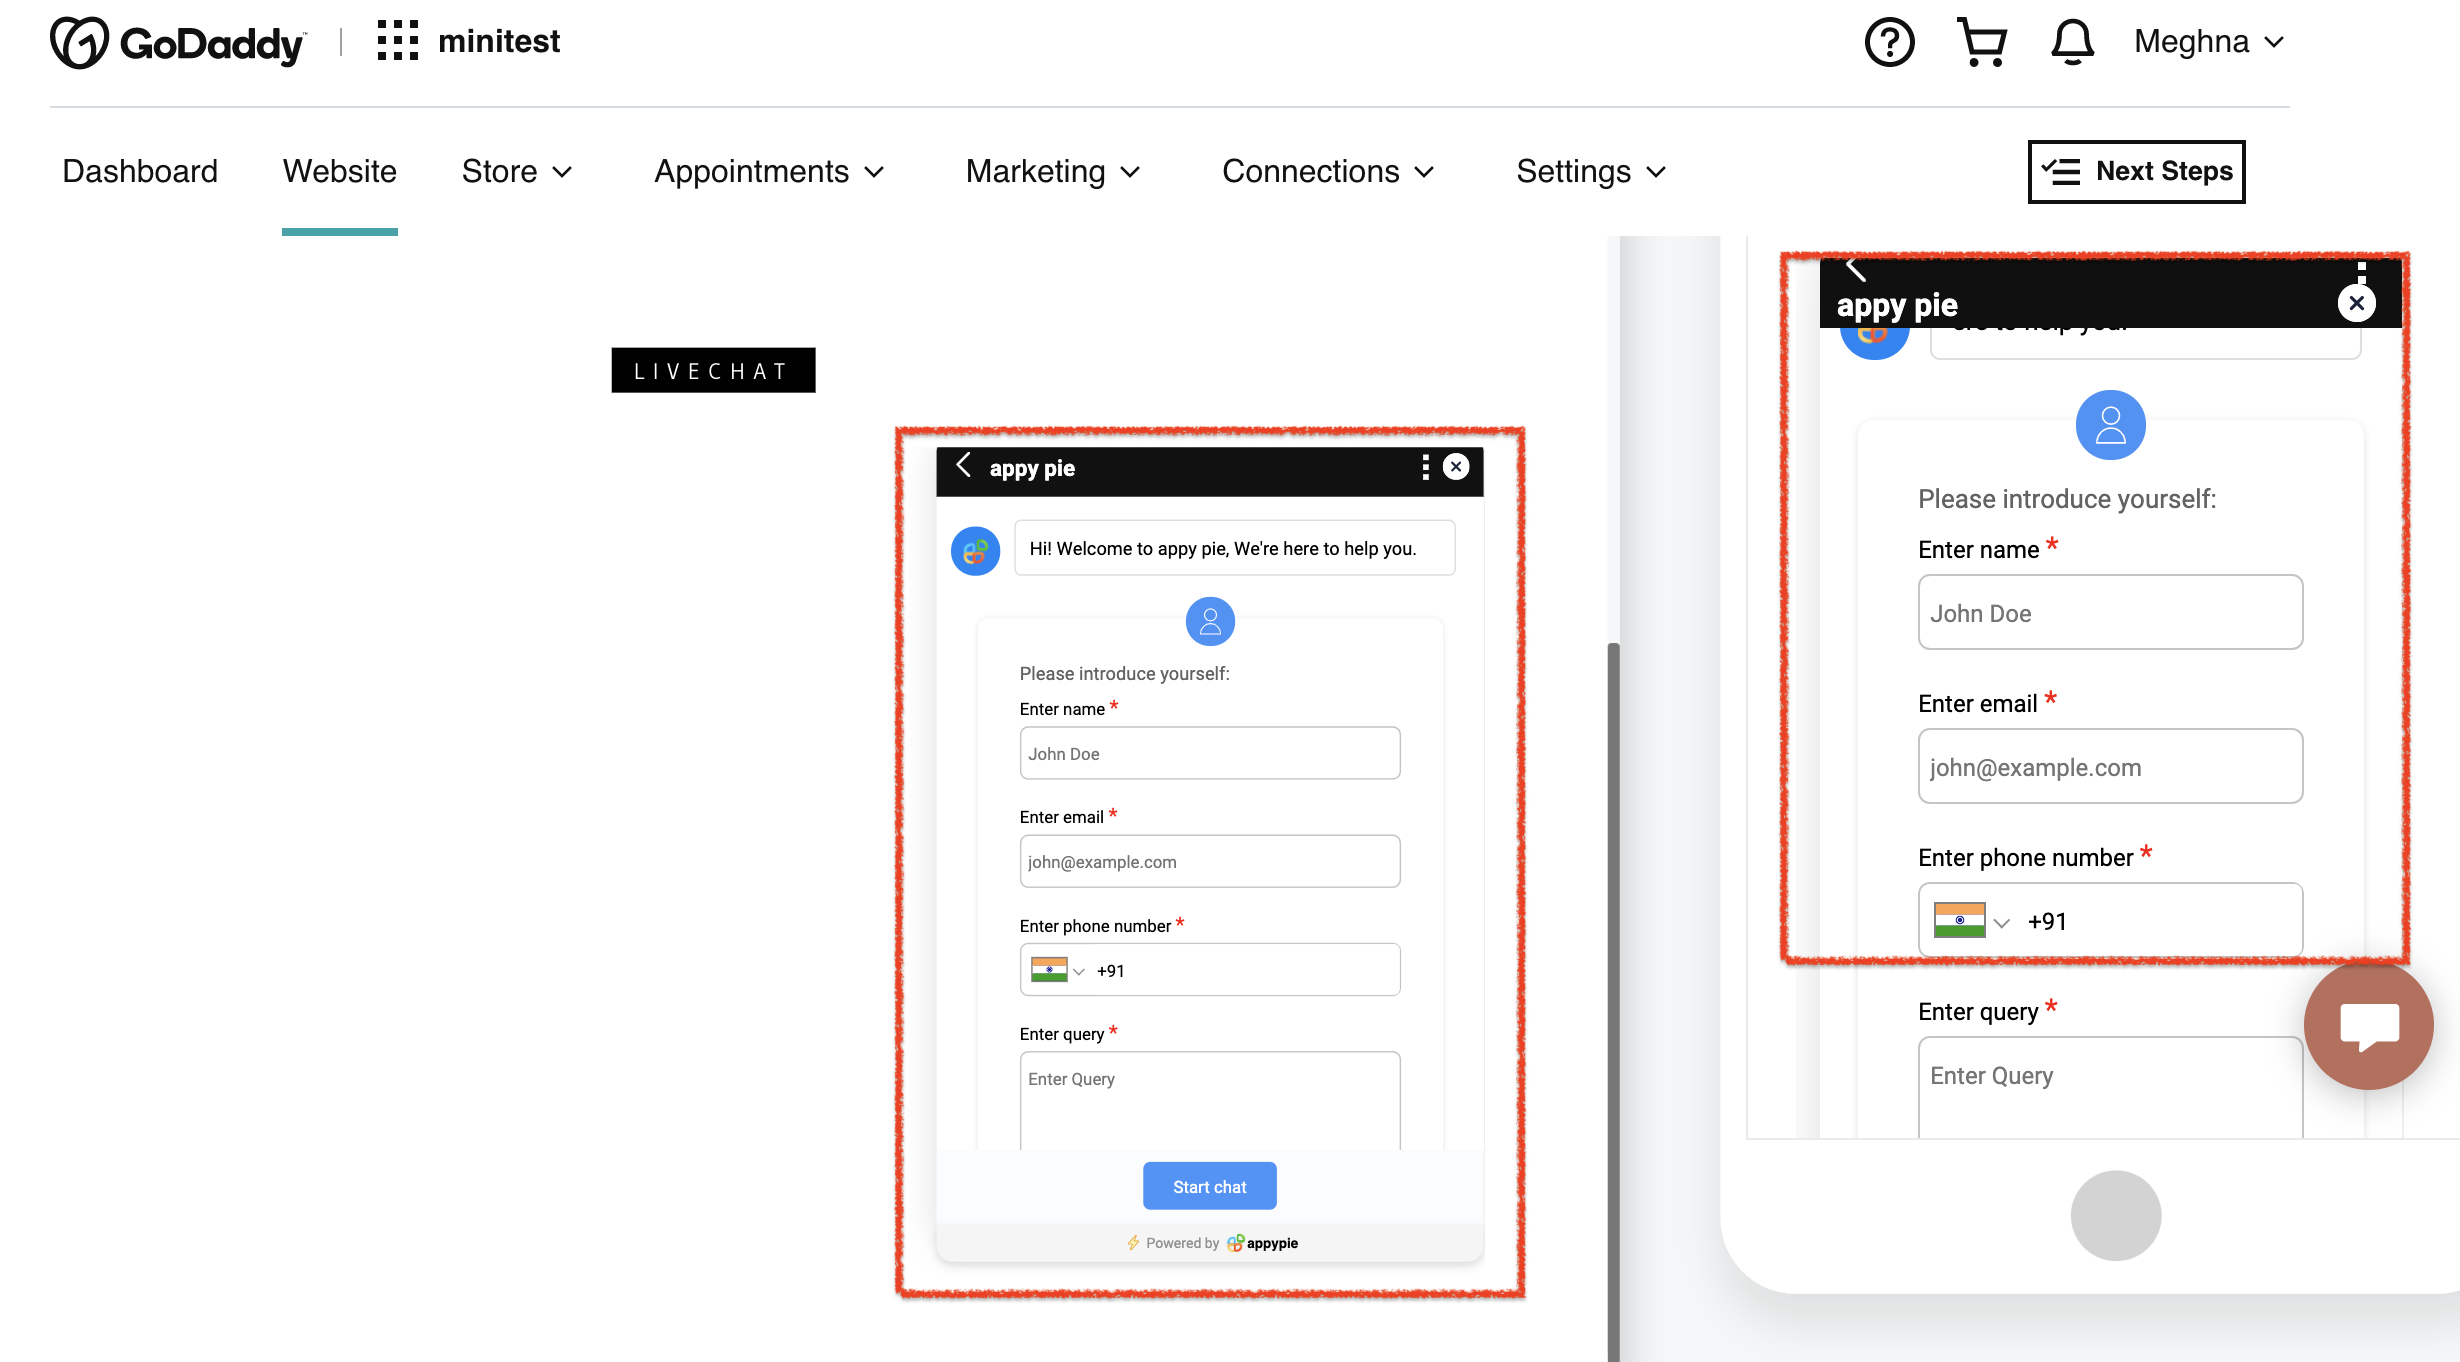
Follow our video tutorial below to know the deploy livechat’s widget in a website created in godaddy: