How to deploy Appy Pie livechat's widget in wix
Following are the steps to deploy livechat’s widget in wix:
Step 1
Login to your wix account and select a website from the dropdown in which you want to deploy livechat's widget.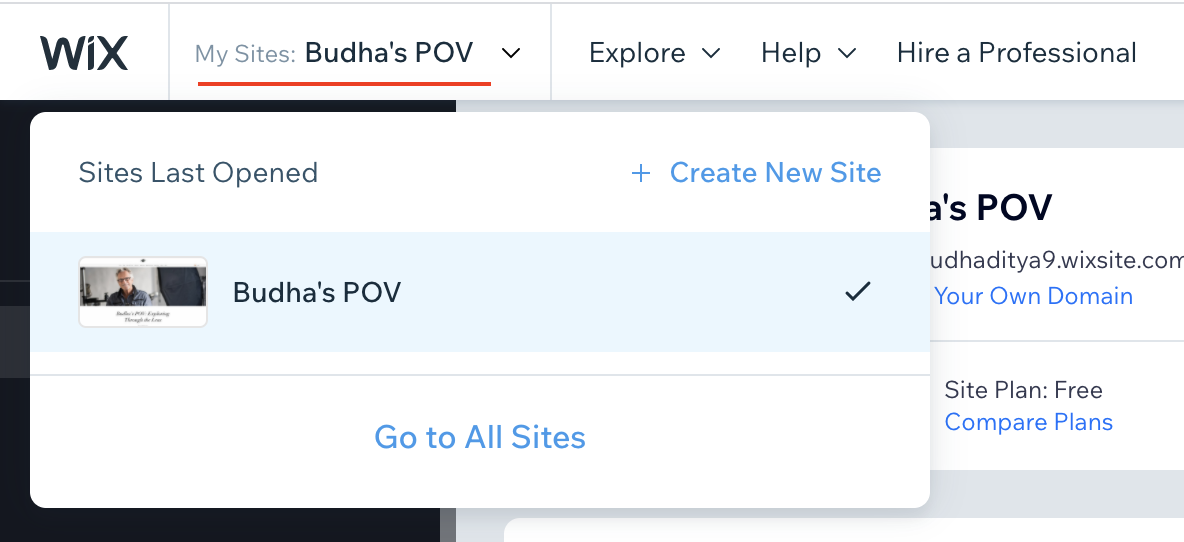
Step 2
Click on edit site option from the bottom of the left panel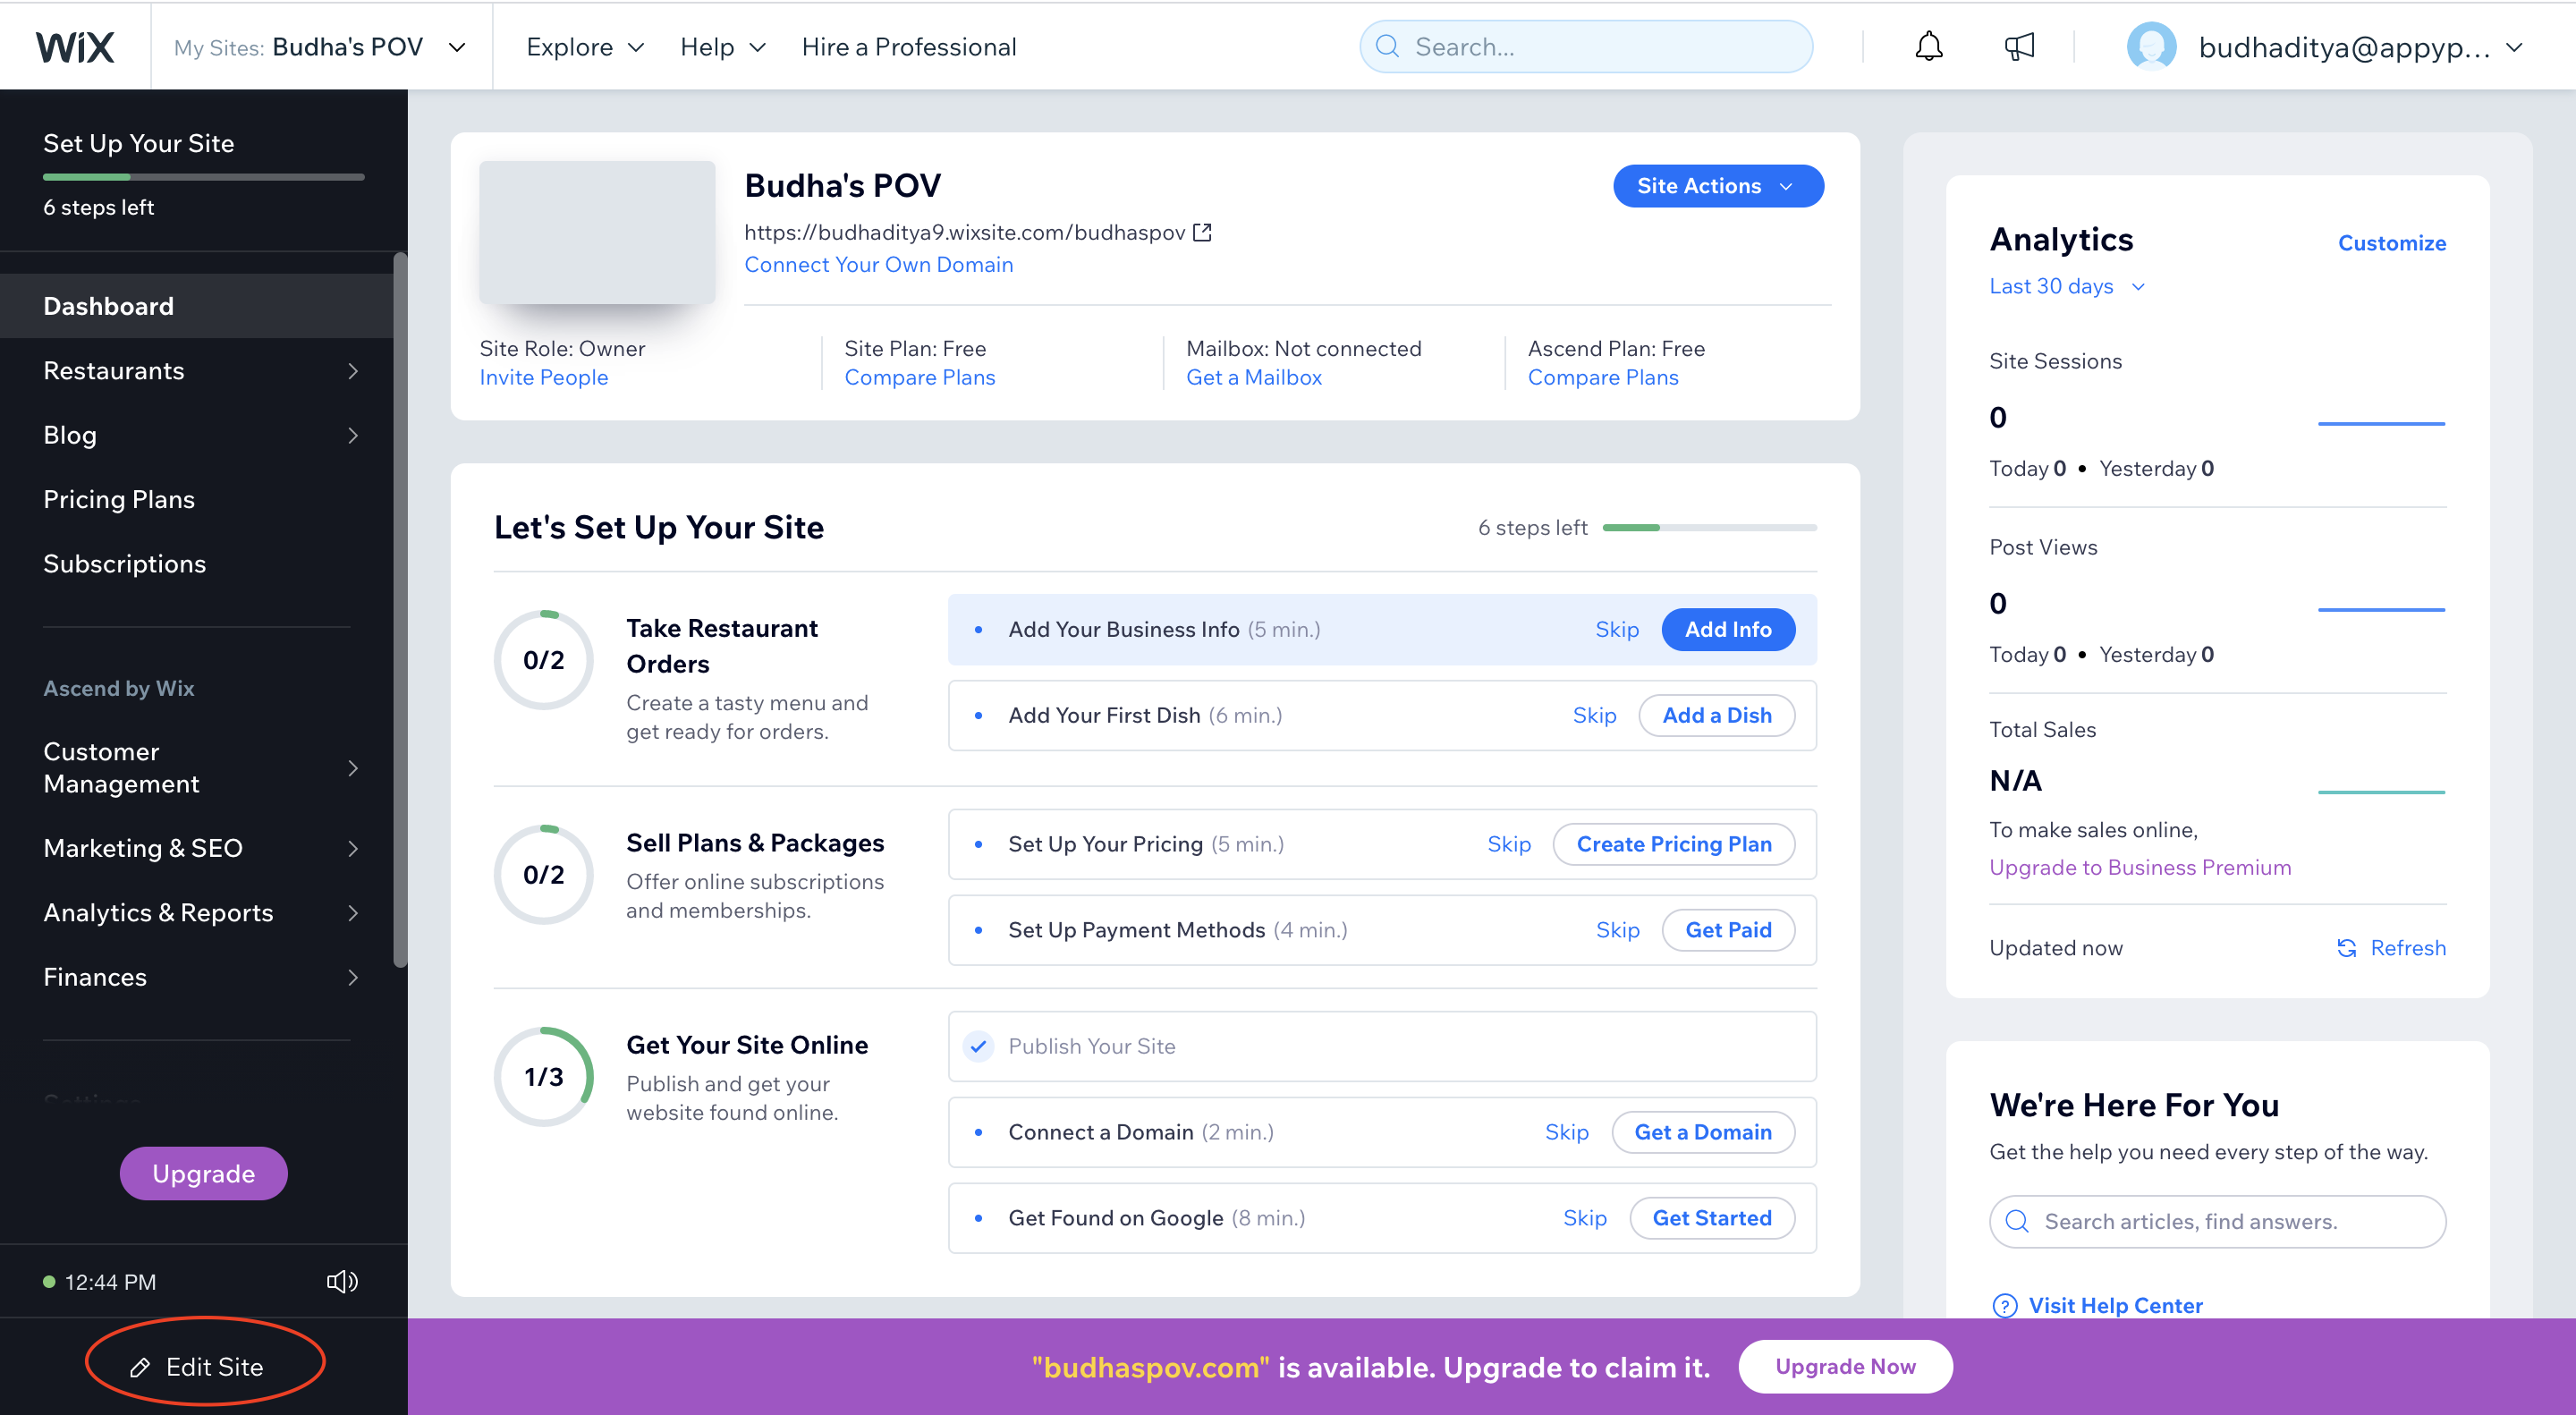
Step 3
Click on “Go to editor” option from the right side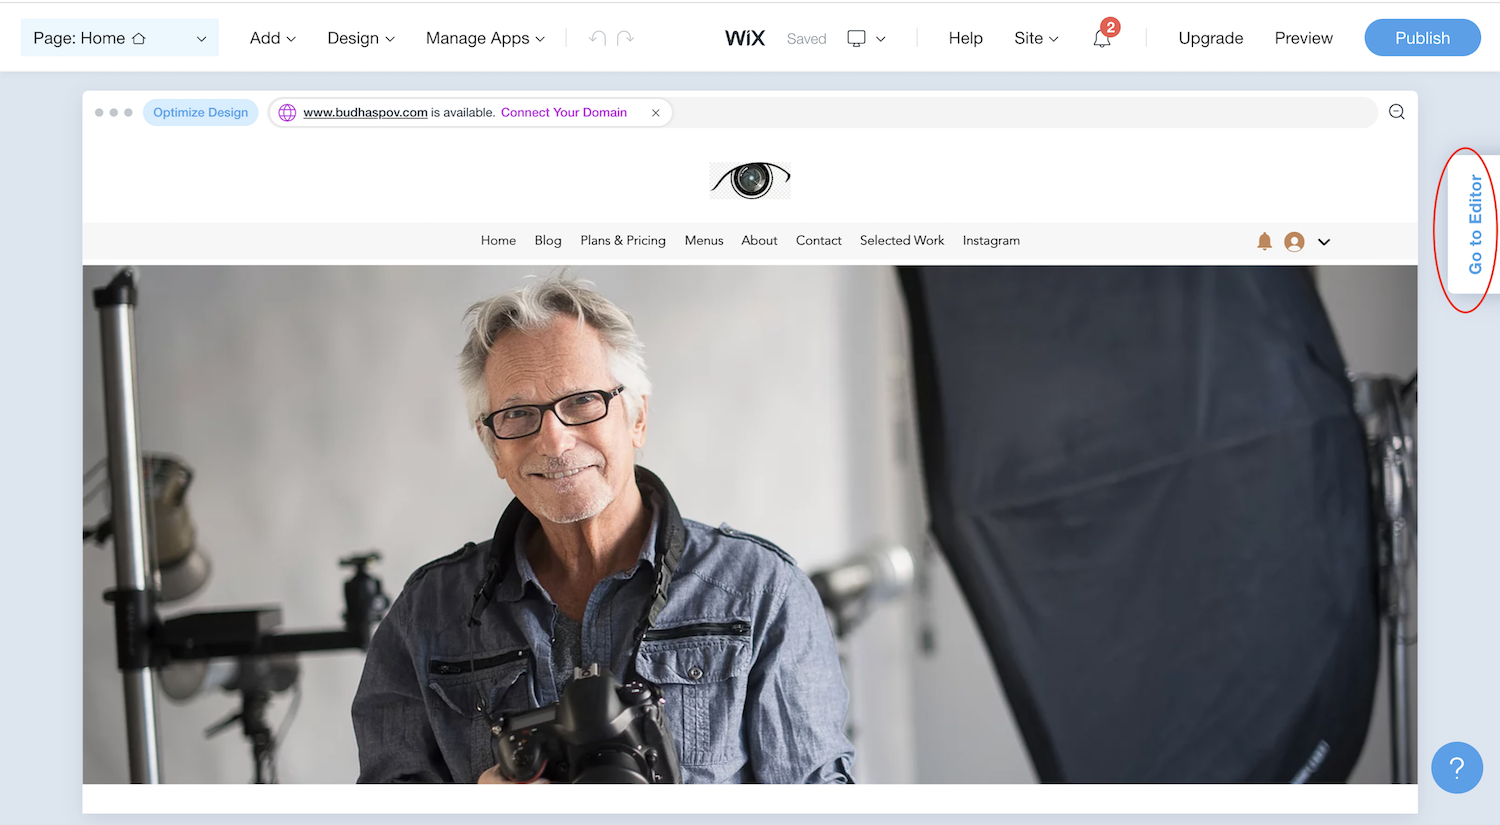
Step 4
A pop will open in which you need to select option “Switch to editor”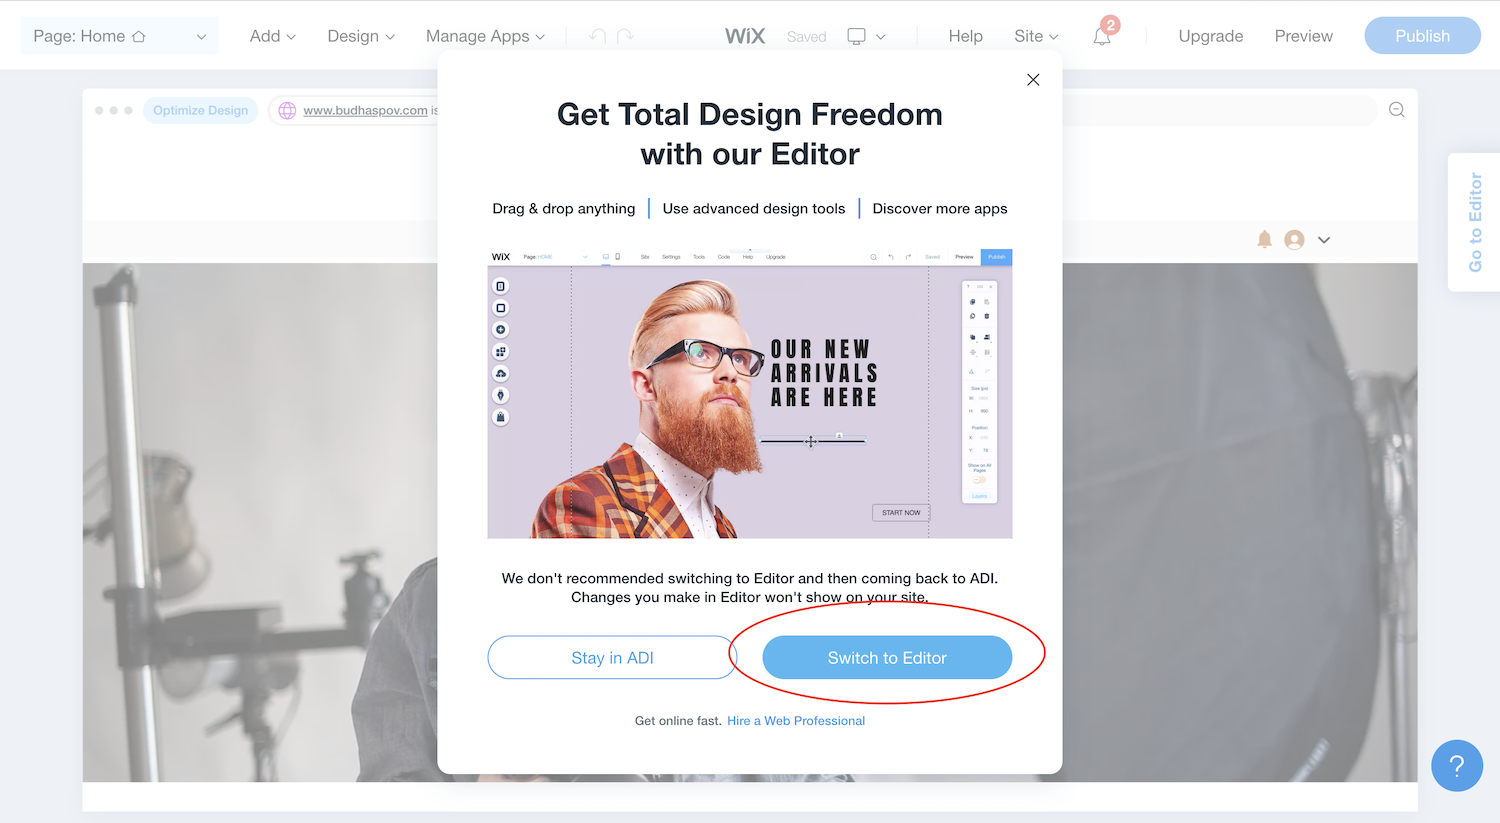
Step 5
Once the editor view appears then you need to click on plus icon.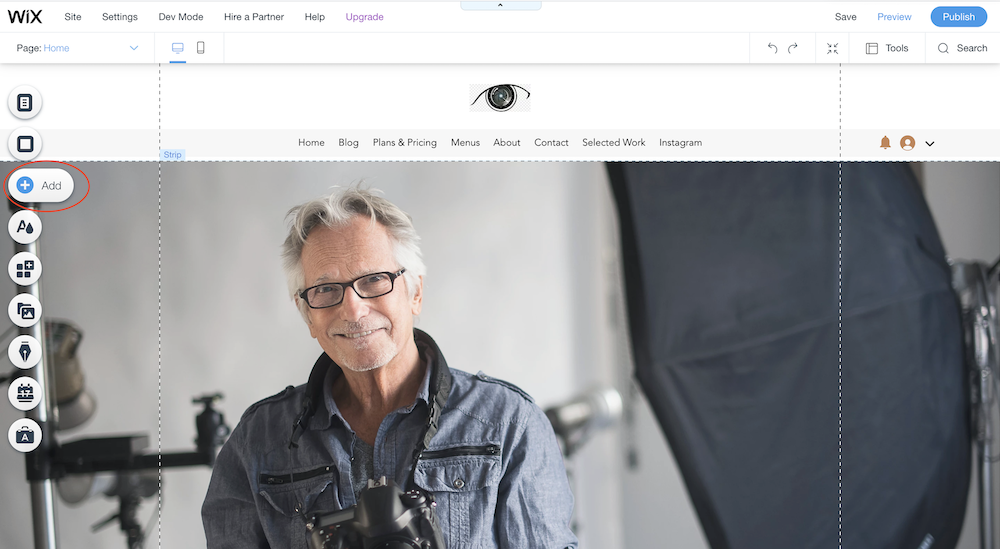
Step 6
On clicking the plus icon a menu will appear in which you need to select the “Embed” option and then click on “Embed a widget” option.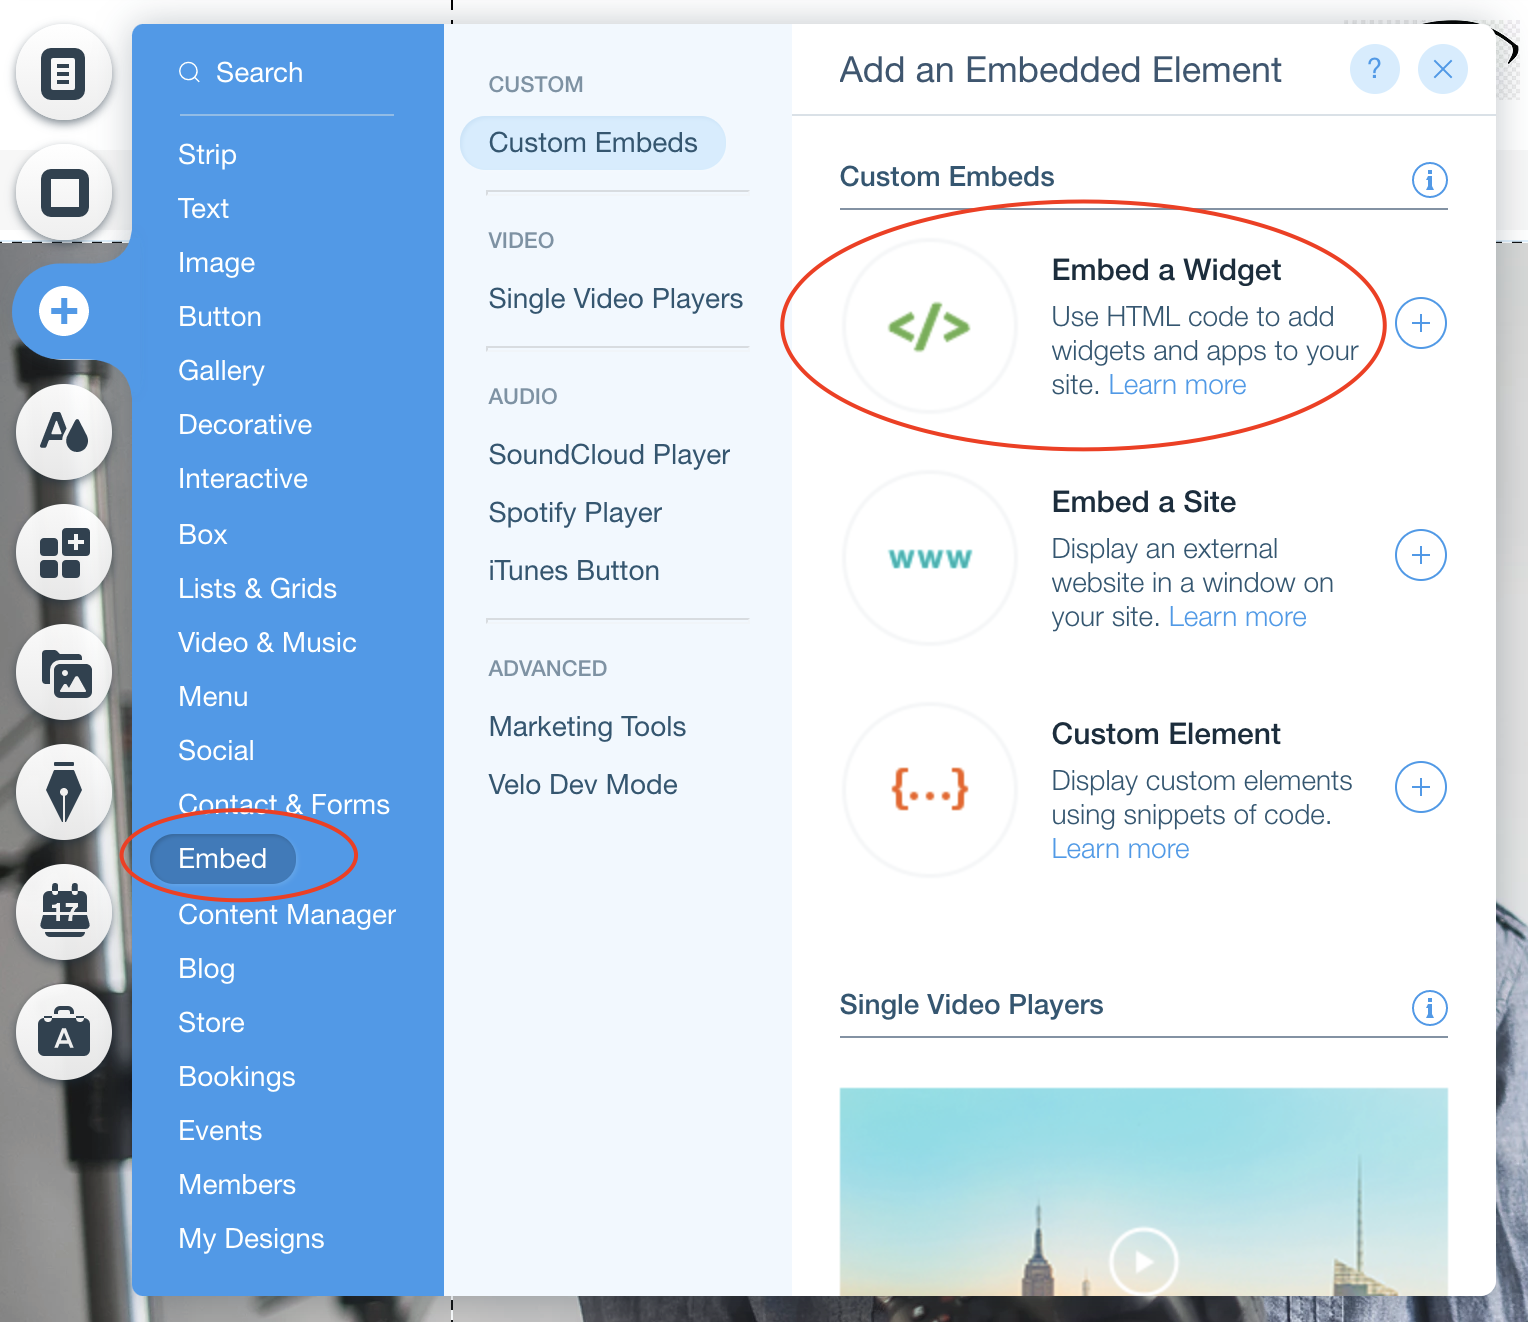
Step 7
On clicking the above mentioned option you will see a box appearing as shown below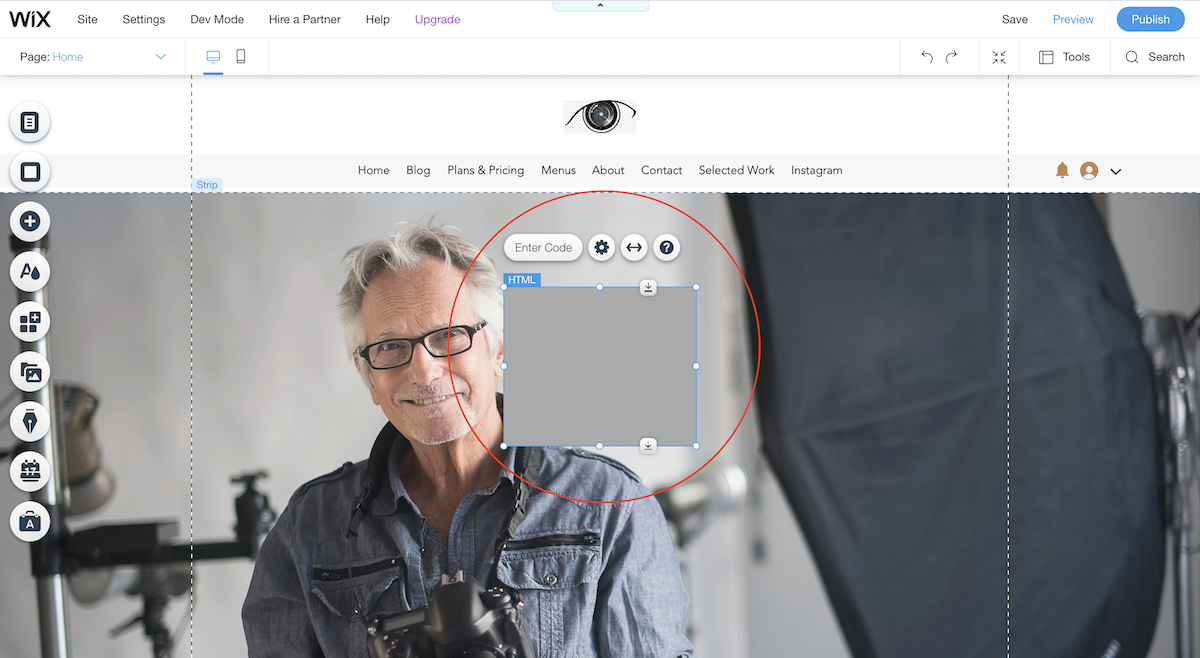
Step 8
Above the box there is an “Enter code” option which you need to click to see the area where you need to paste the widget code.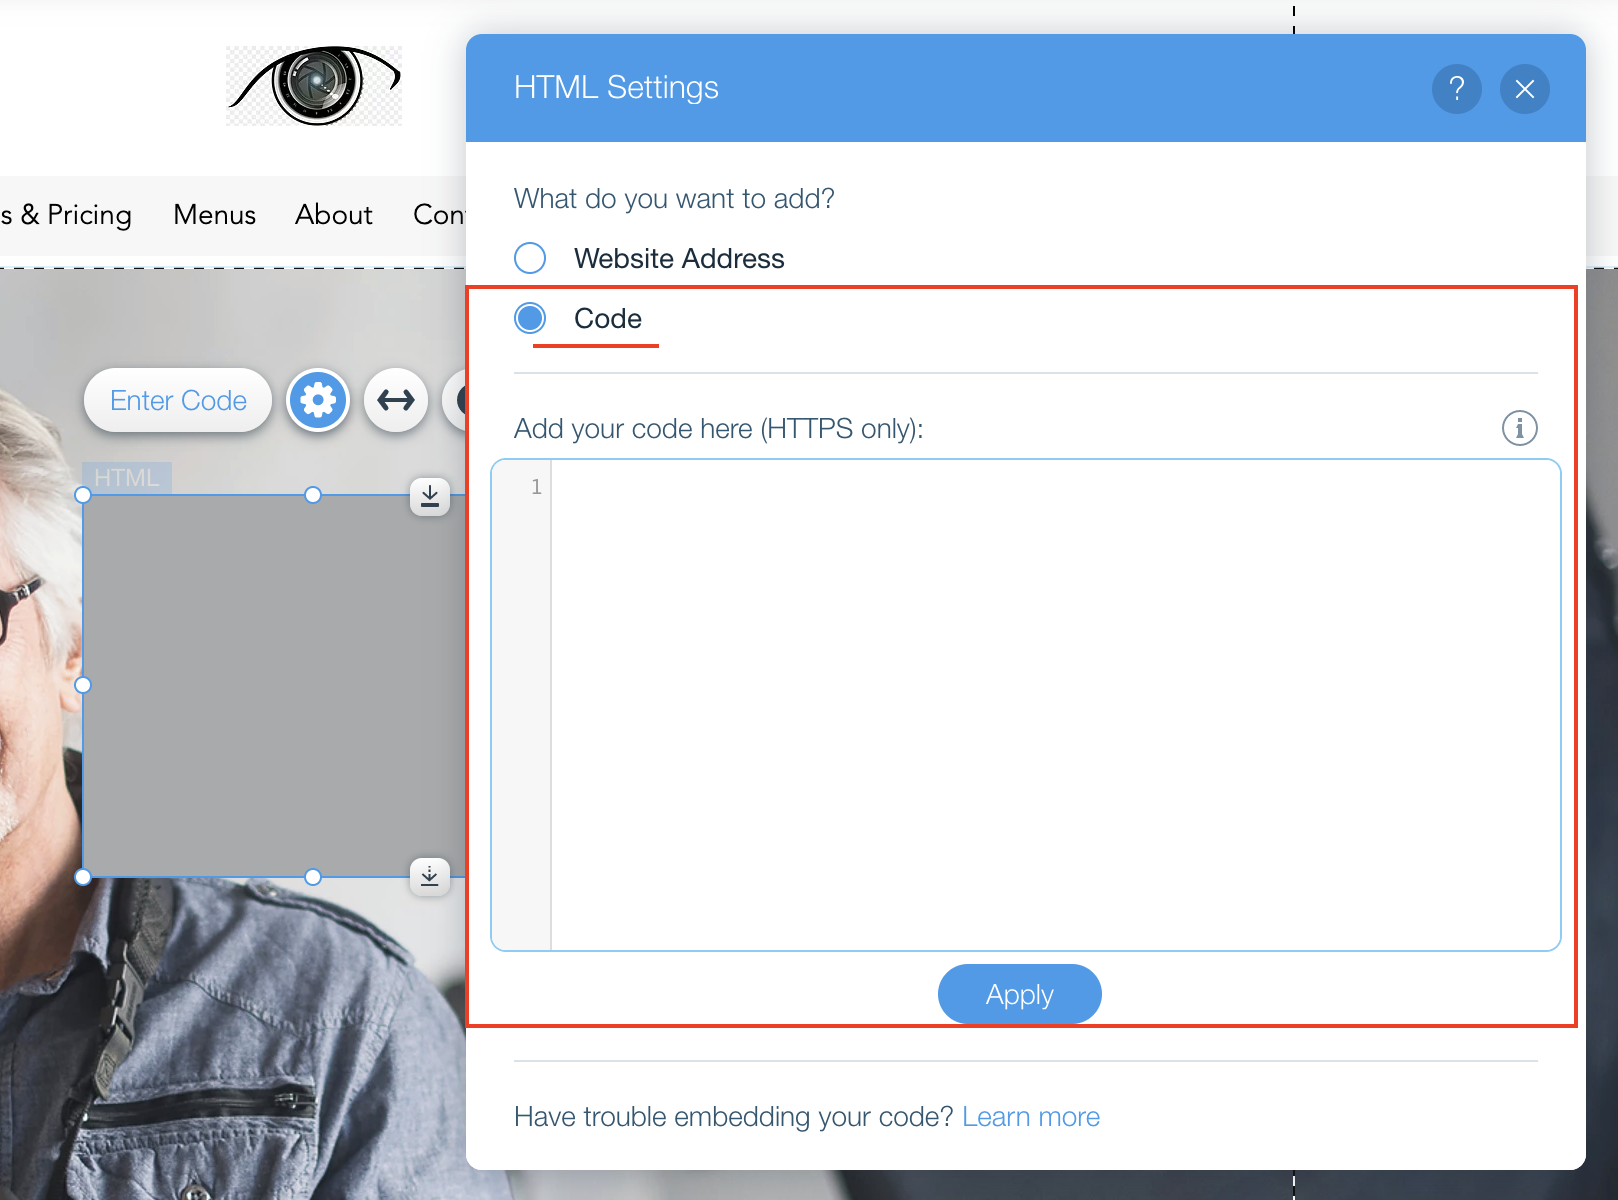
Step 9
Now login to your livechat account and copy the widget code from the “Setup” section and paste it on your wix website.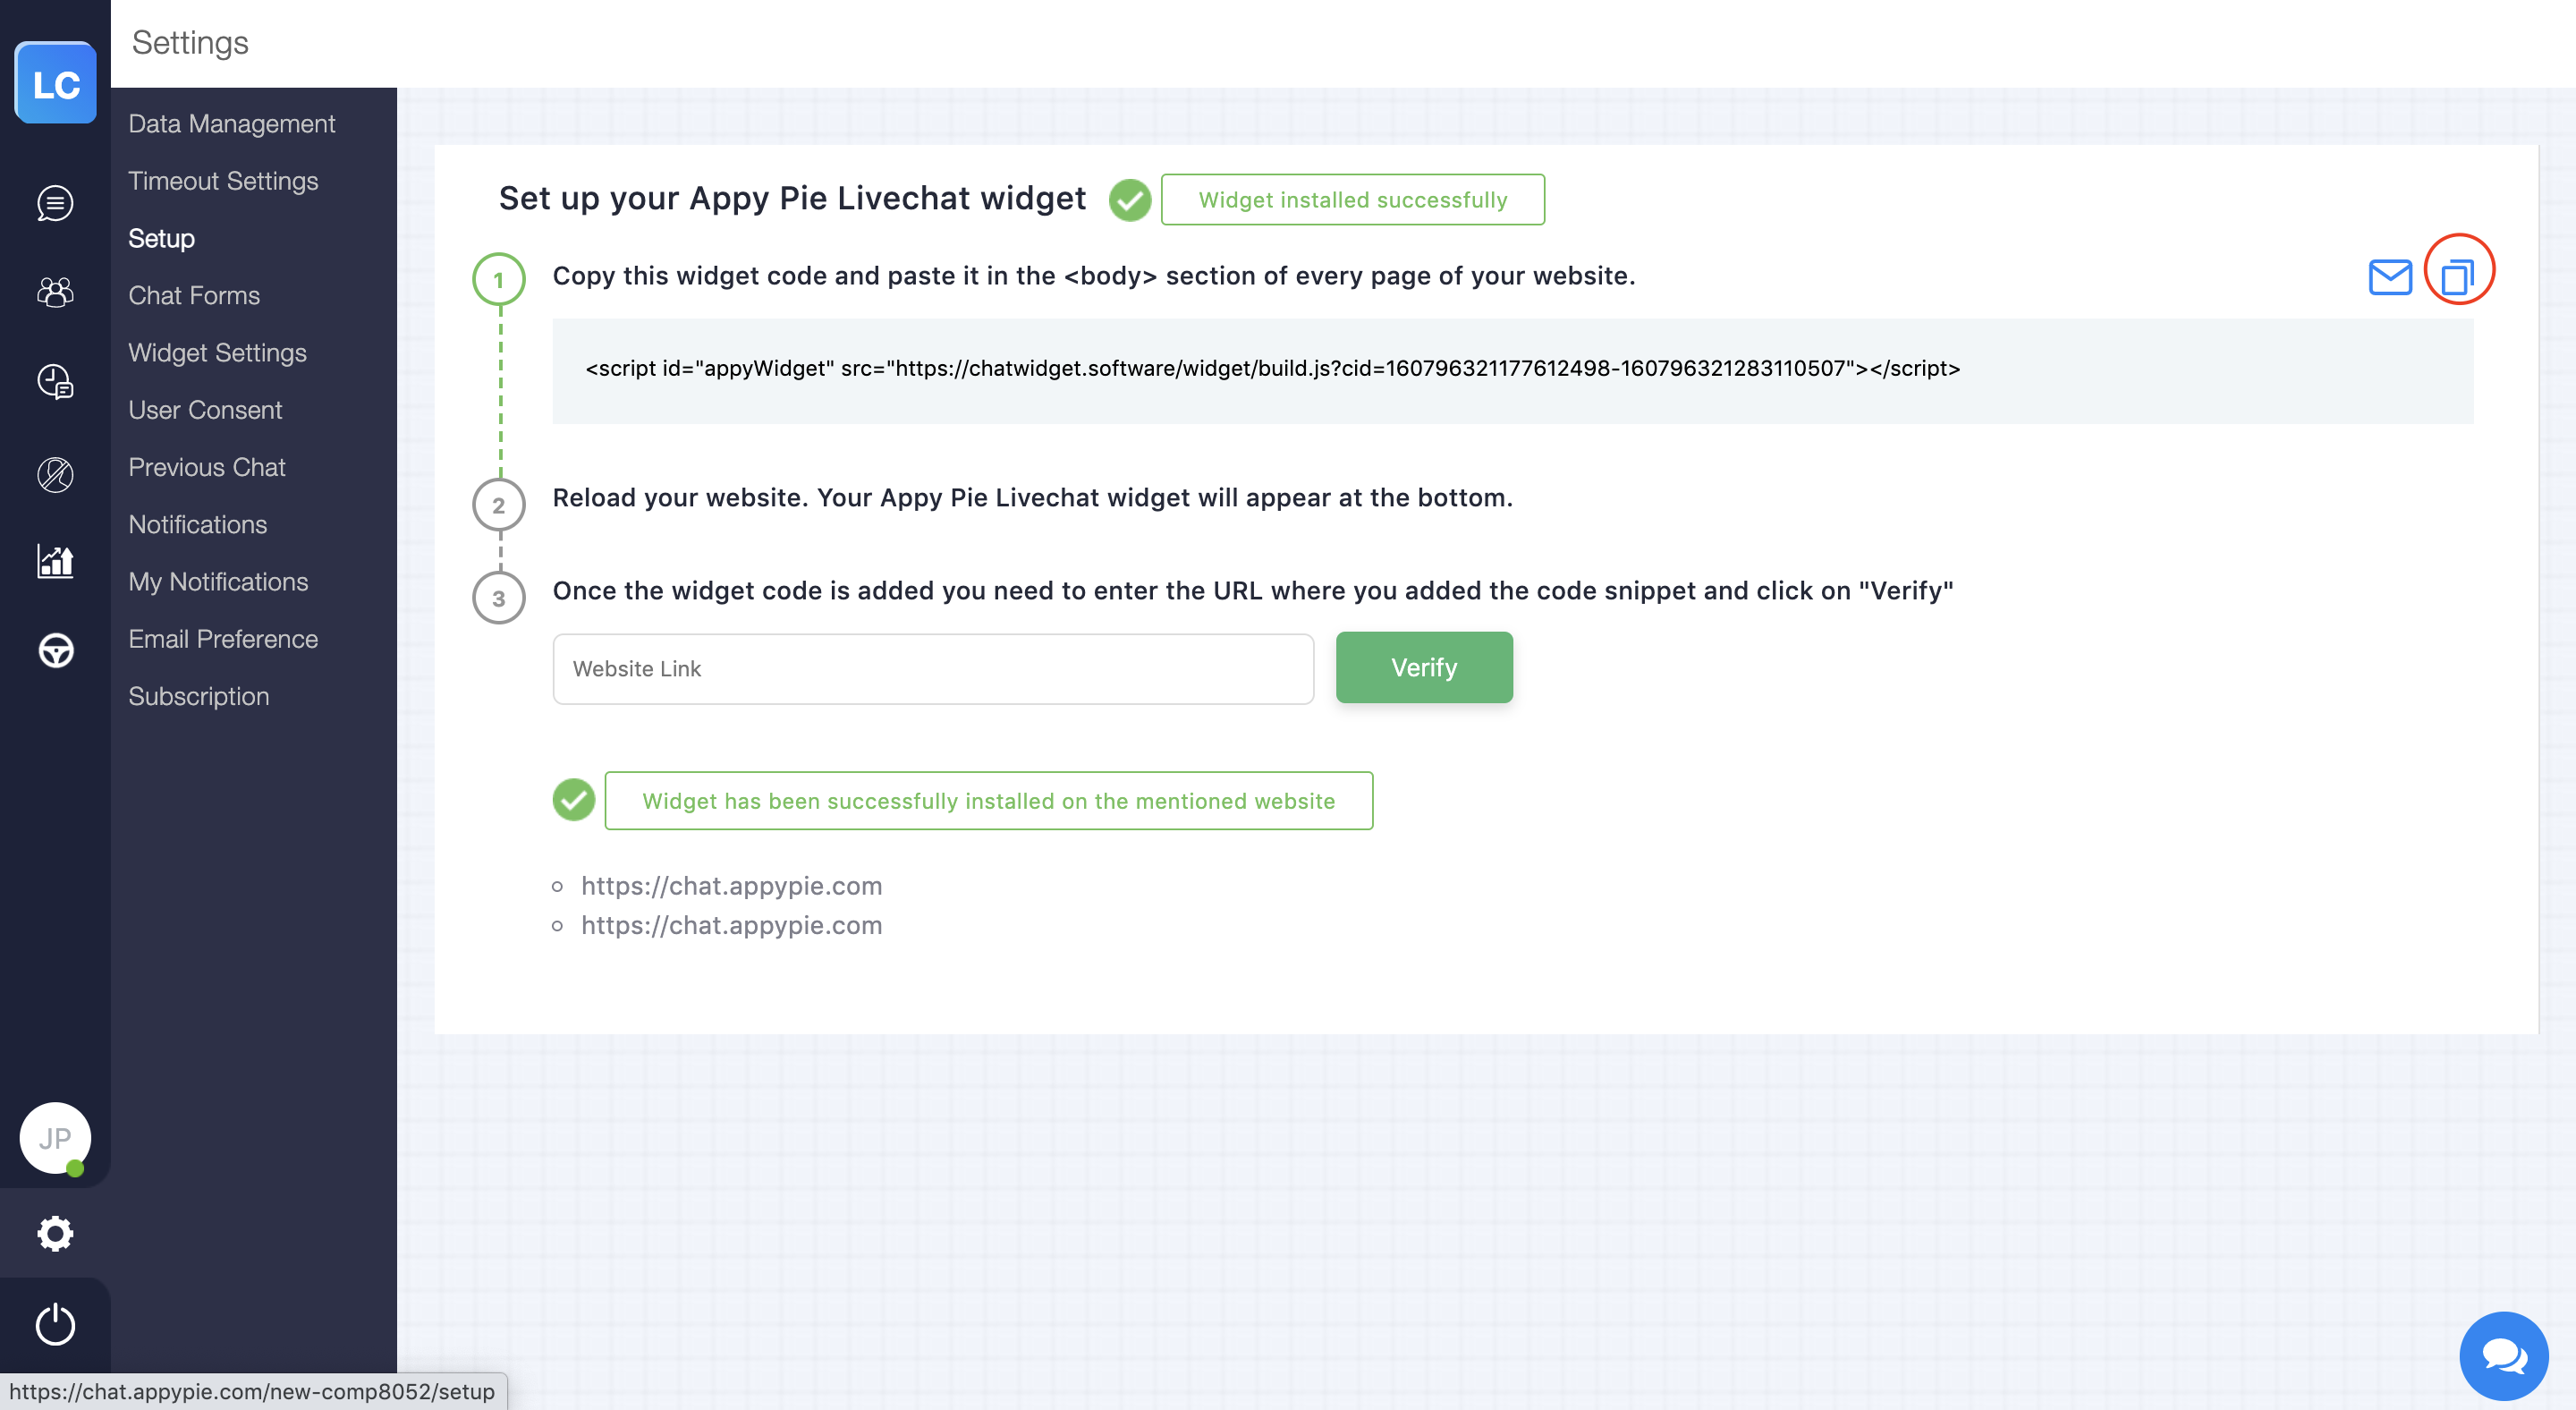
Step 10
Now paste the widget code in the pop up shown in step 8 and click on the update button.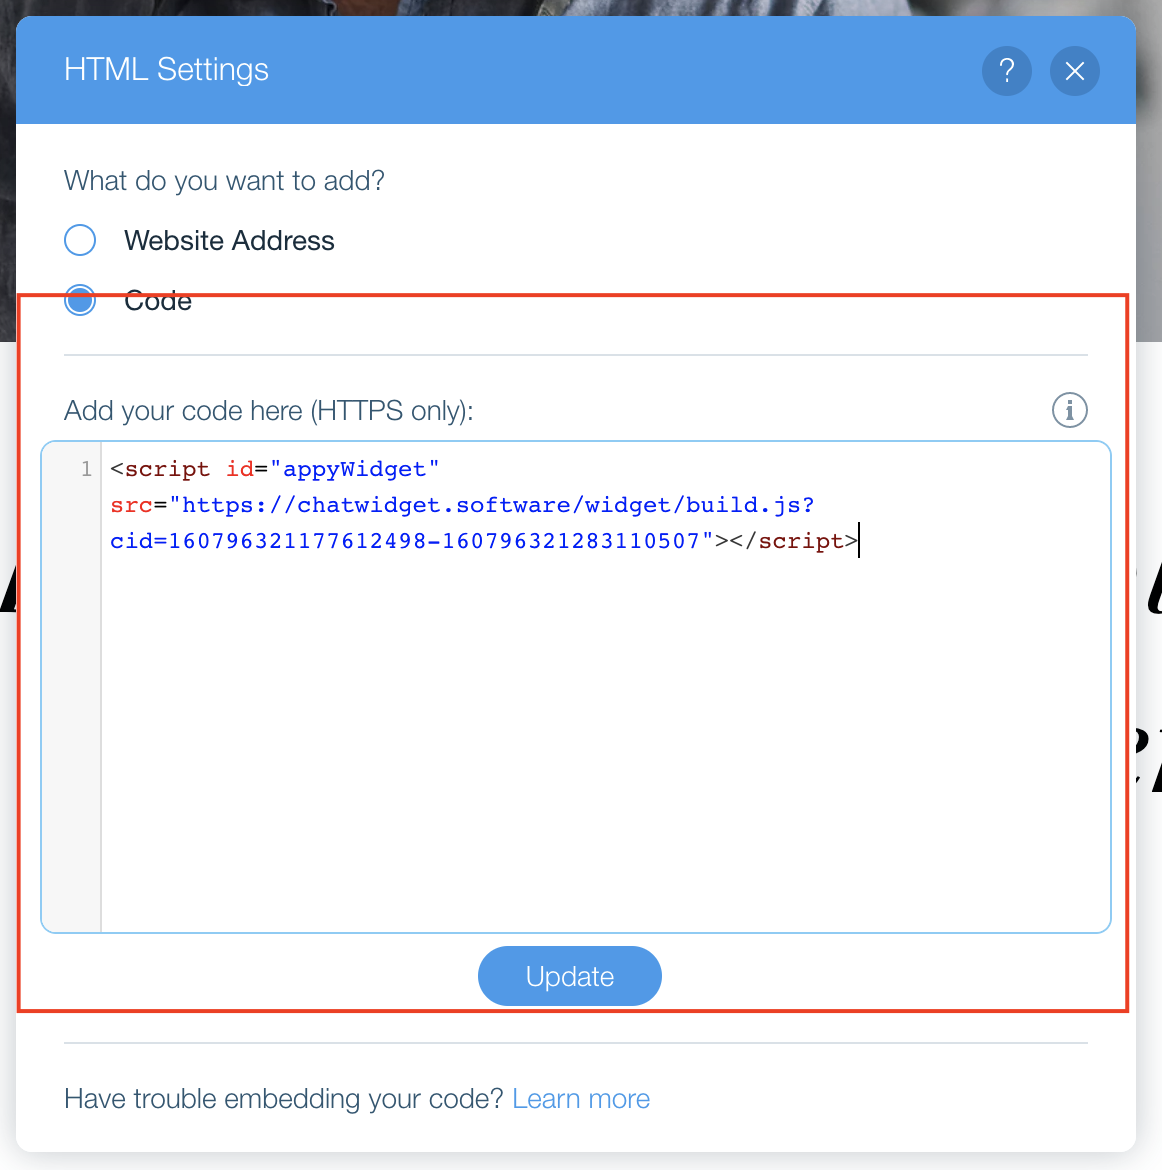
Step 11
Now right click on the box and select option “Show on all pages” to ensure that the widget appears on all pages.
Step 12
Now you need to click the option “Pin to Screen” to set the widget’s position
Step 13
On clicking the option mentioned in Step 12 you will get the option to set the position of the widget.
Note: Drag the box to ensure that the widget opens to its actual size.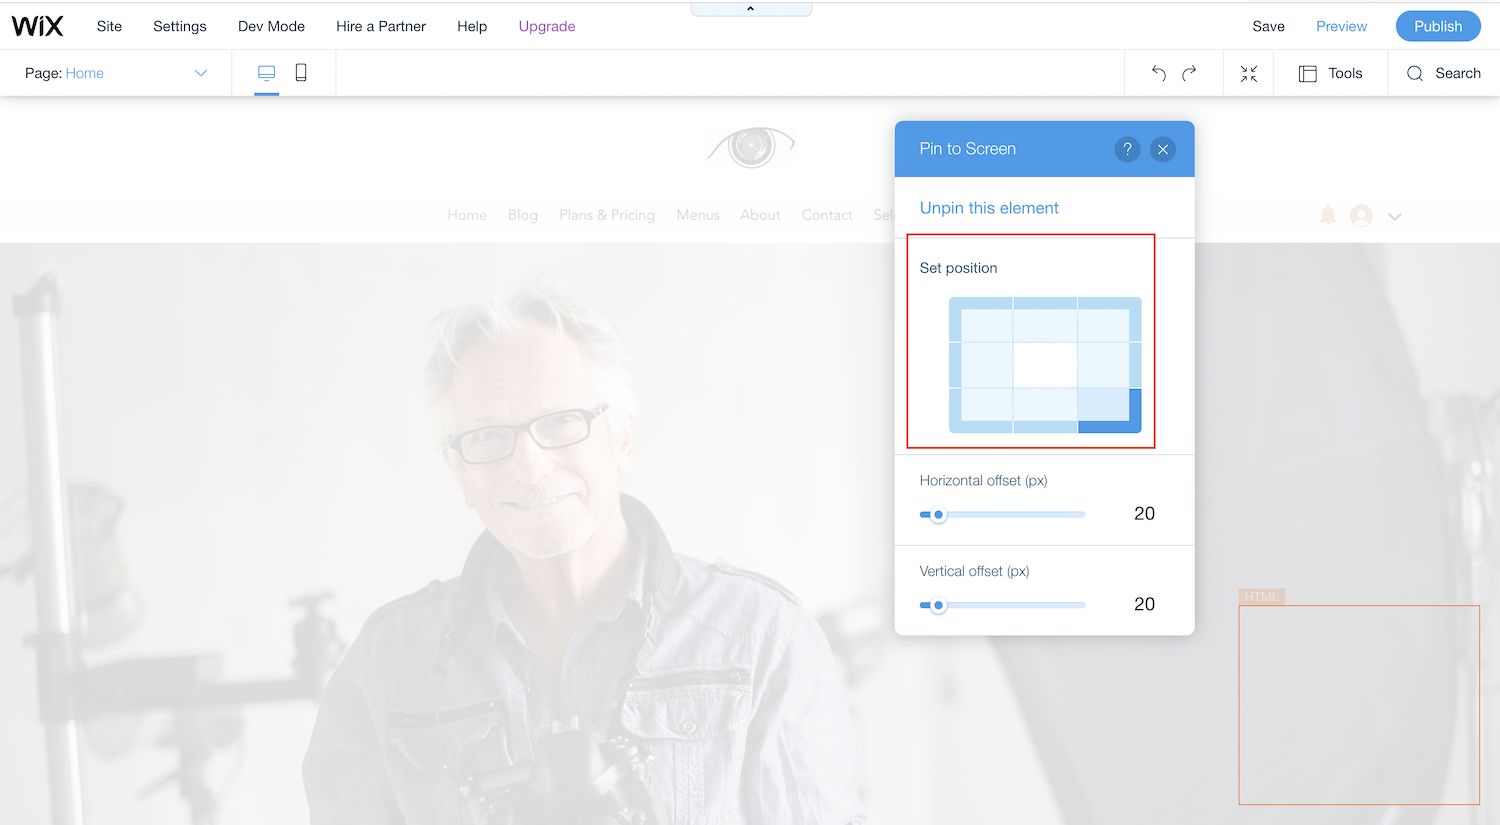
Step 14
Click on publish to go live with your changes.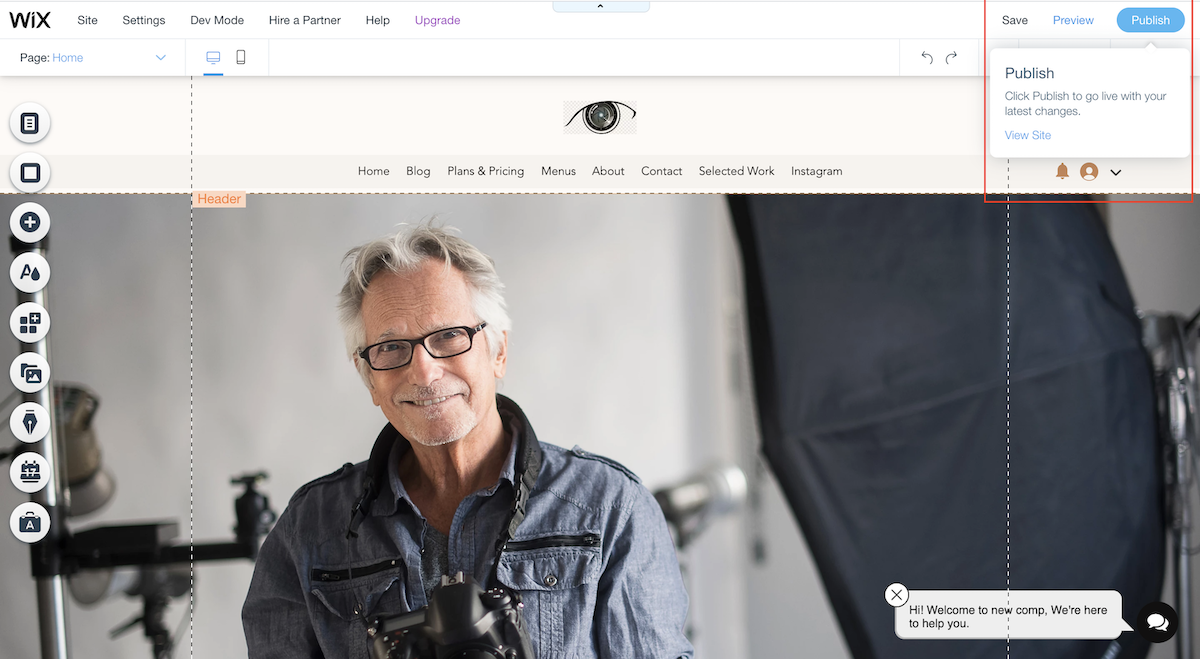
Step 15
Once you publish the website you’ll see the widget on your website.

Follow our video tutorial below to know the deploy Appy Pie livechat's widget in wix :