How to deploy Appypie’s Chatbot widget in a website created in godaddy?
Following are the steps to deploy Appypie’s Chatbot widget in a website created in godaddy:
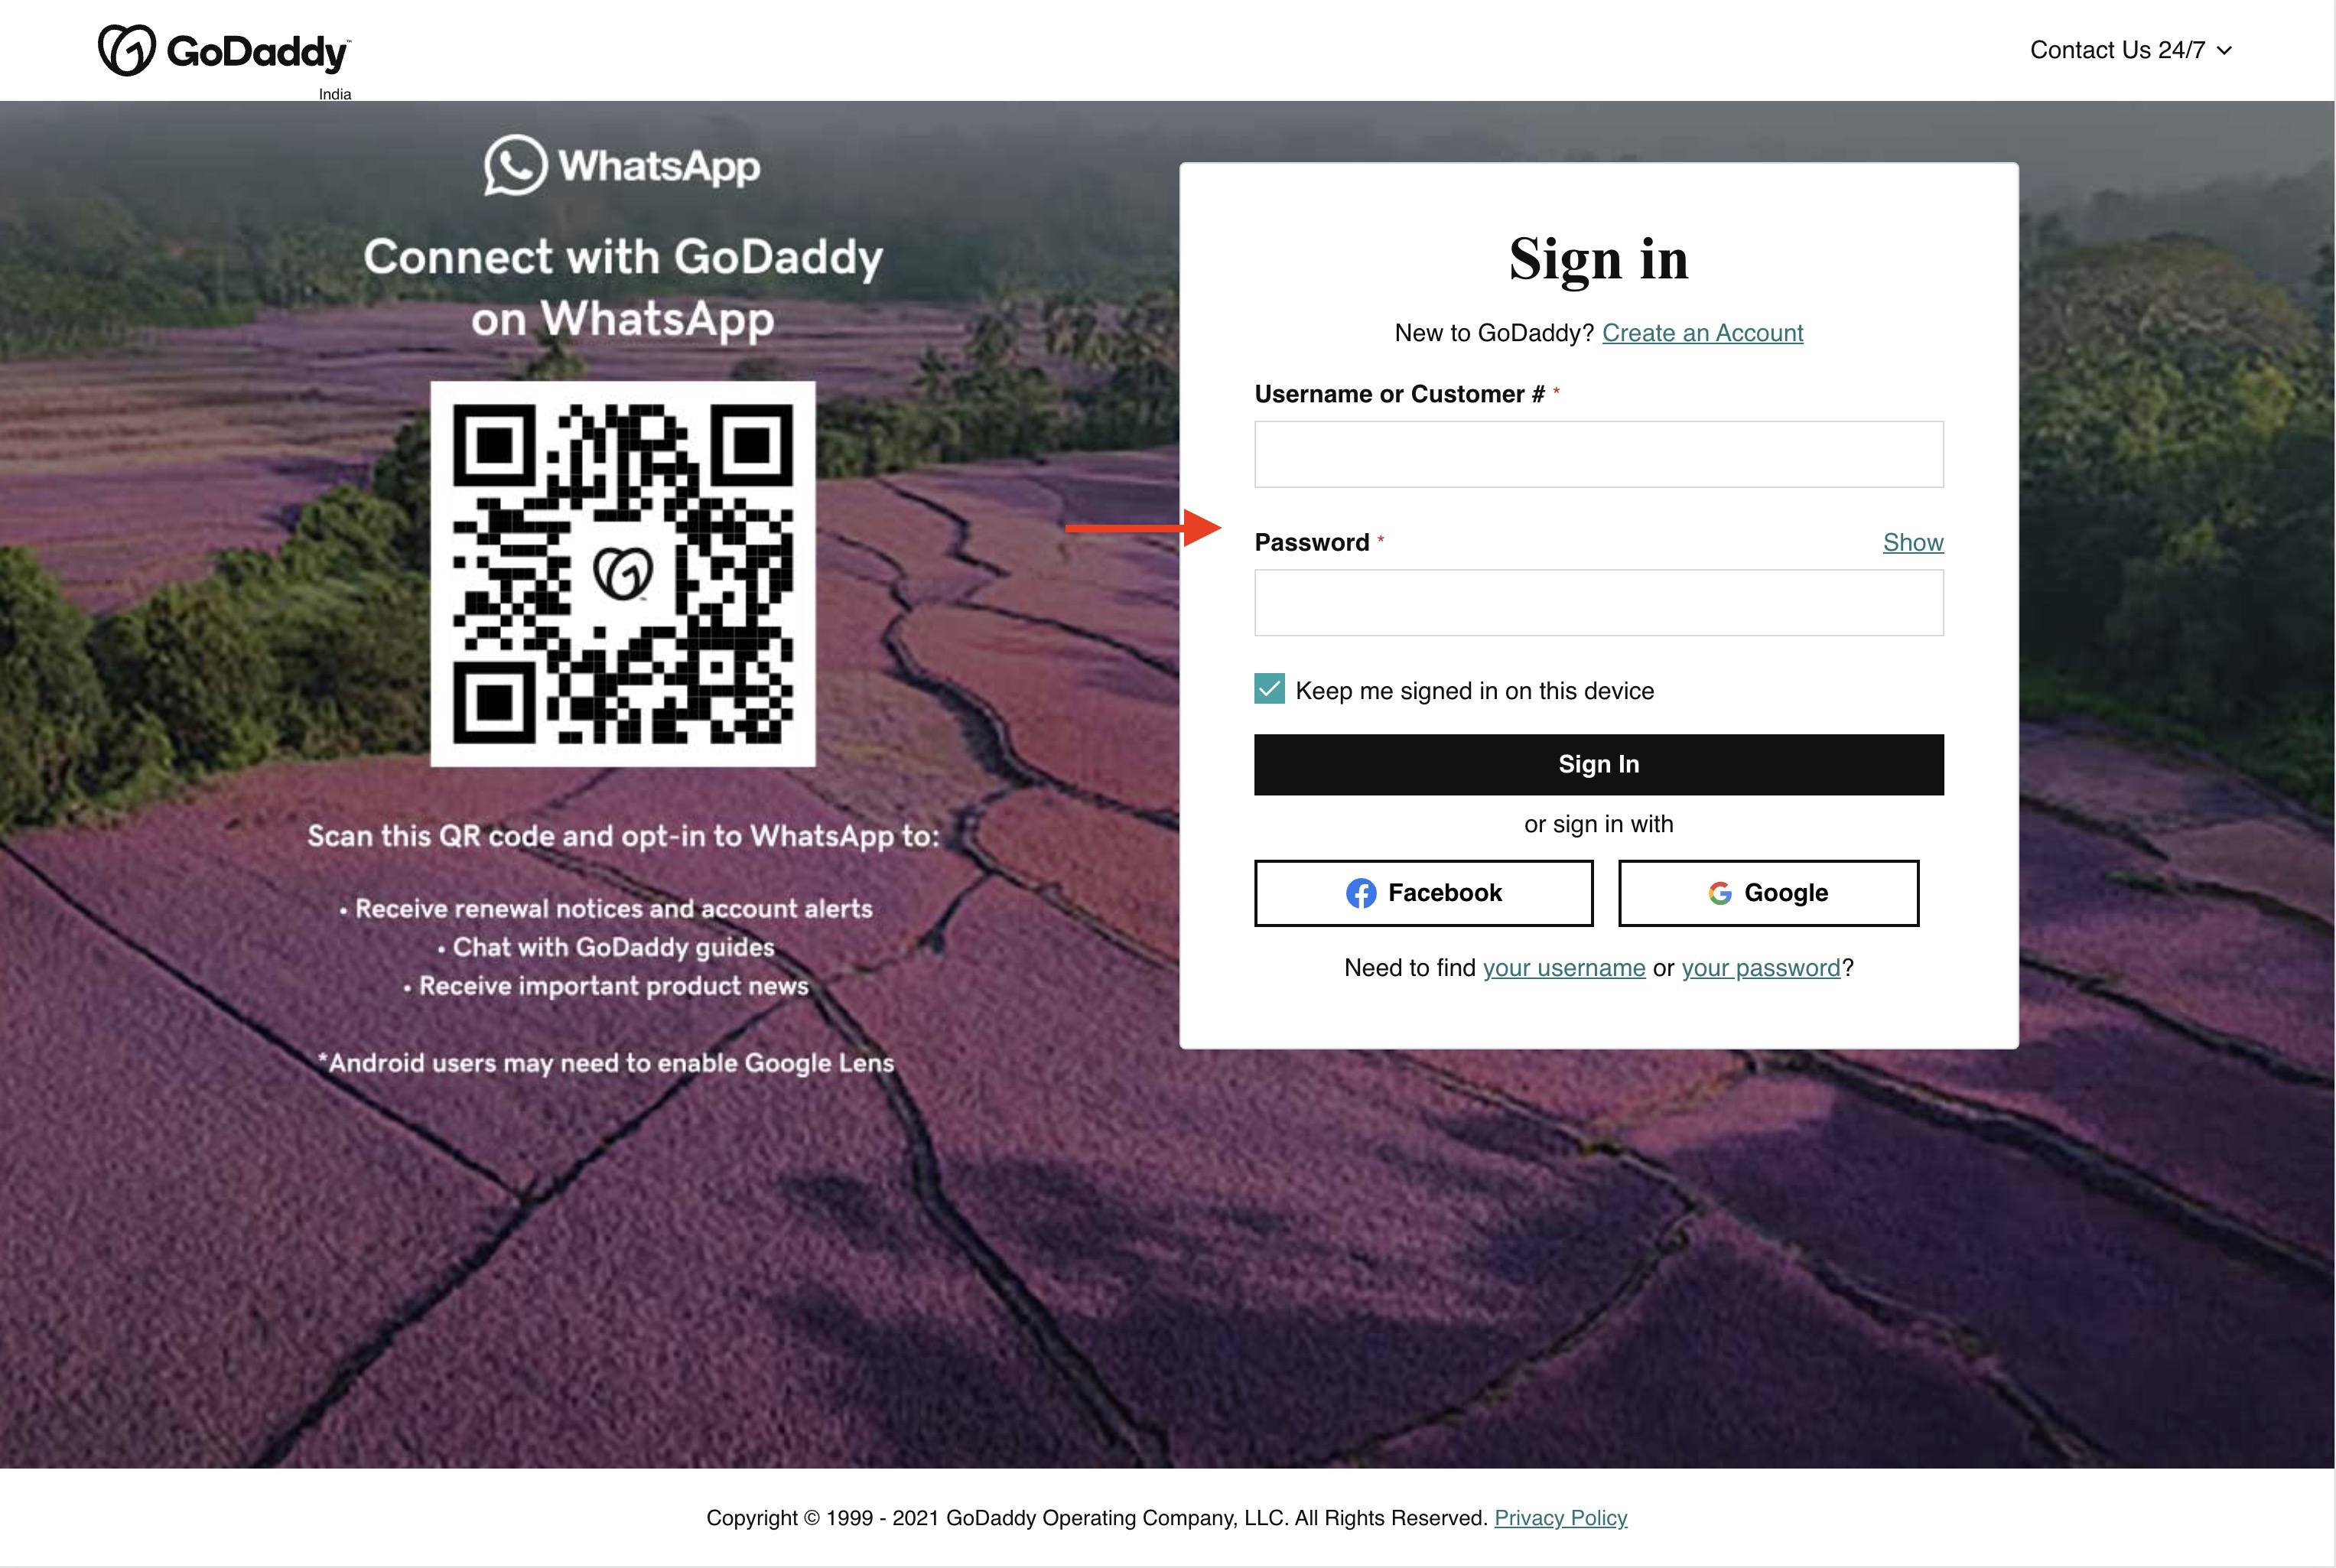
Step 1 : Log in to your Godaddy account.
Step 2 : Then click the My Products under the account user dropdown option at the top.

Step 3 : Click on website name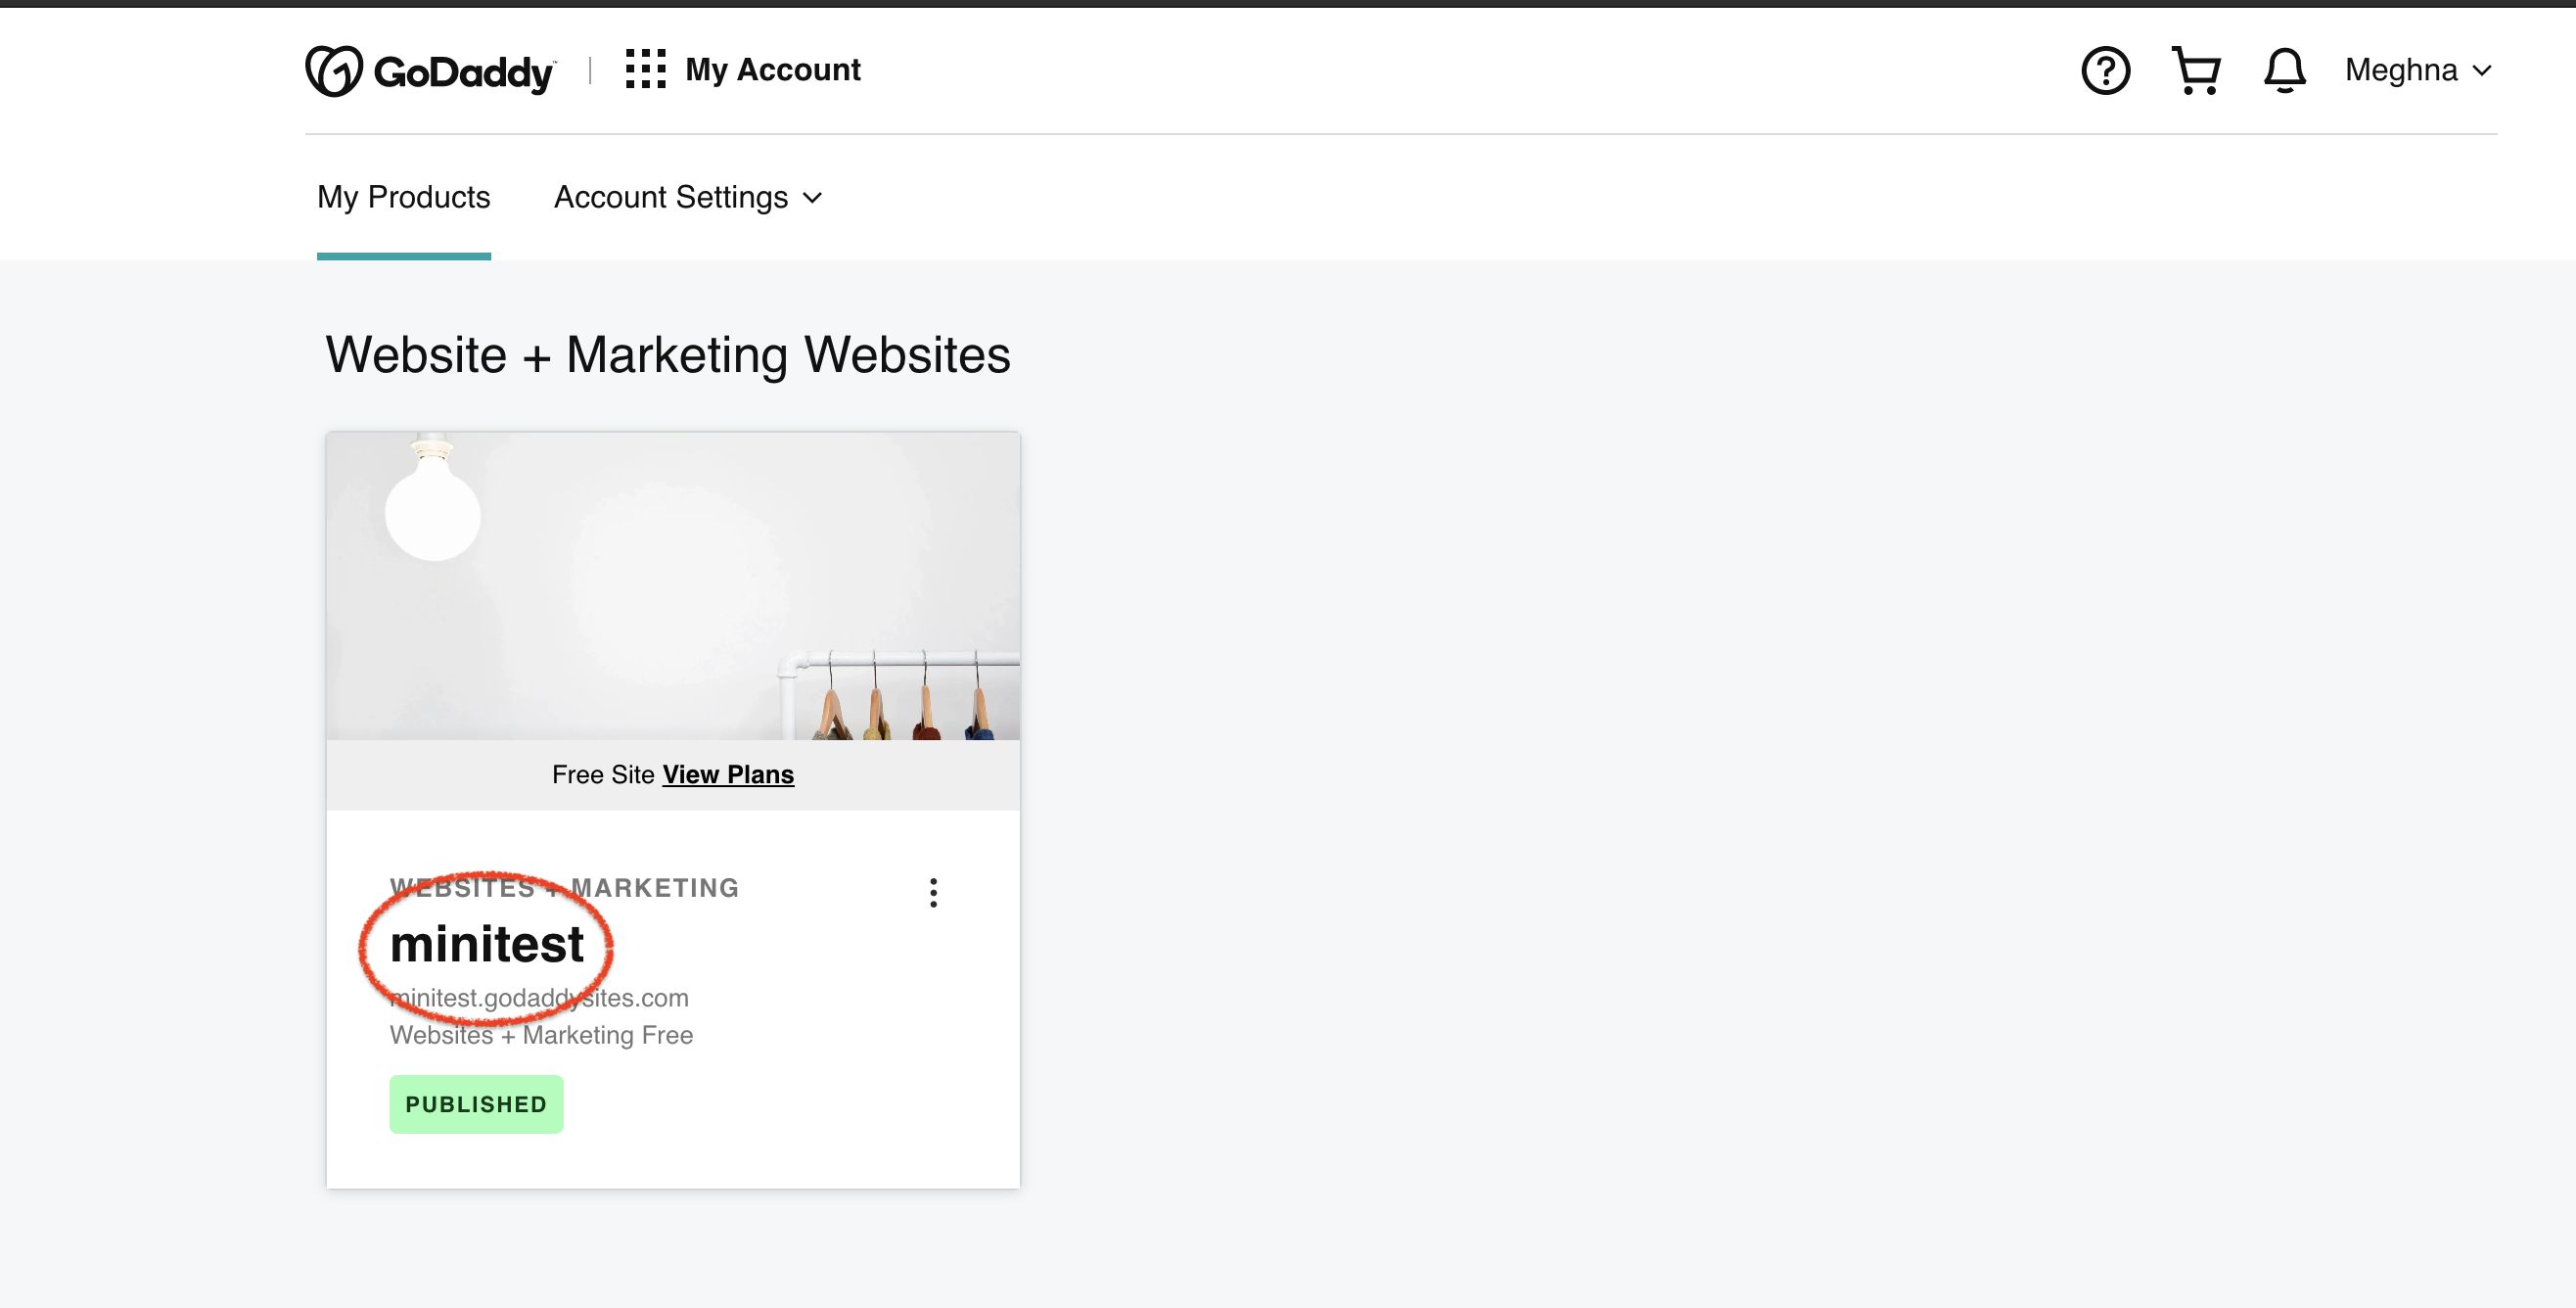
Step 4 : Then click the Edit website under your website name.
Step 5 : Log in to Chatbot account , click on setup and copy the widget code from the field
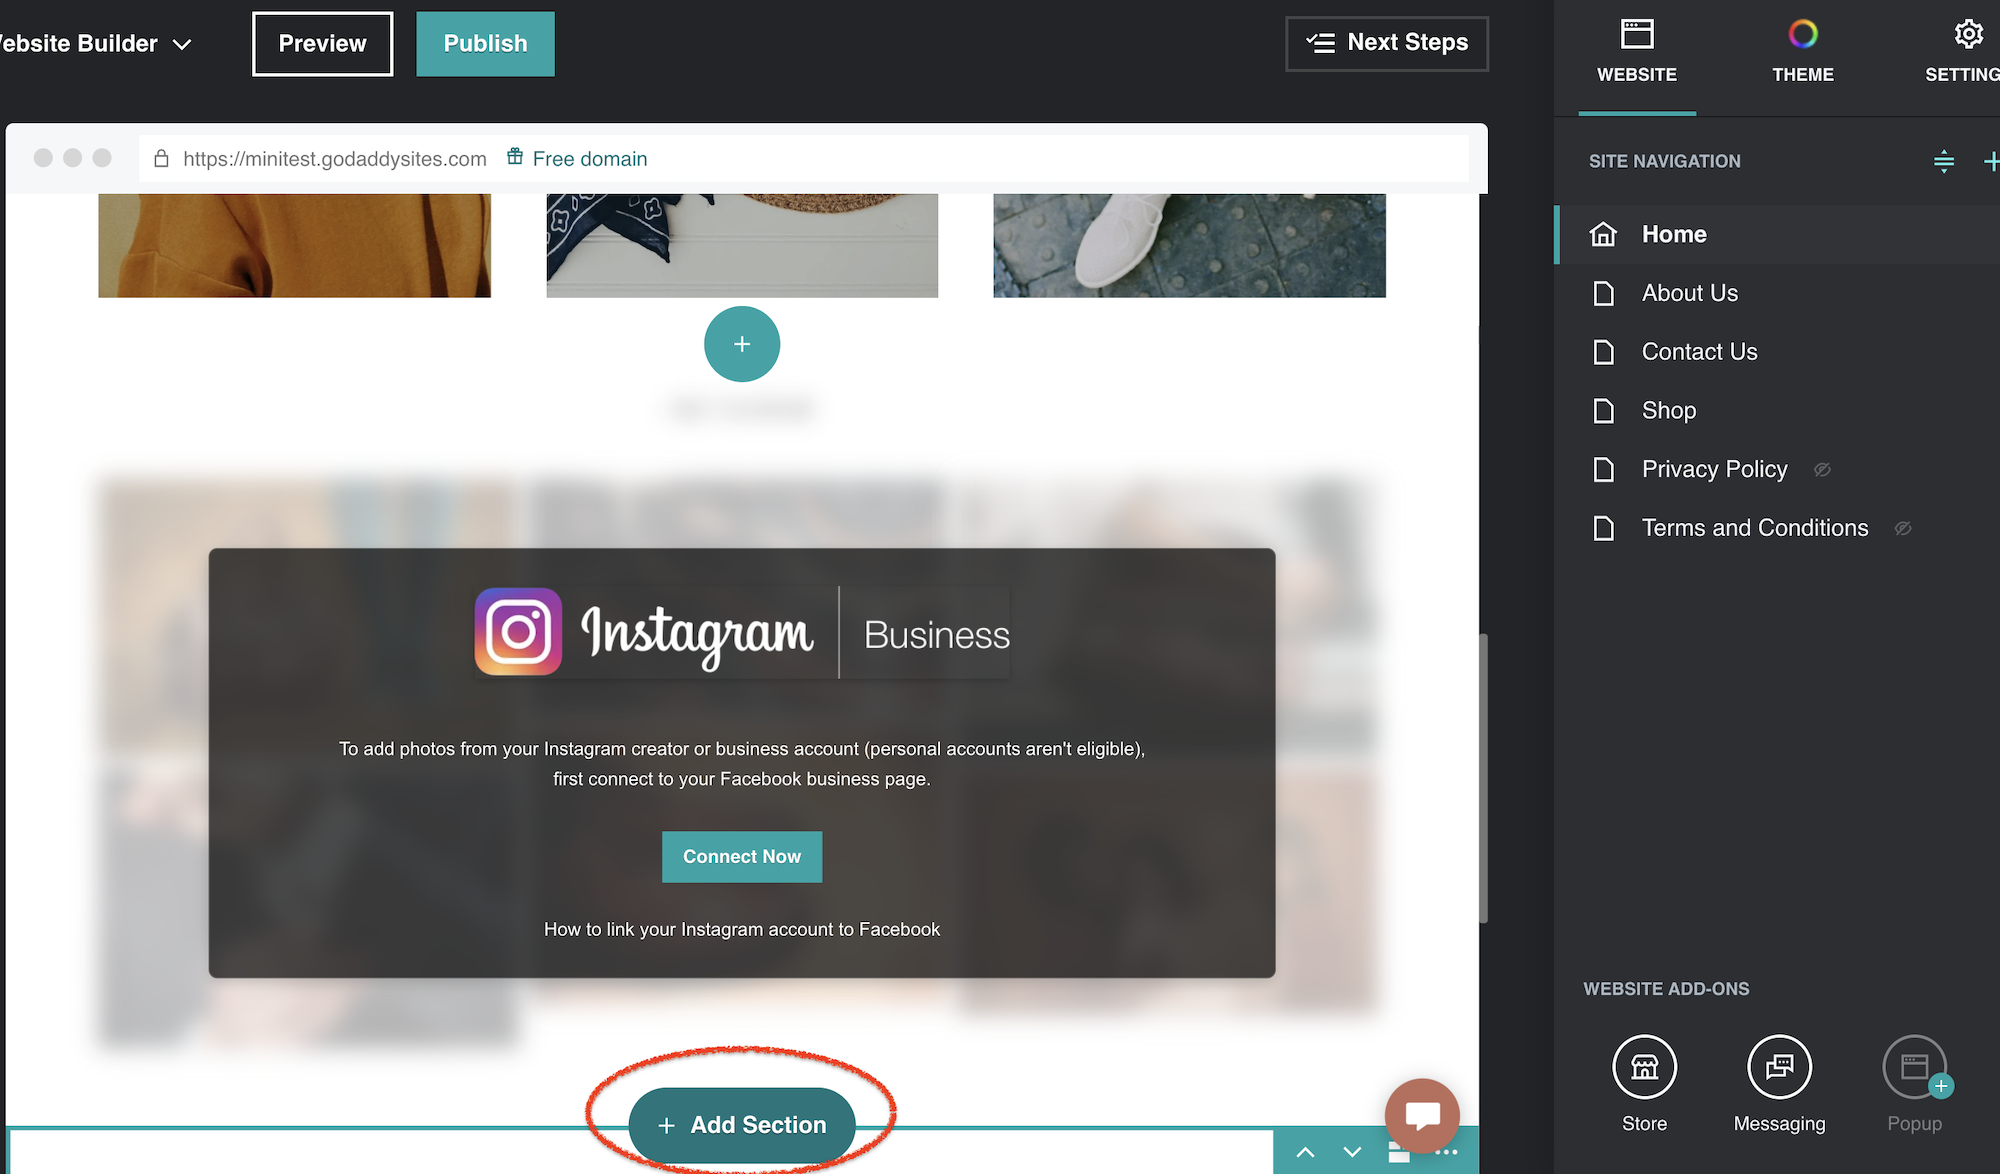
Step 6 : Click on the Add section button where you want to deploy your chatbot widget on your Godaddy website.
Step 7 : Choose HTML and click Add again

Step 8 : Now paste your Appypie Chatbot widget code on the Custom code field on your Godaddy website. Give a title to your bot using the title field

Step 9 : Adjust the height of your chatbot using the Forced Height field so that the chatbot window opens up properly in the website. Then click on the Done button.

Step 10 : Click on the preview button to test your chatbot widget.

Step 11 : Scroll down to the section where the Chatbot code was added. Click on the Chatbot widget to open your widget.
Step 12 : You can now view your Appy pie Chatbot on your Godaddy website. Follow our video tutorial below to know the deploy Appypie’s Chatbot widget in a website created in godaddy: