How to create a Google Merchant Account?
Follow the below steps to create a Google Merchant Account:
Step 1 : Go to Google Merchant Center and click on Get Started.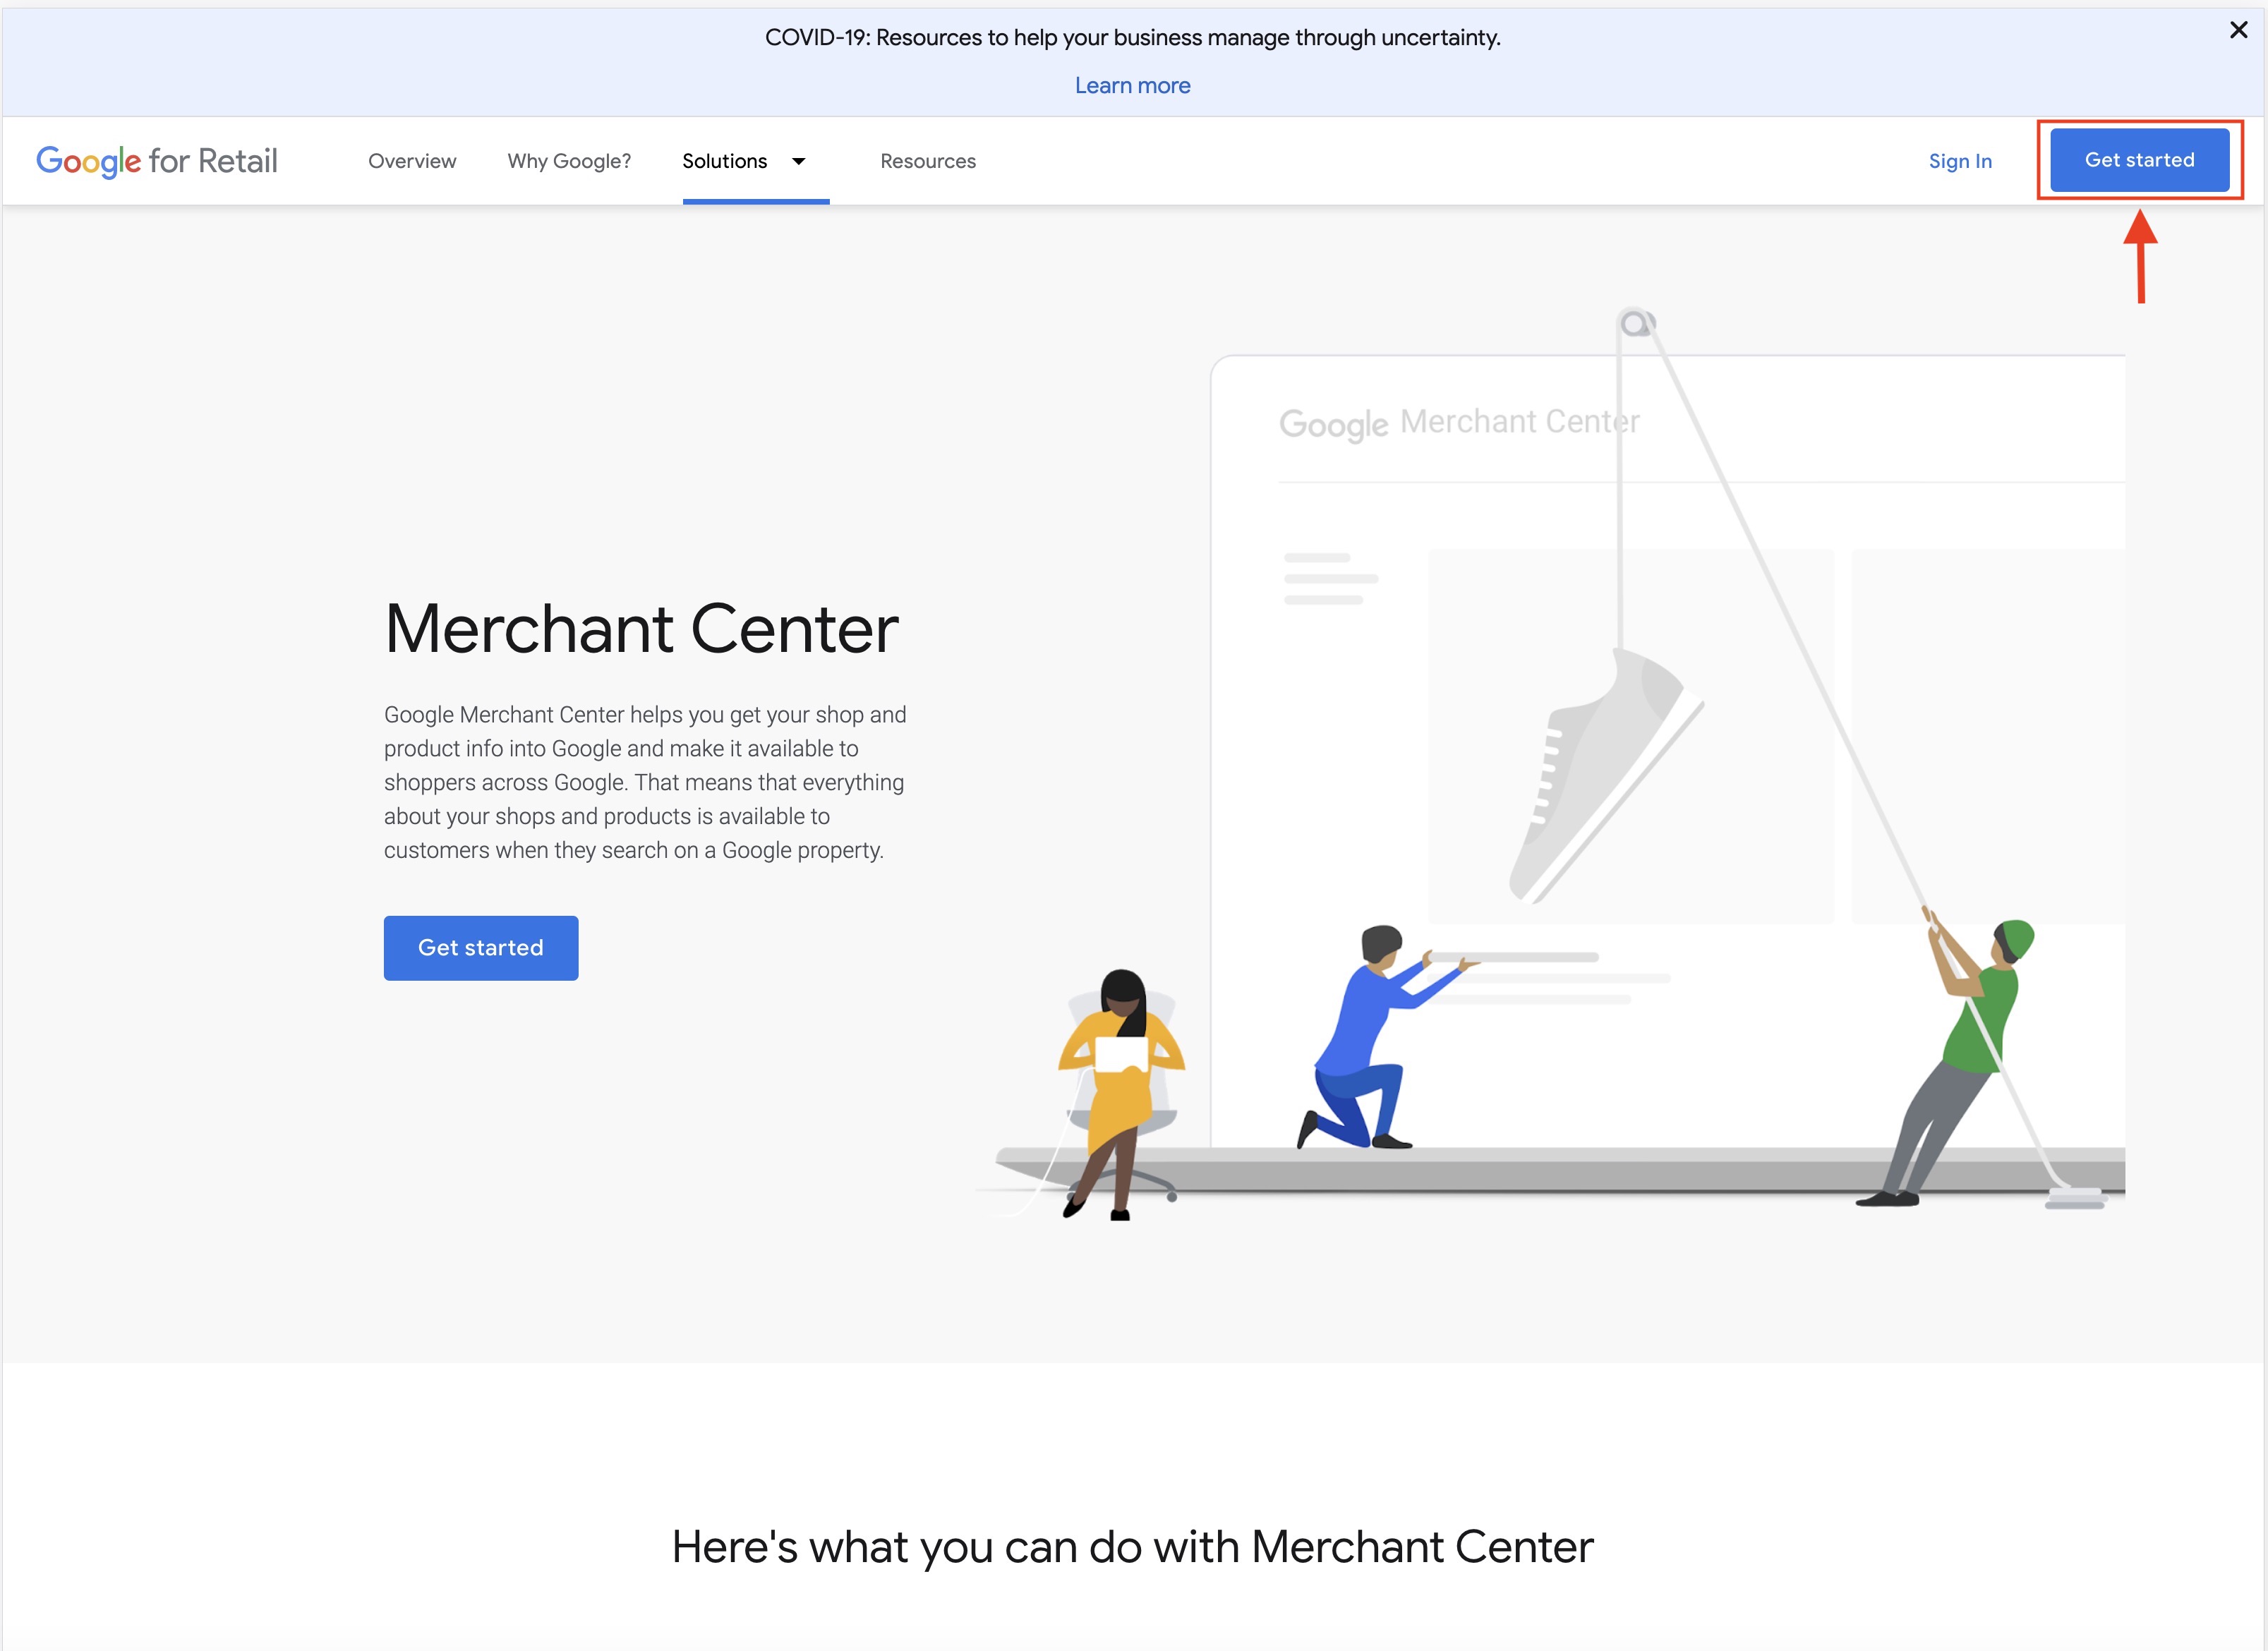 Step 2 : Under Merchant Center, click on Get Started to initiate setting up your Merchant Center Account.
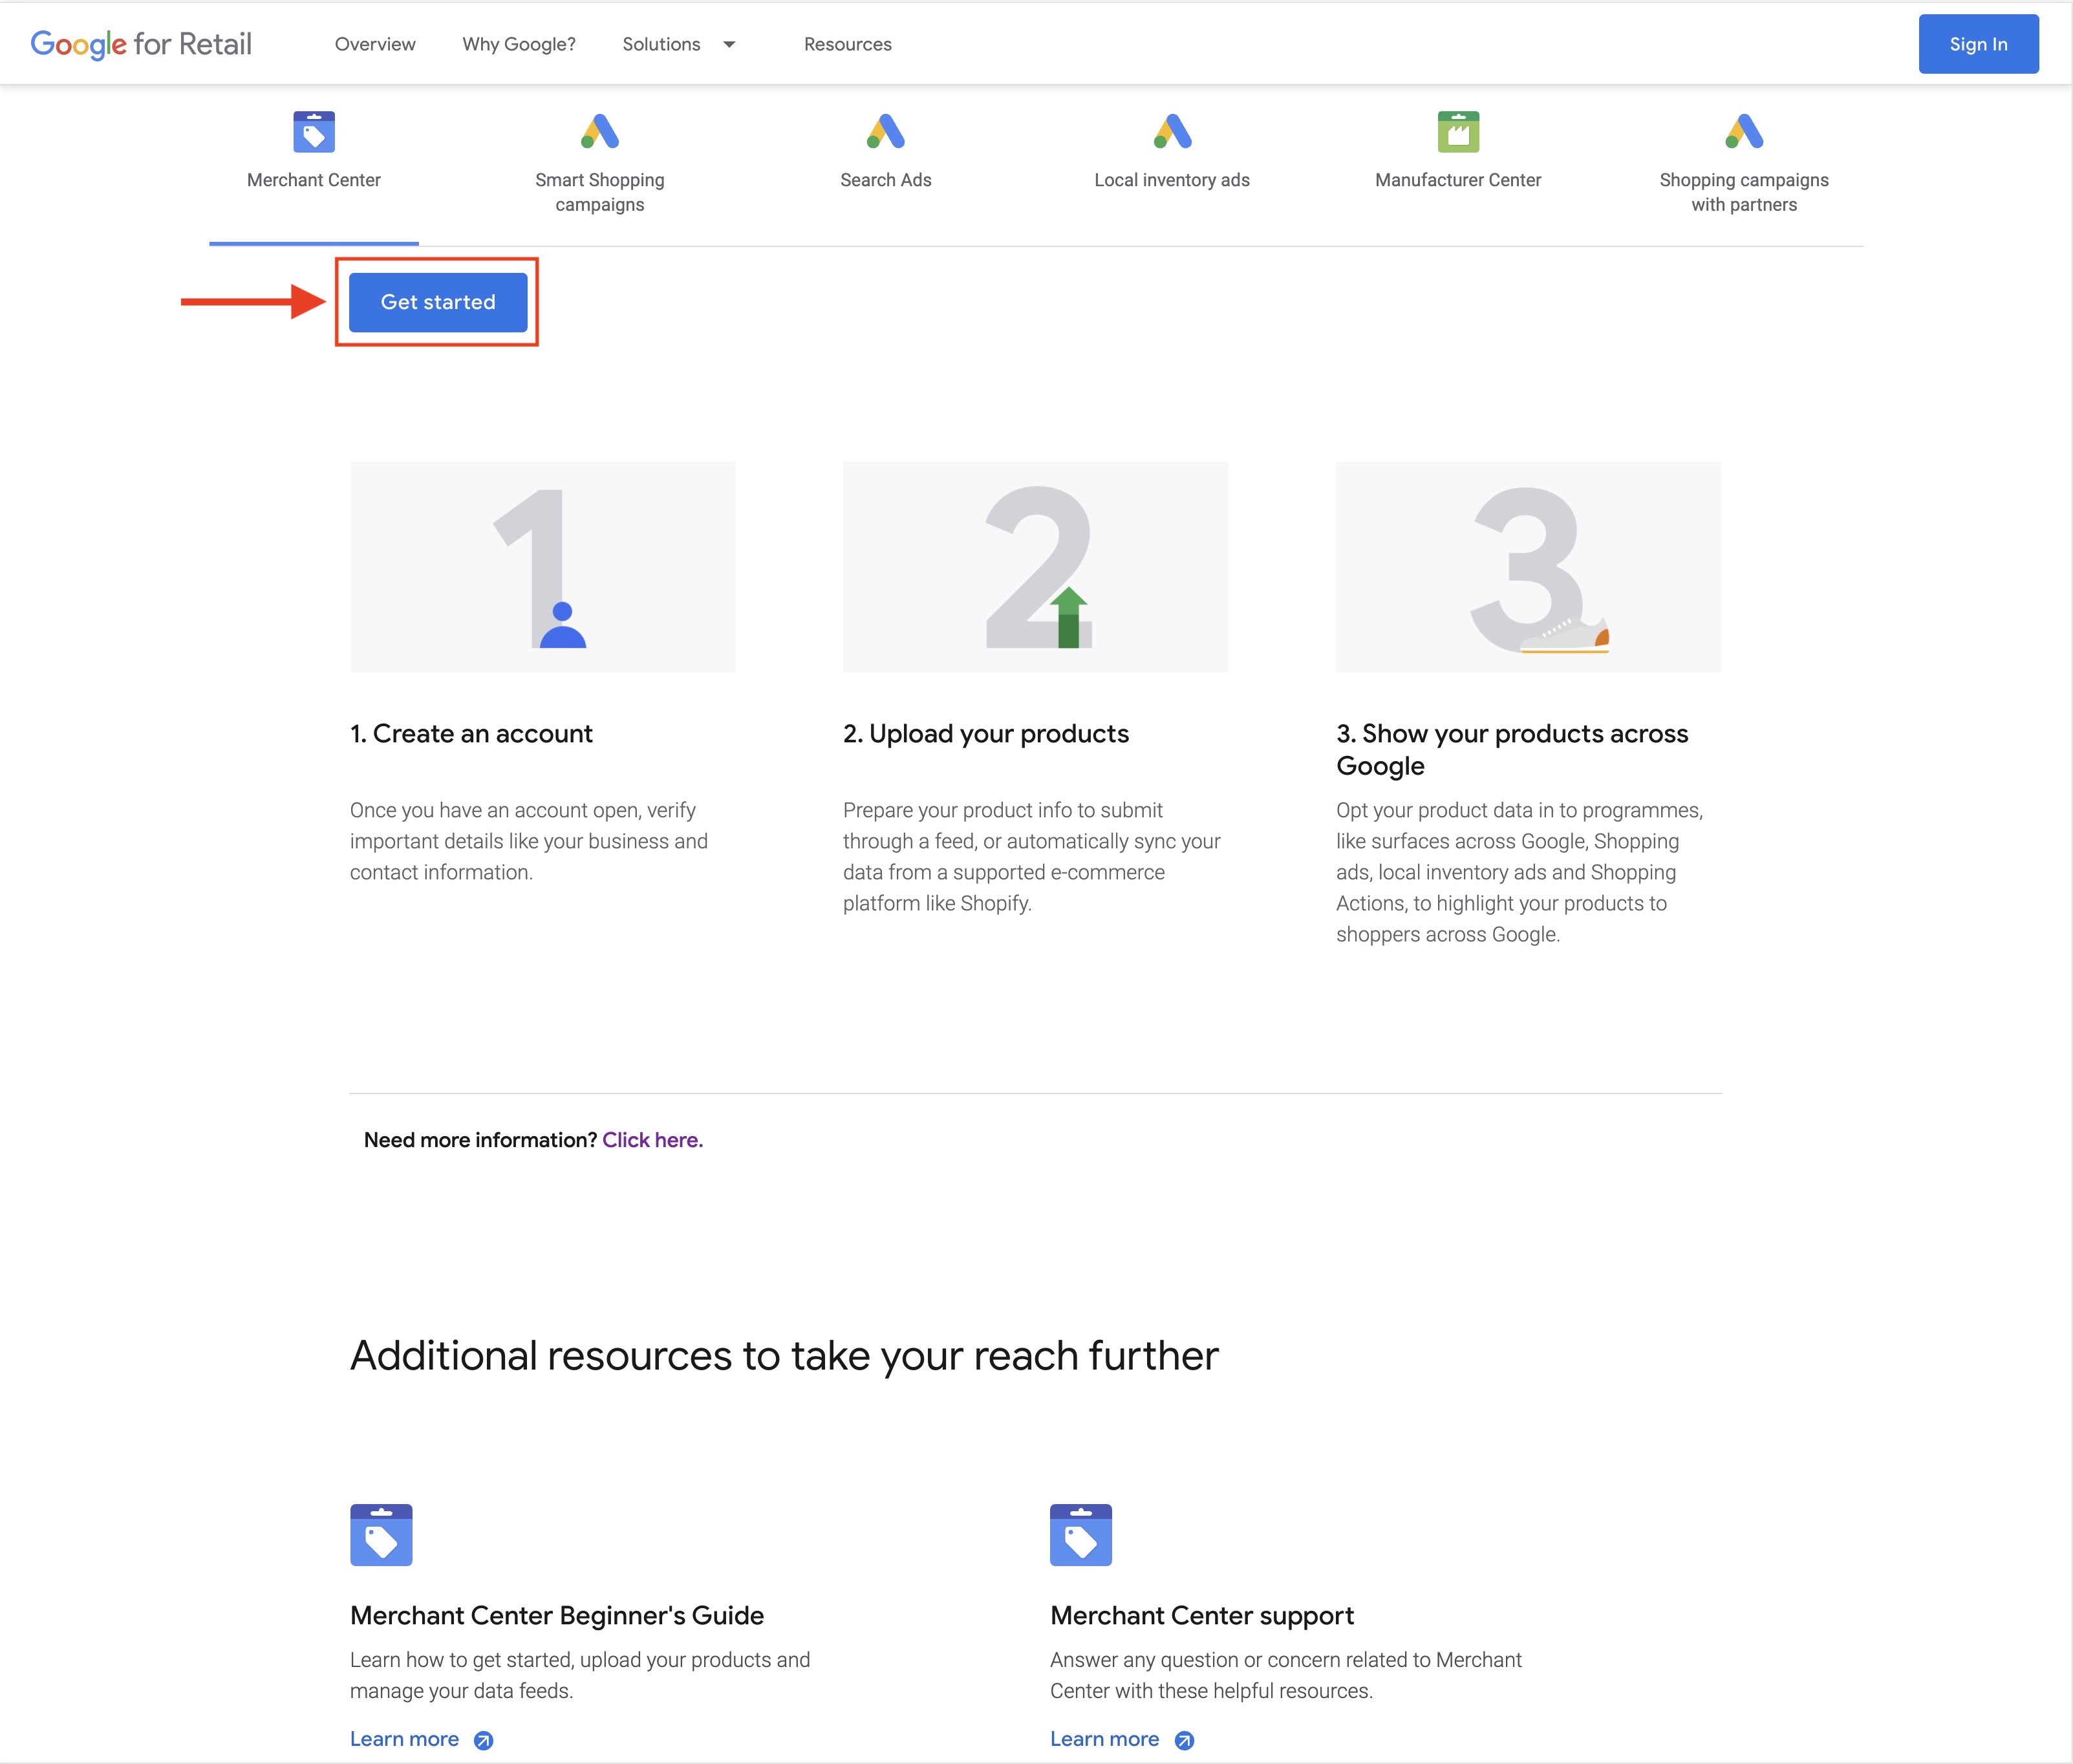 Step 3 : If you have a Google Account, Sign In, else Create an Account.
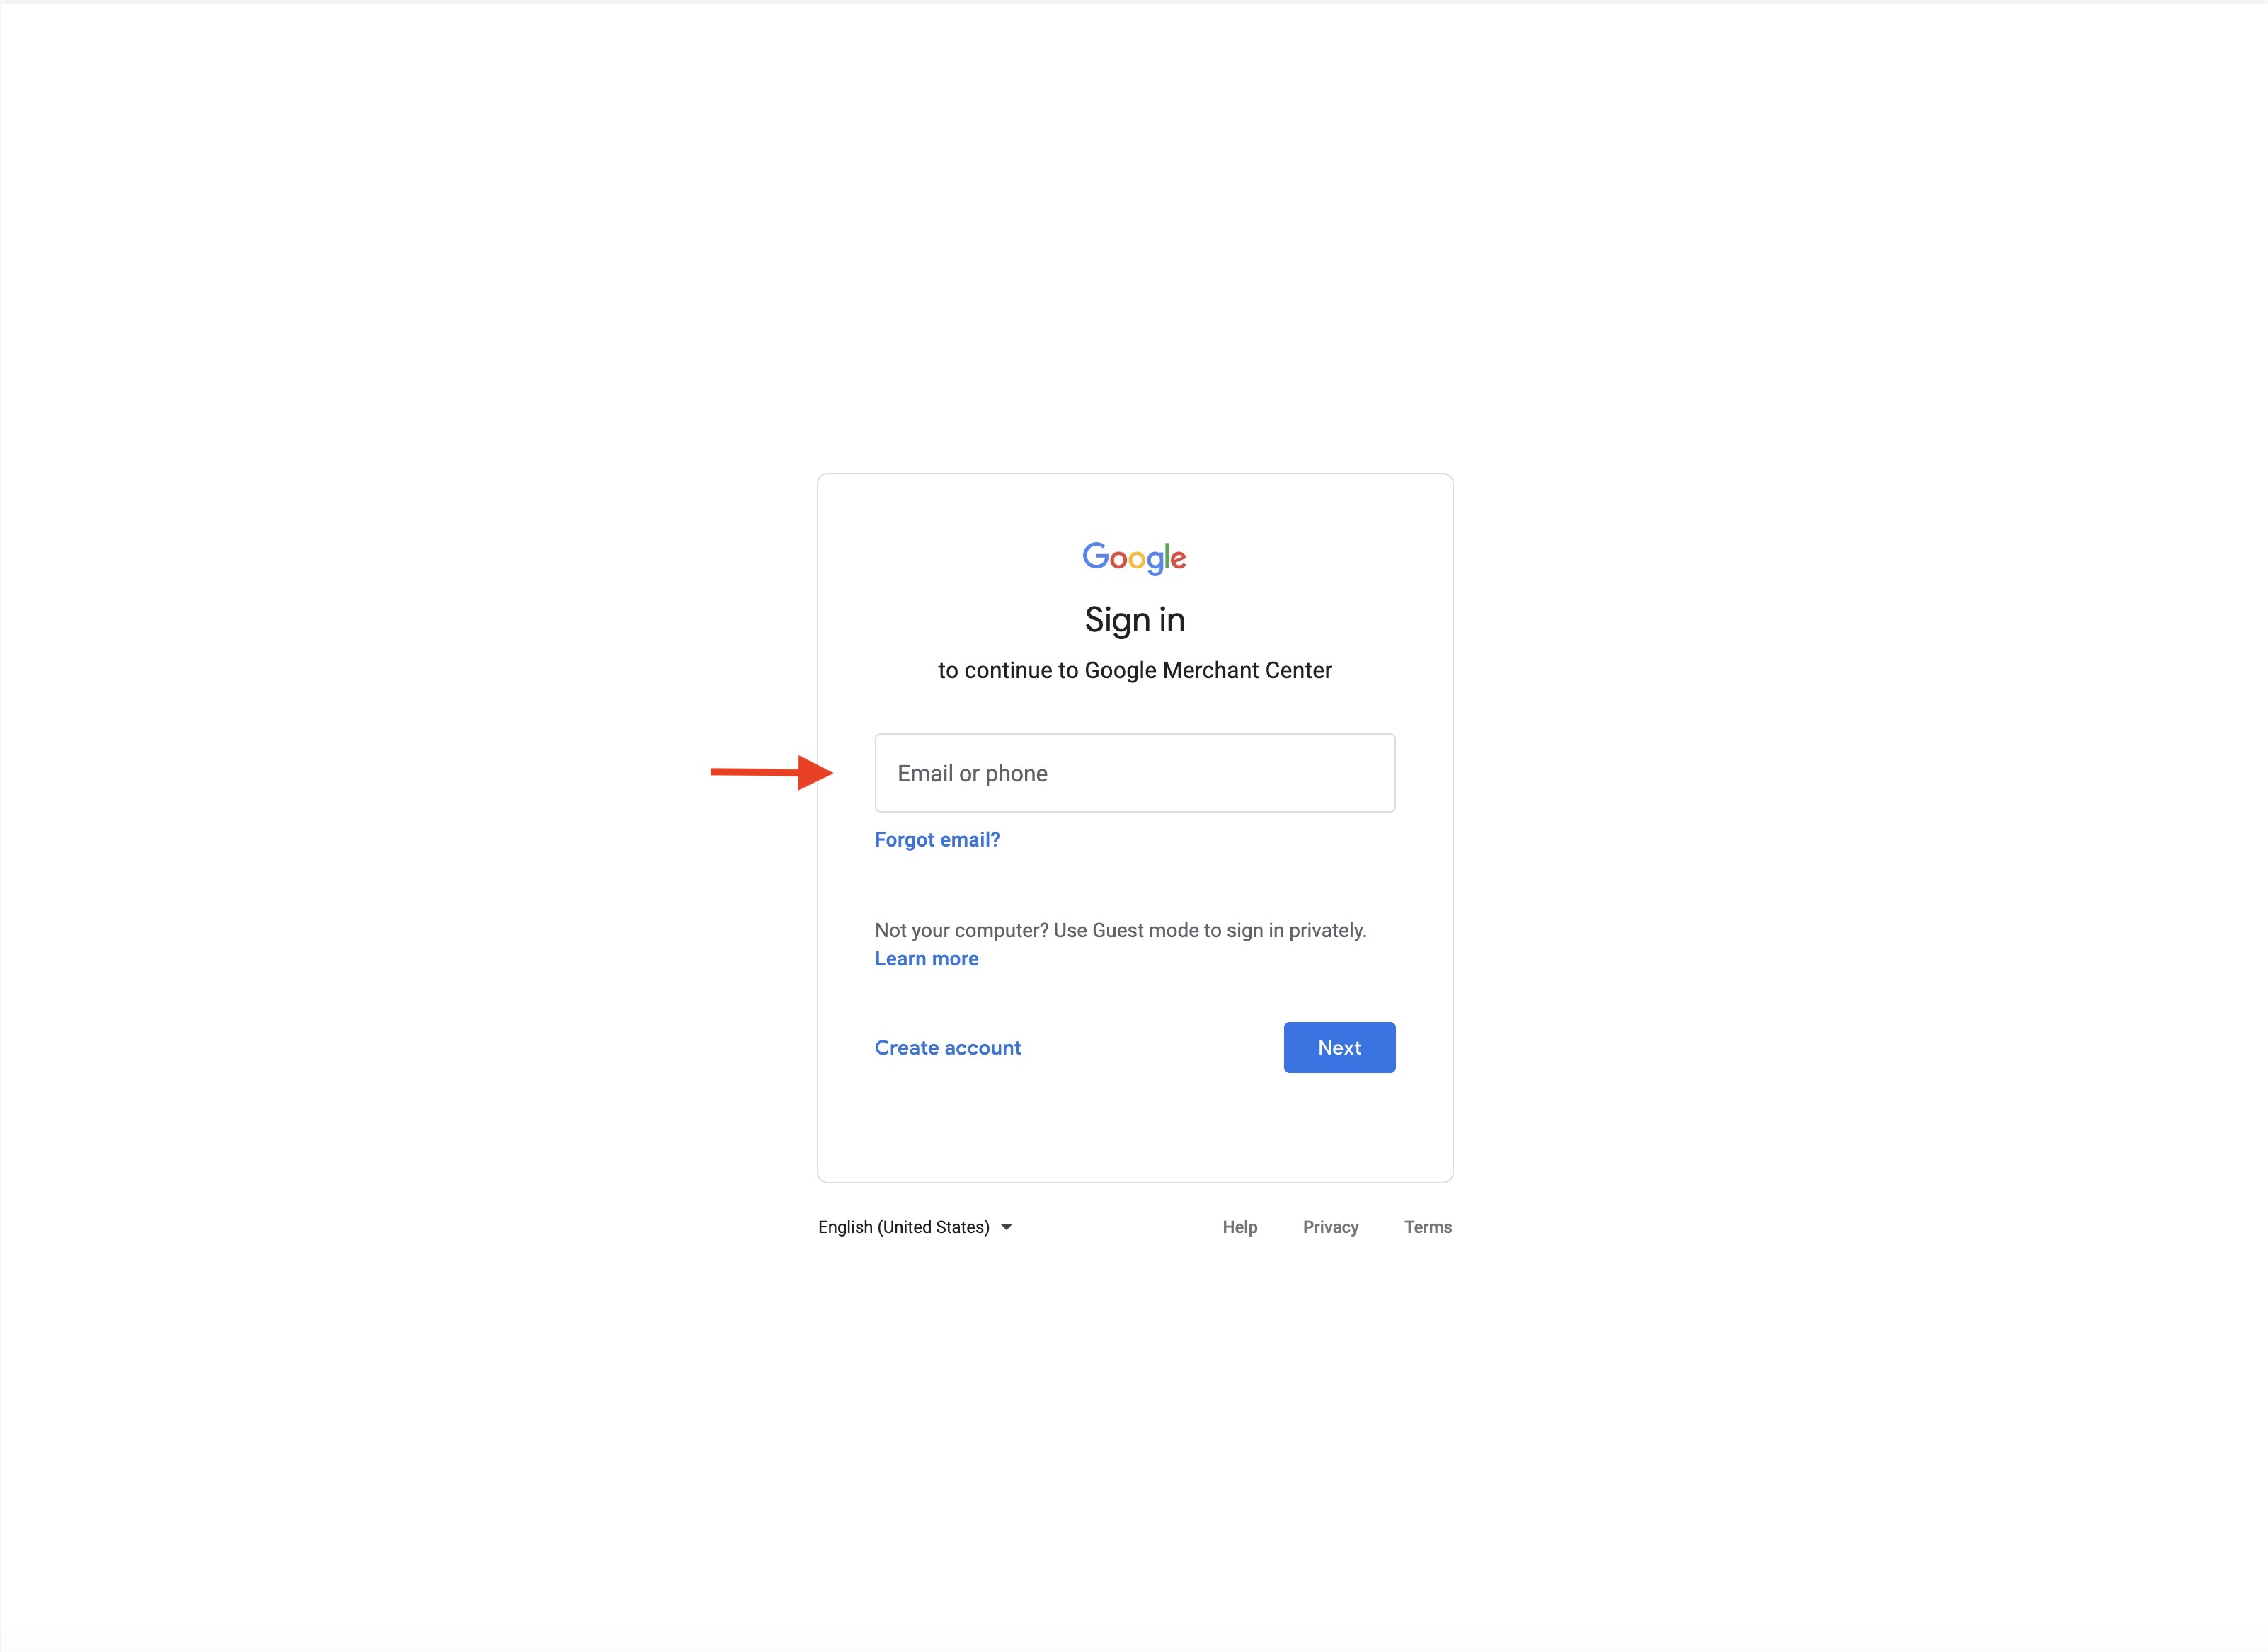
Step 4 : Provide the required business information. Enter your business name and select the Business Country and Time Zone from the dropdown menu.
Note: You can edit your business information later. 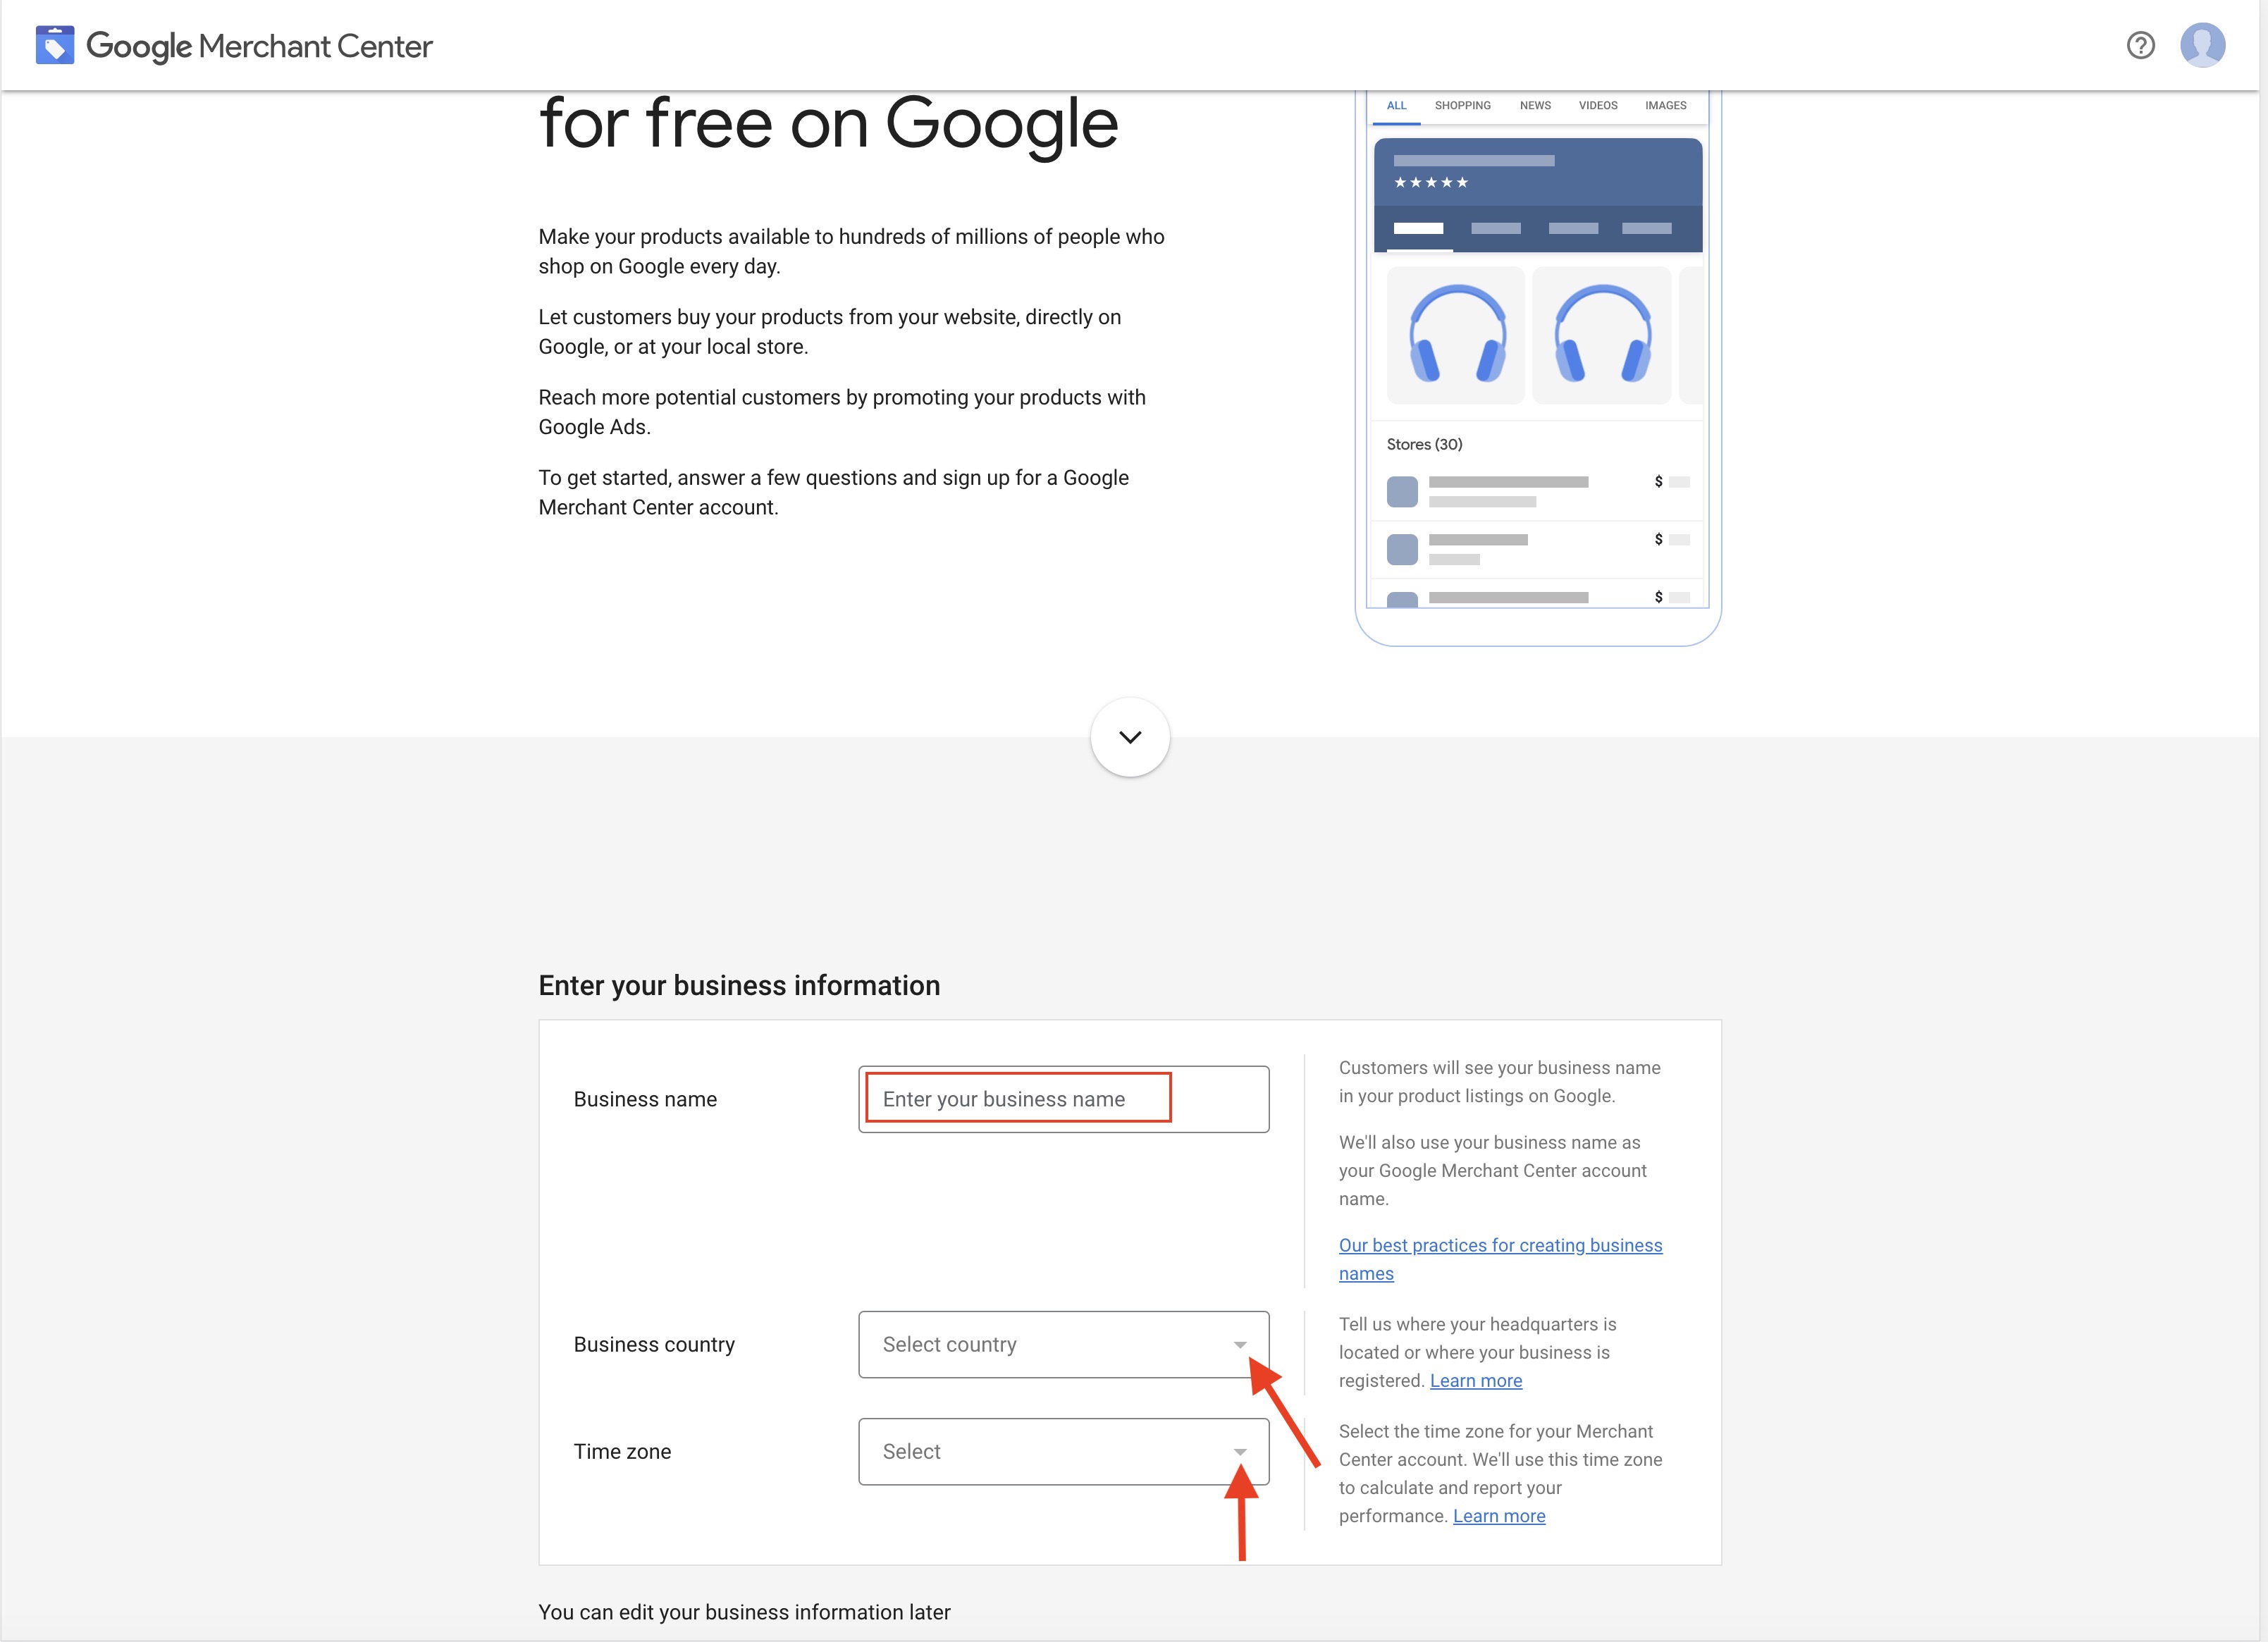
Step 5 : Choose where your customers checkout, third-party platforms and email preferences, and then, check the Google Merchant Center Terms of Service checkbox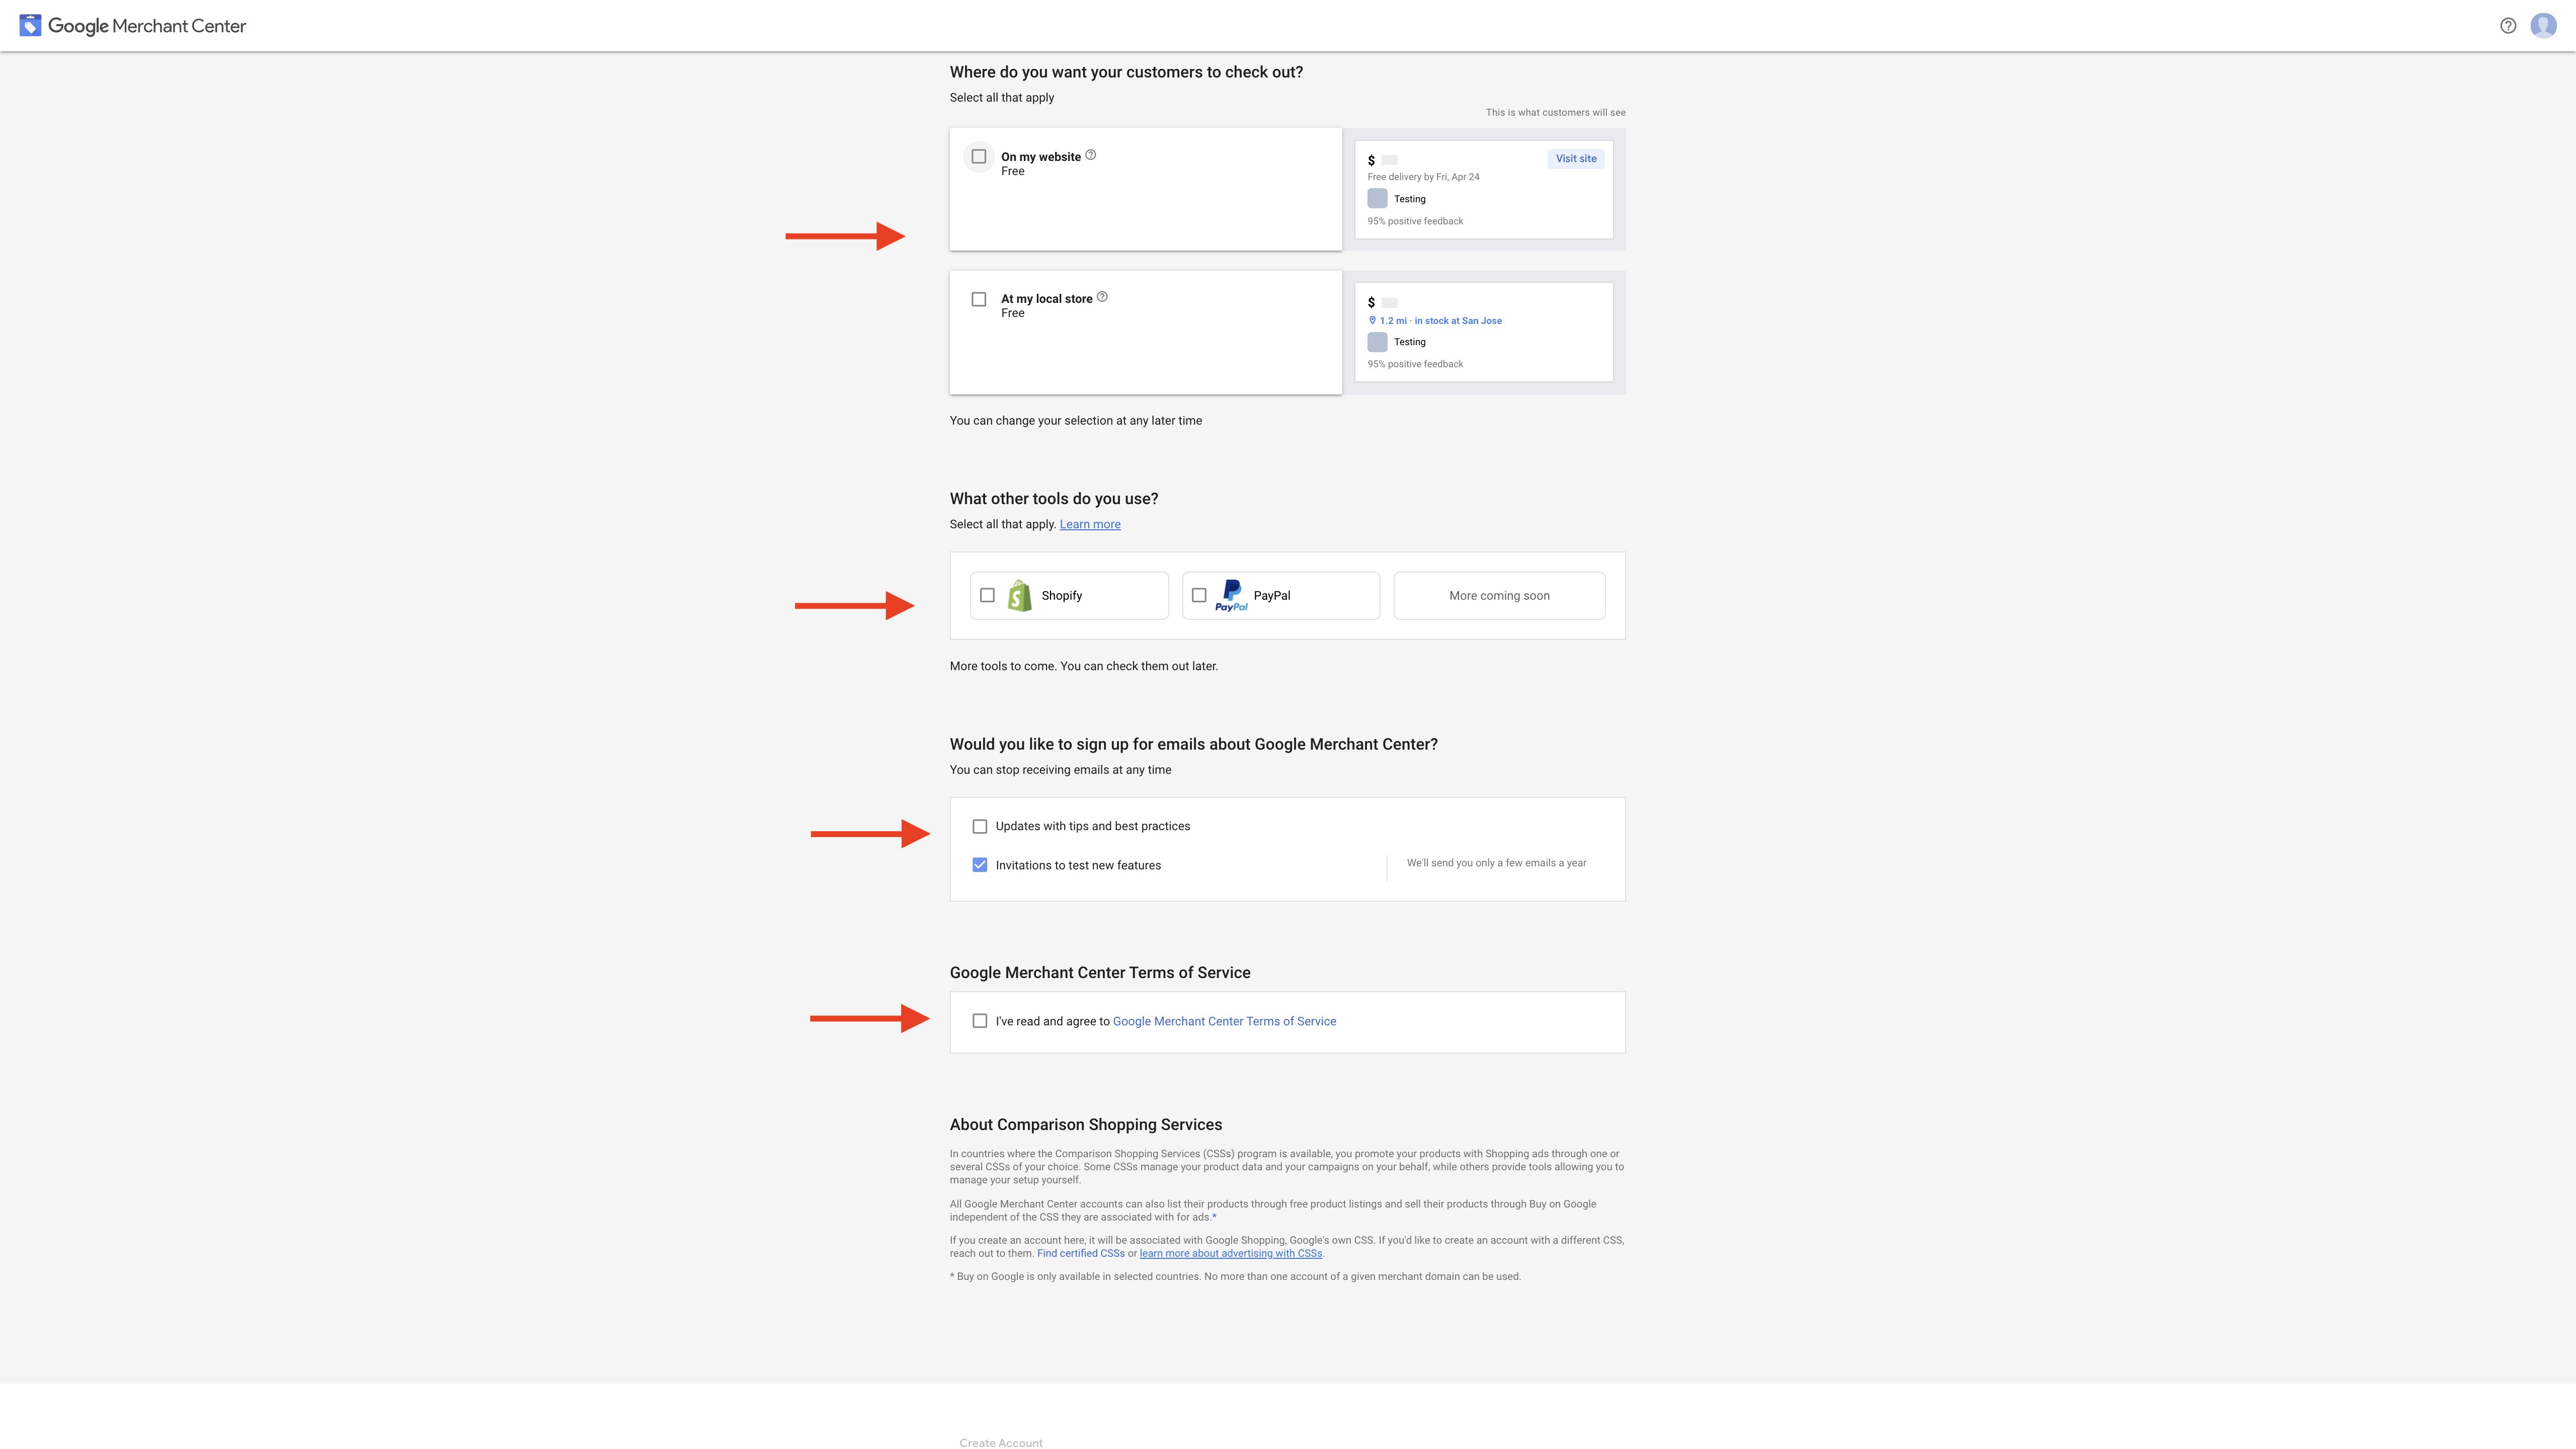
Step 6 : Once you have provided the details, click on Create Account. 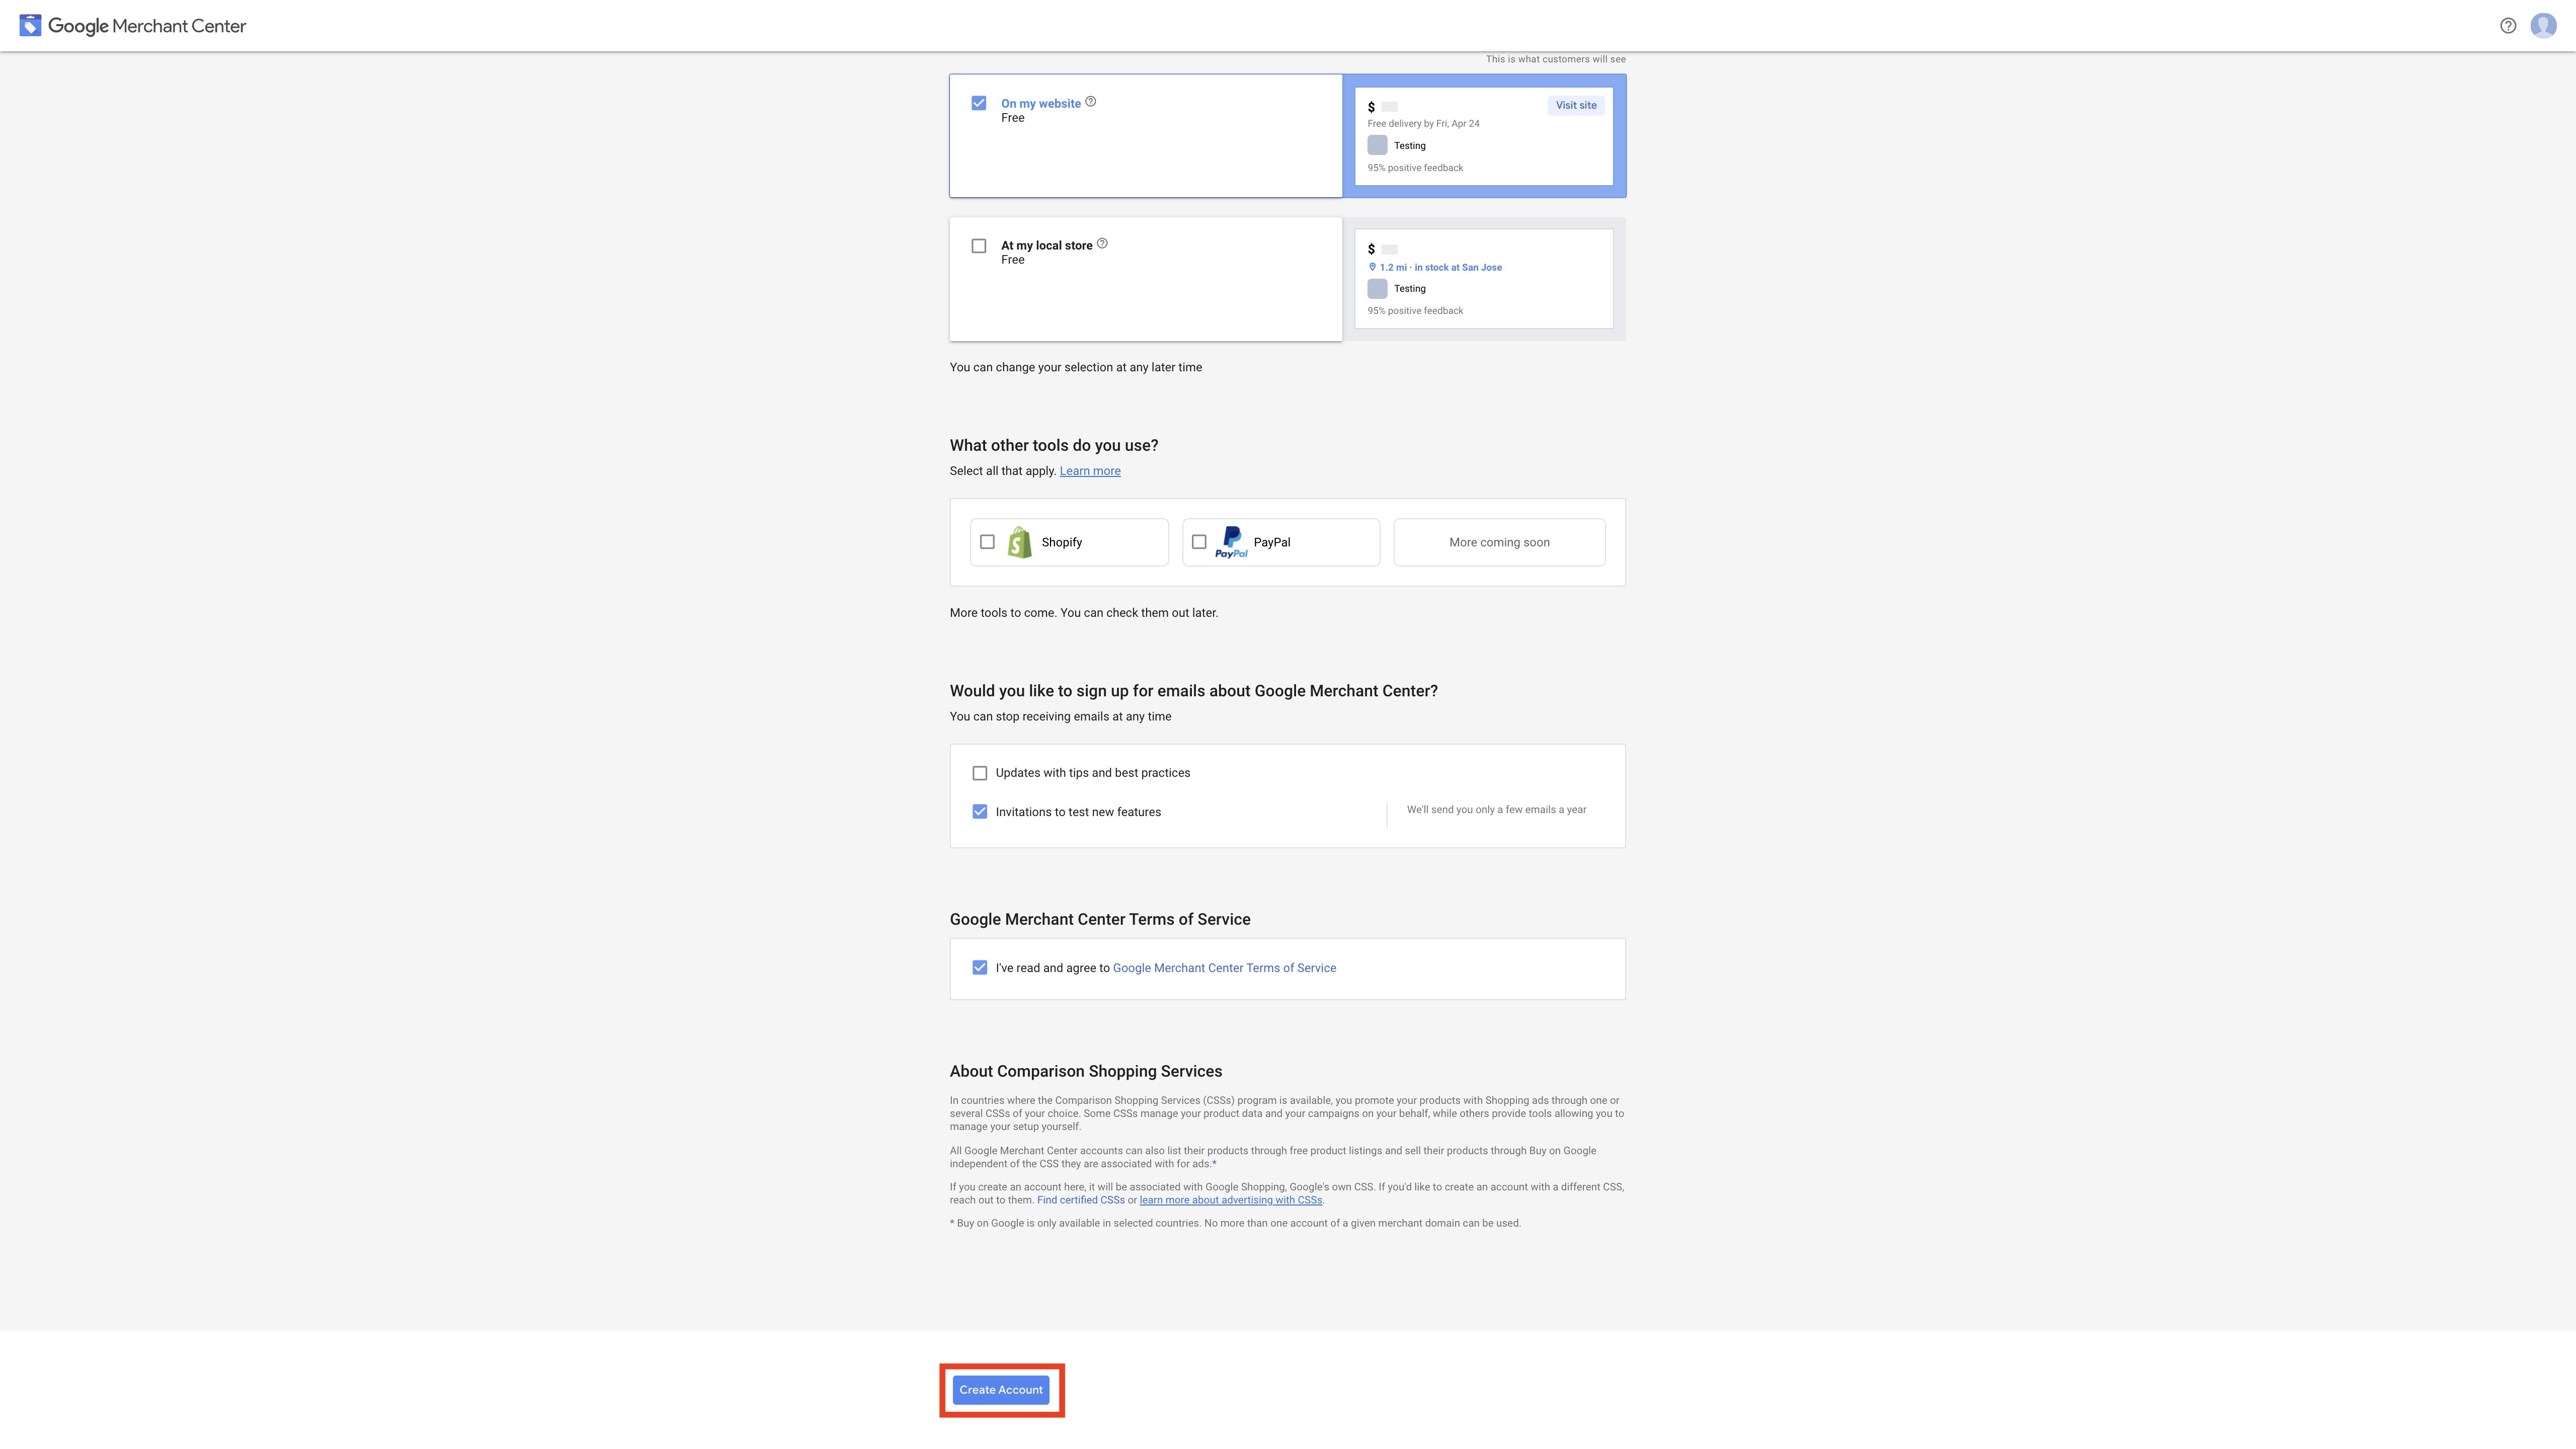 Step 7 : Once done, your merchant account will be created. Click Later to go to the Merchant Center Overview section.
 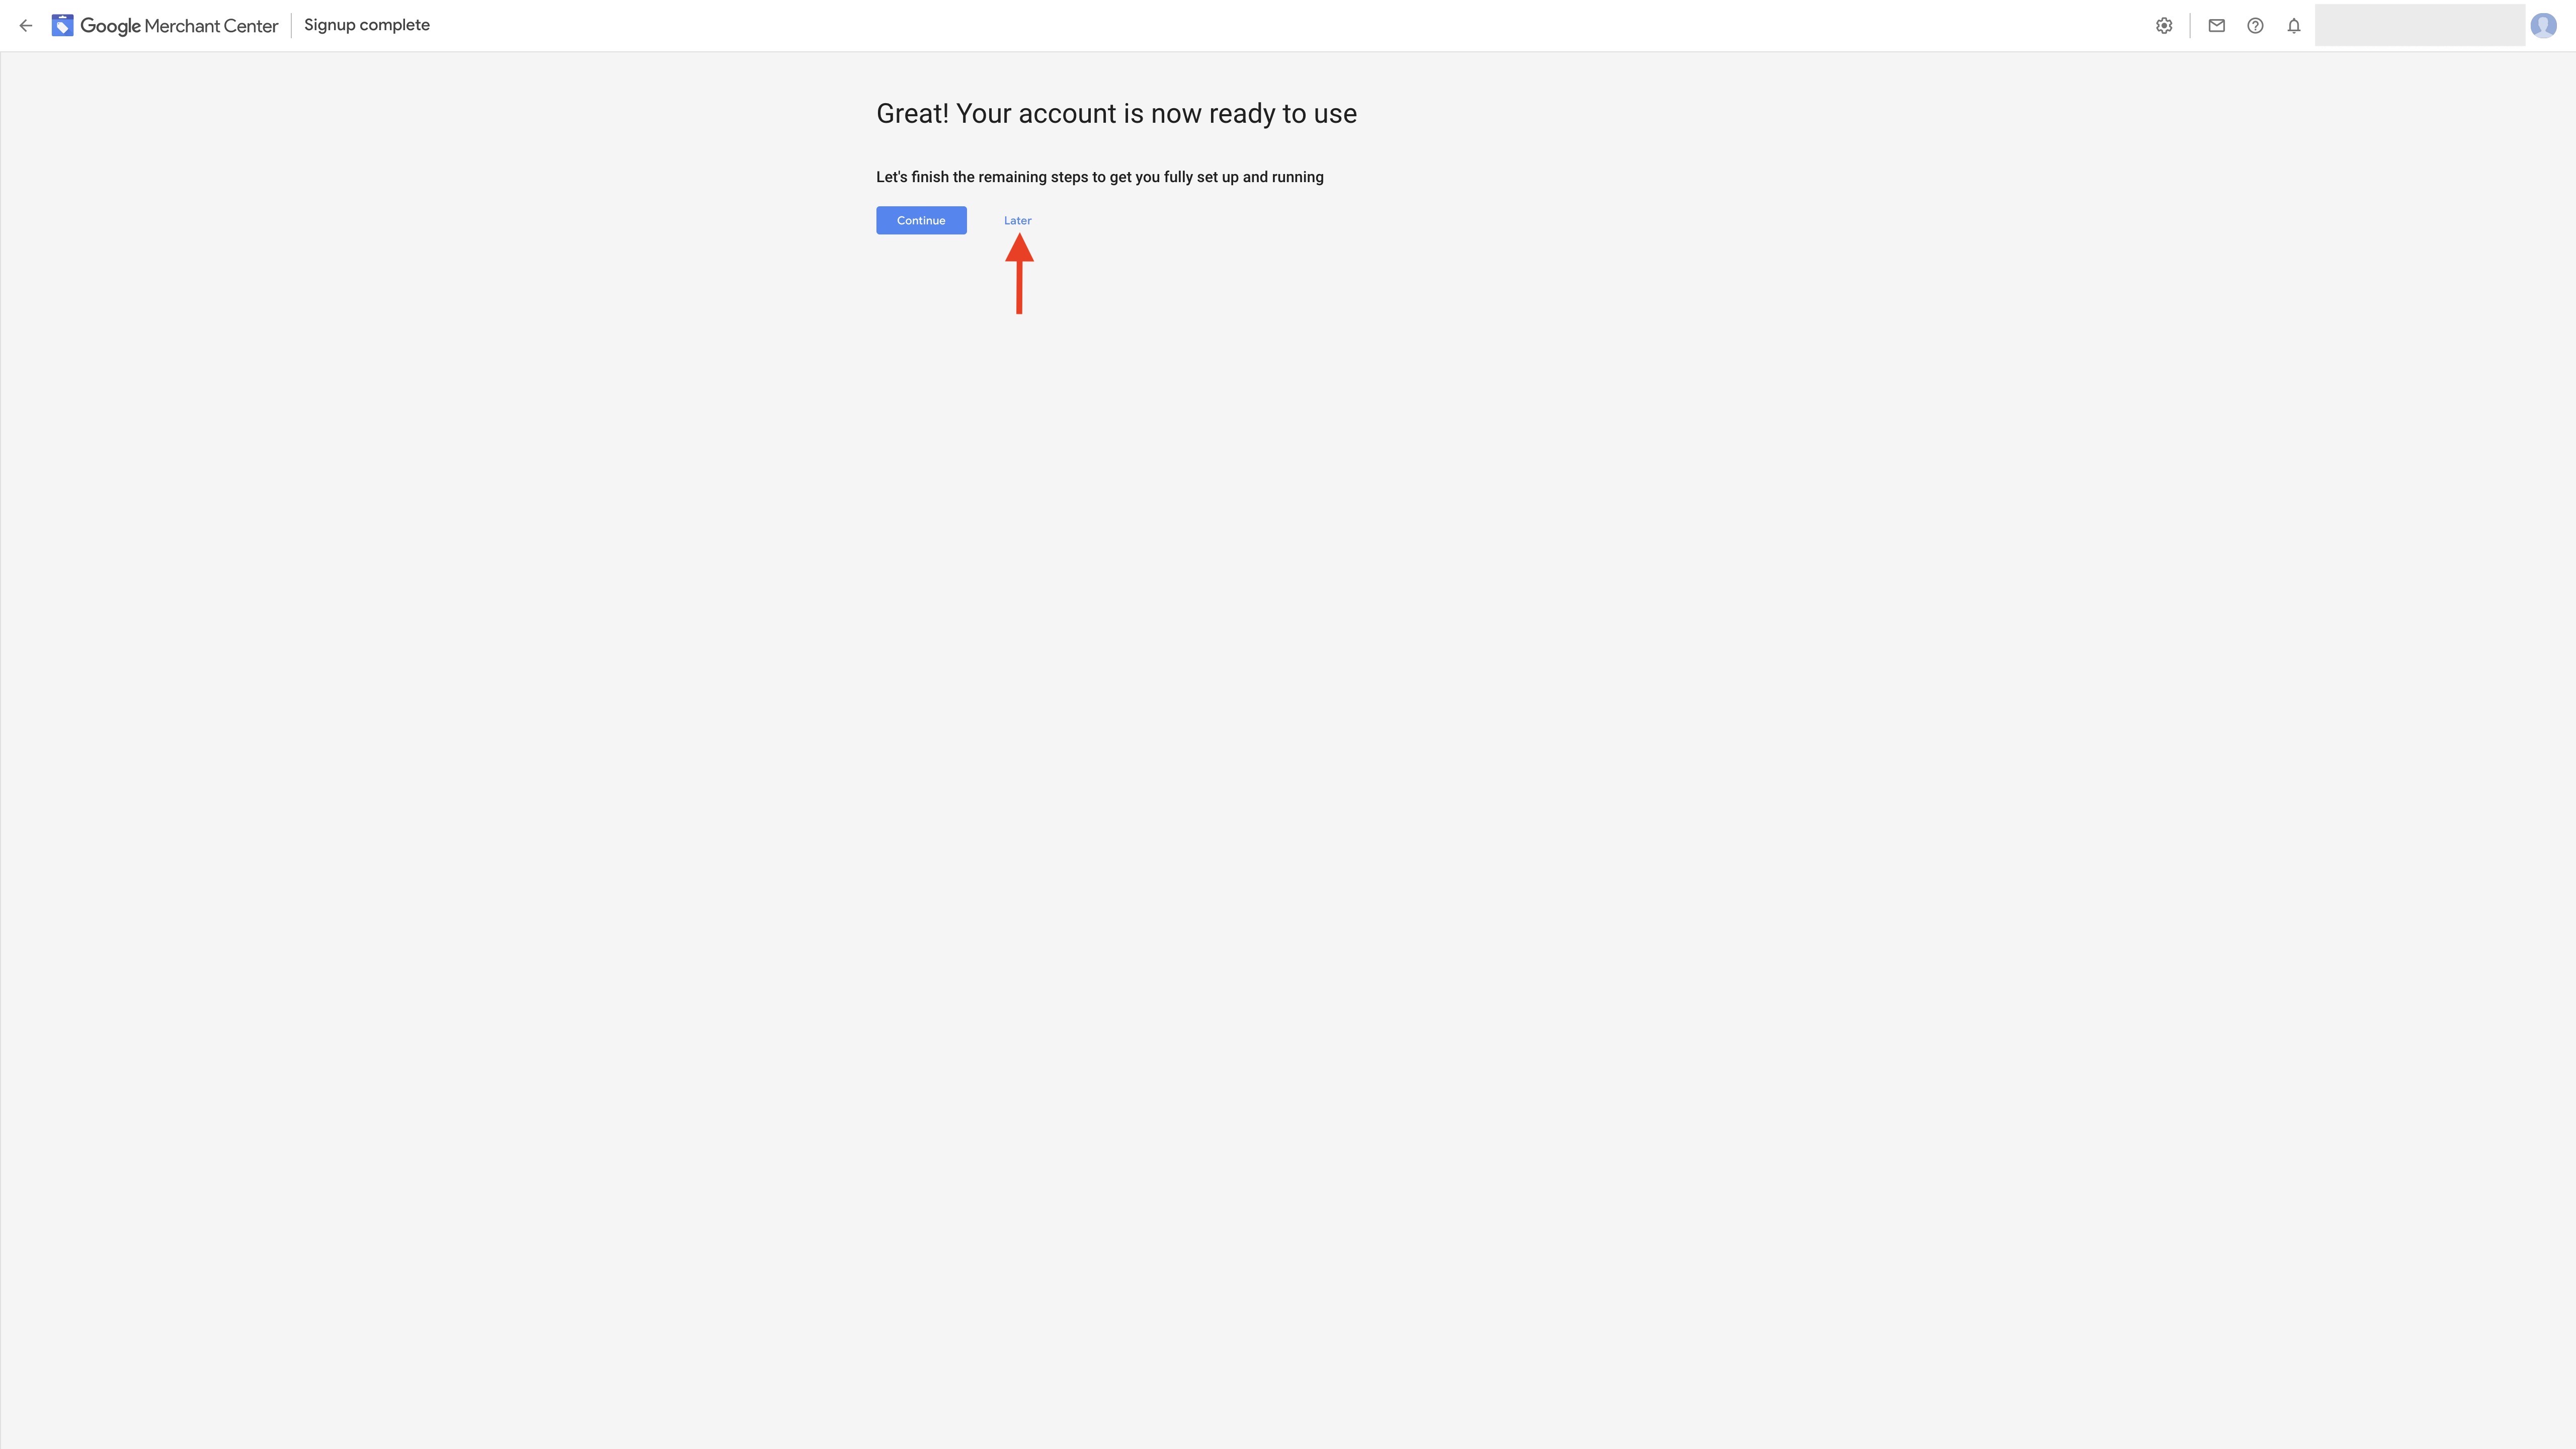 Step 8 : Click on the cogwheel icon in the top panel of the Overview section.
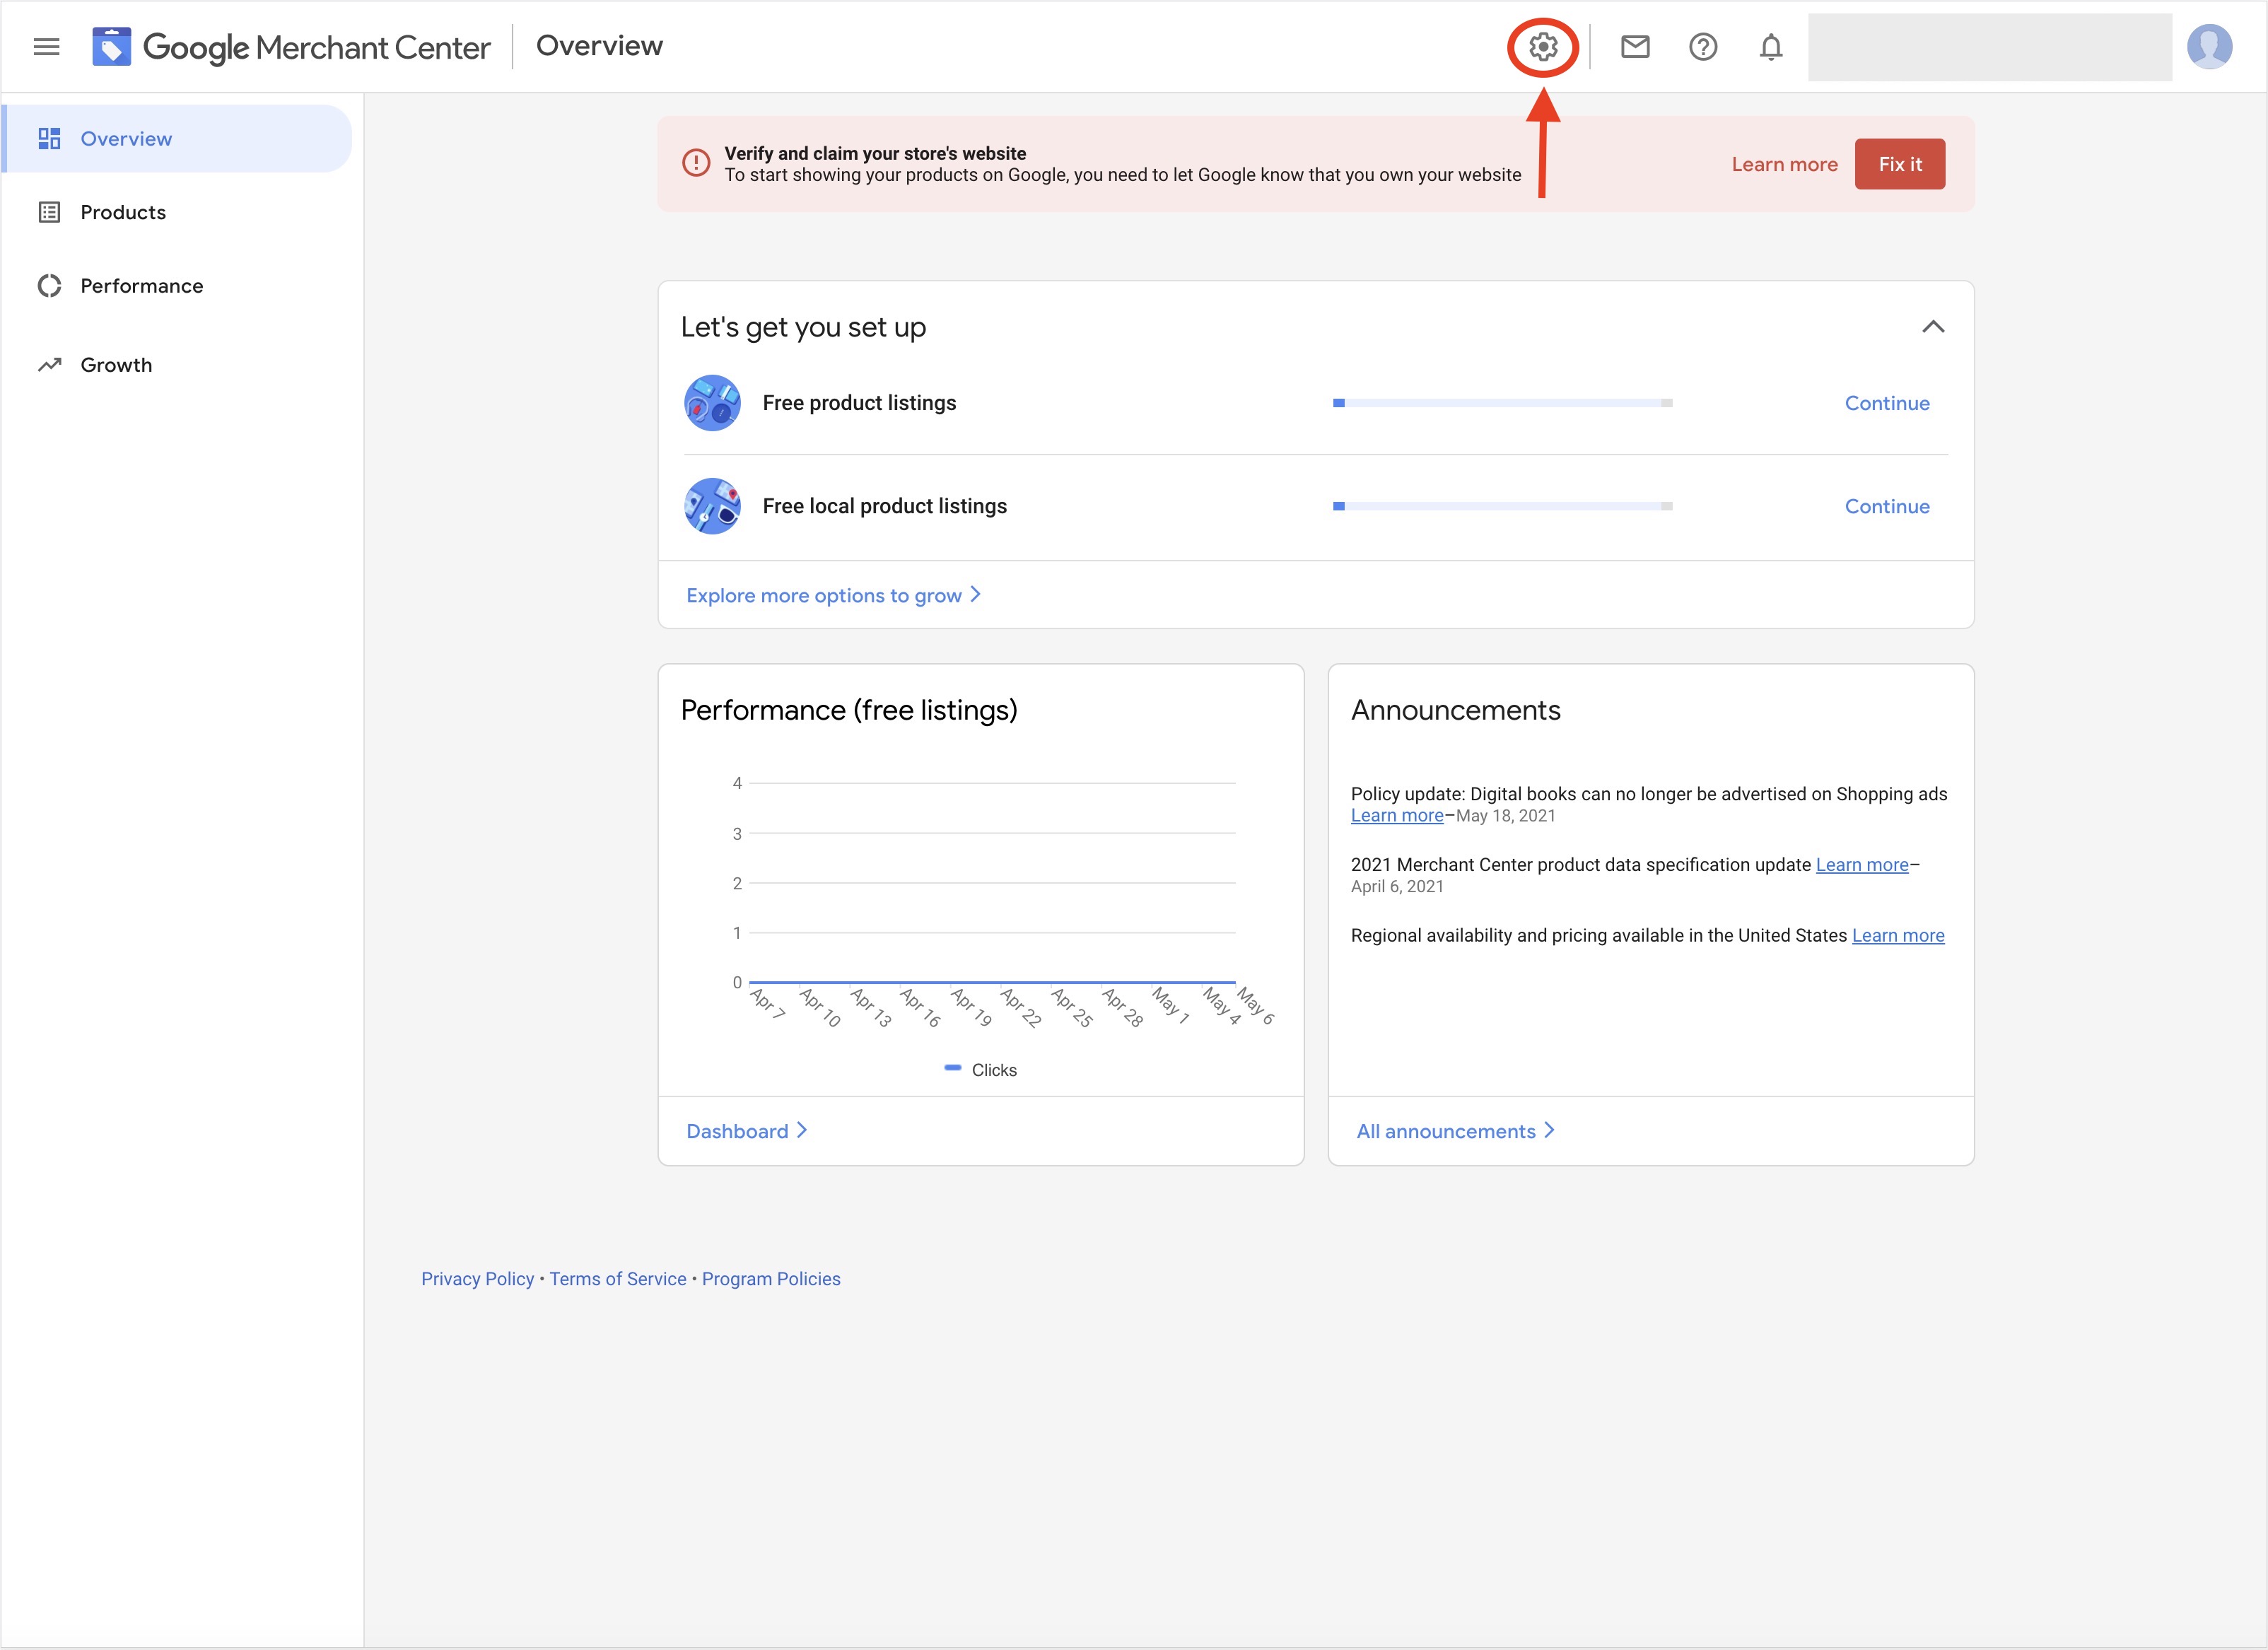 Step 9 : Under tools, click on Business information.
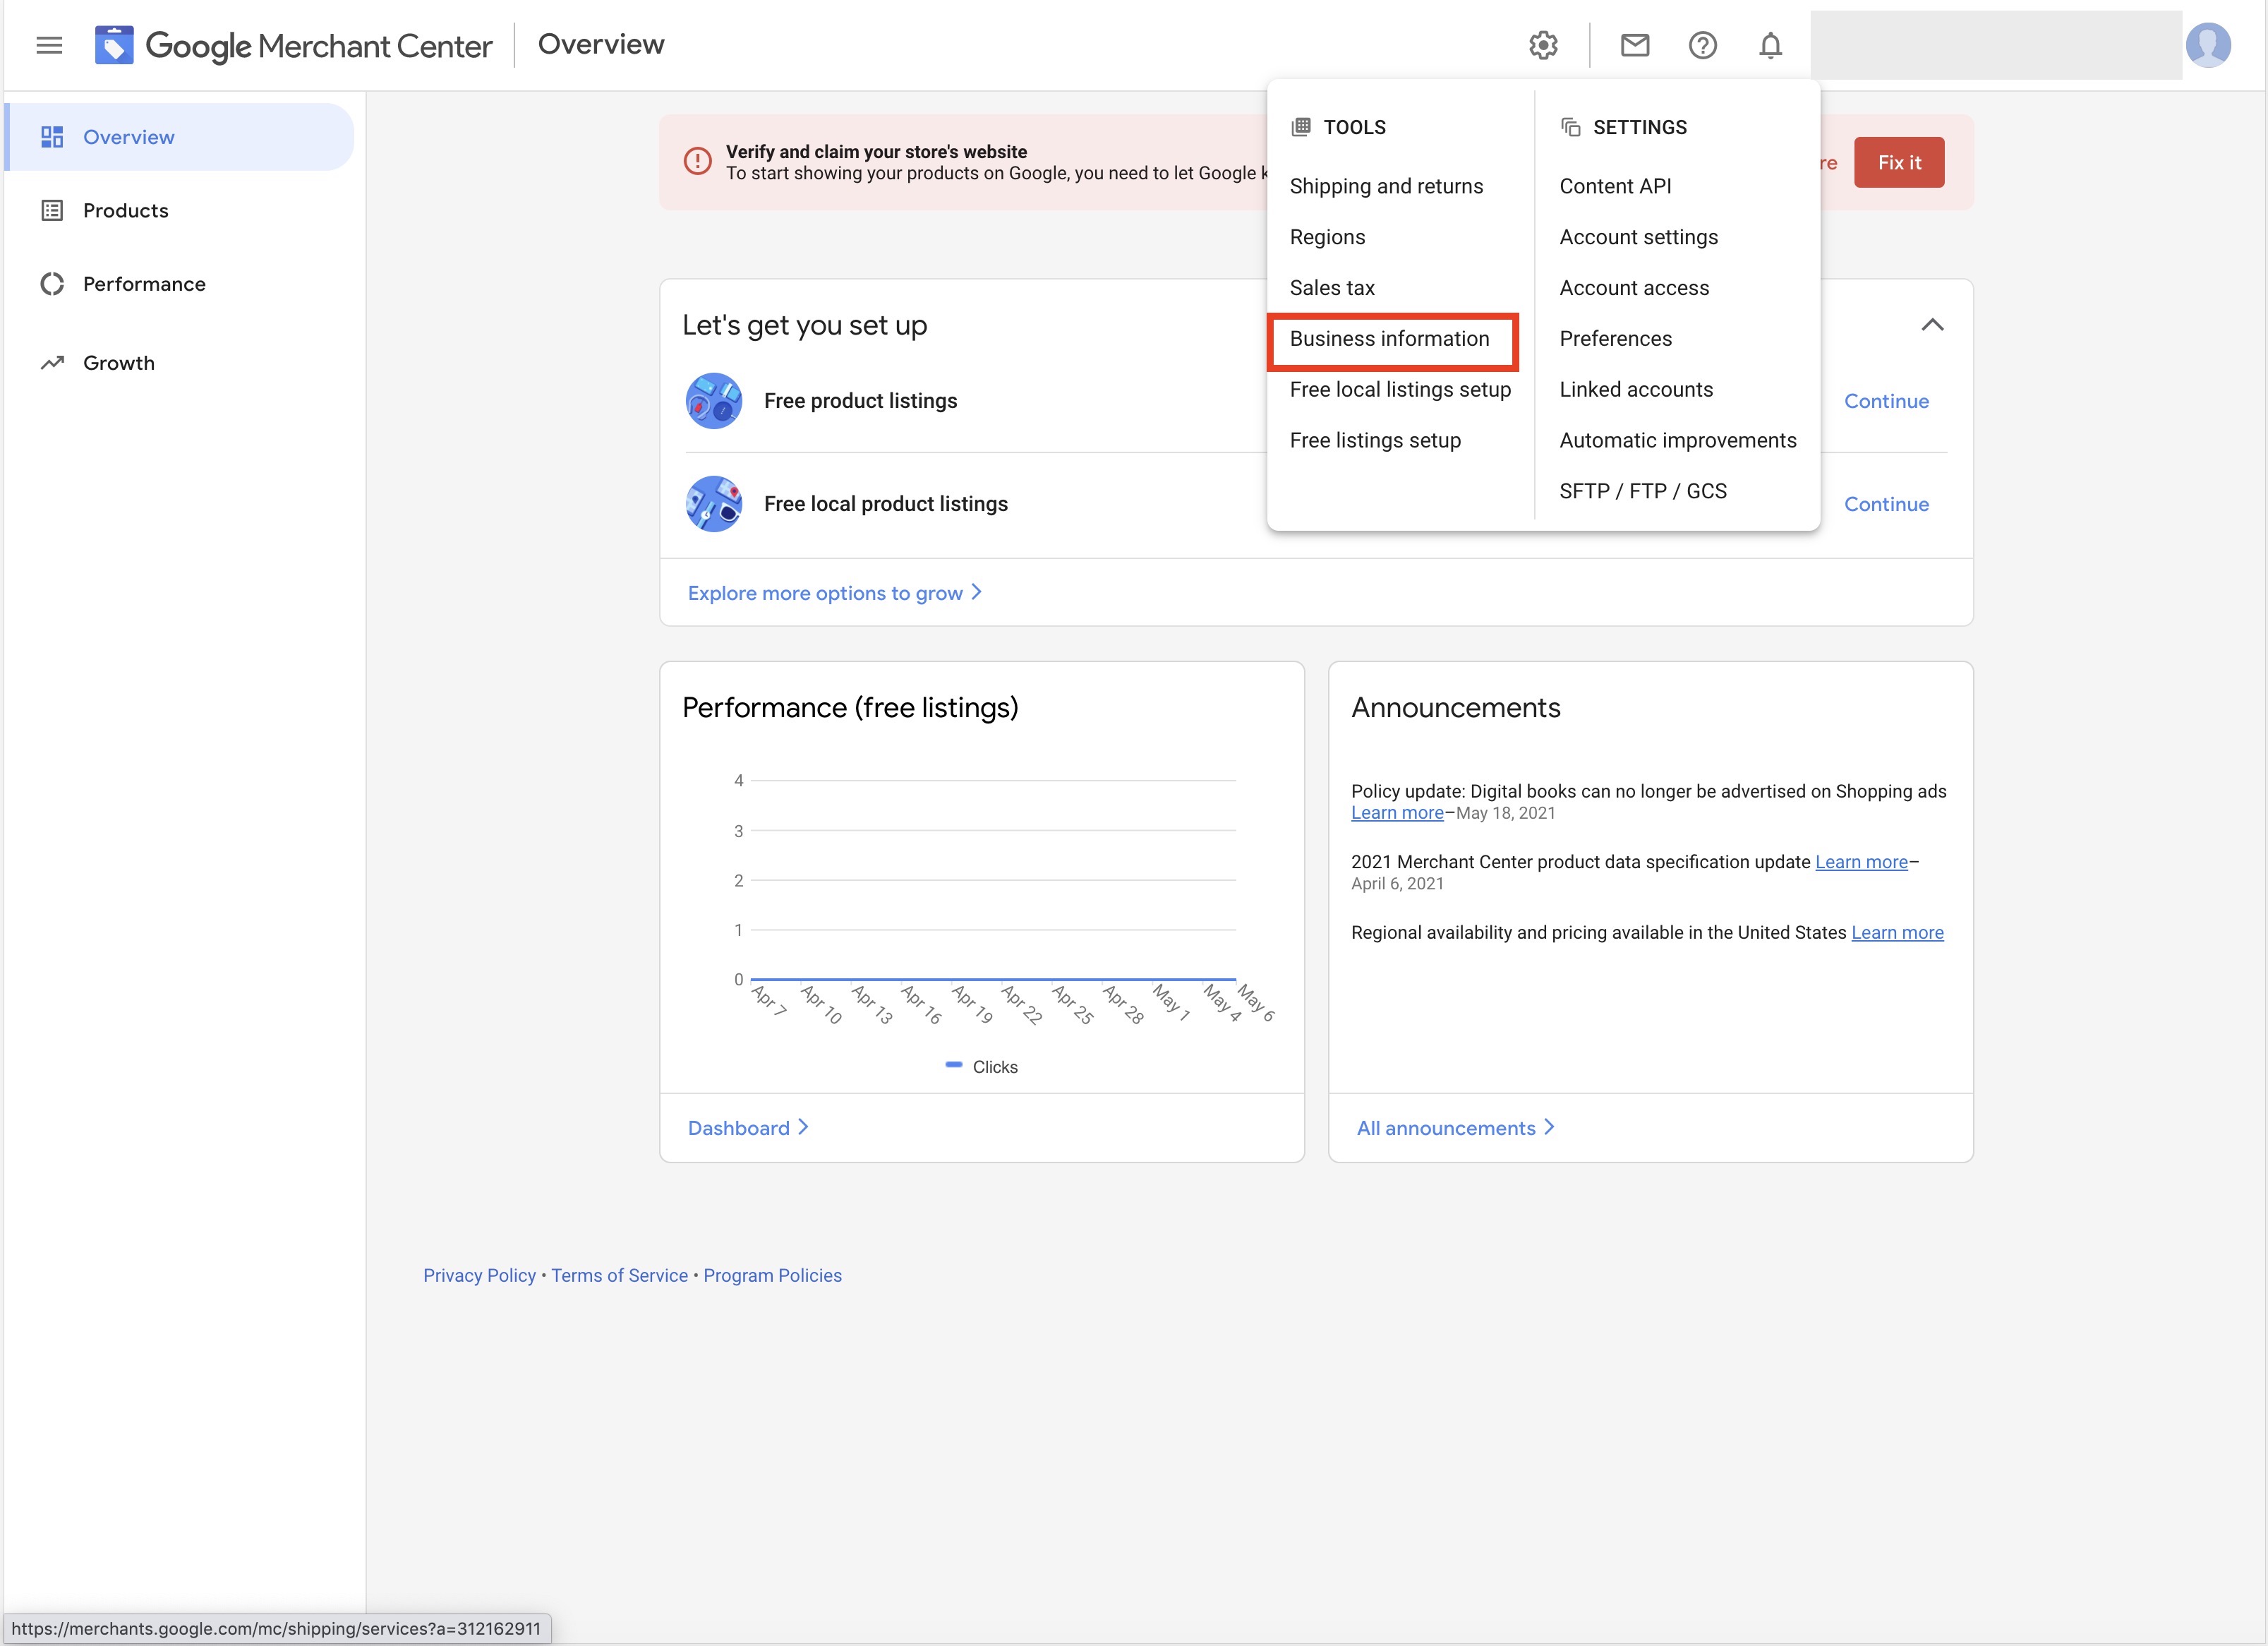 Step 10 : Under the About Your Business tab, edit or enter the following information and click on Save:
- Business Display Name
- Business Address
- Phone number for verification
- Customer service contact for shopping ads
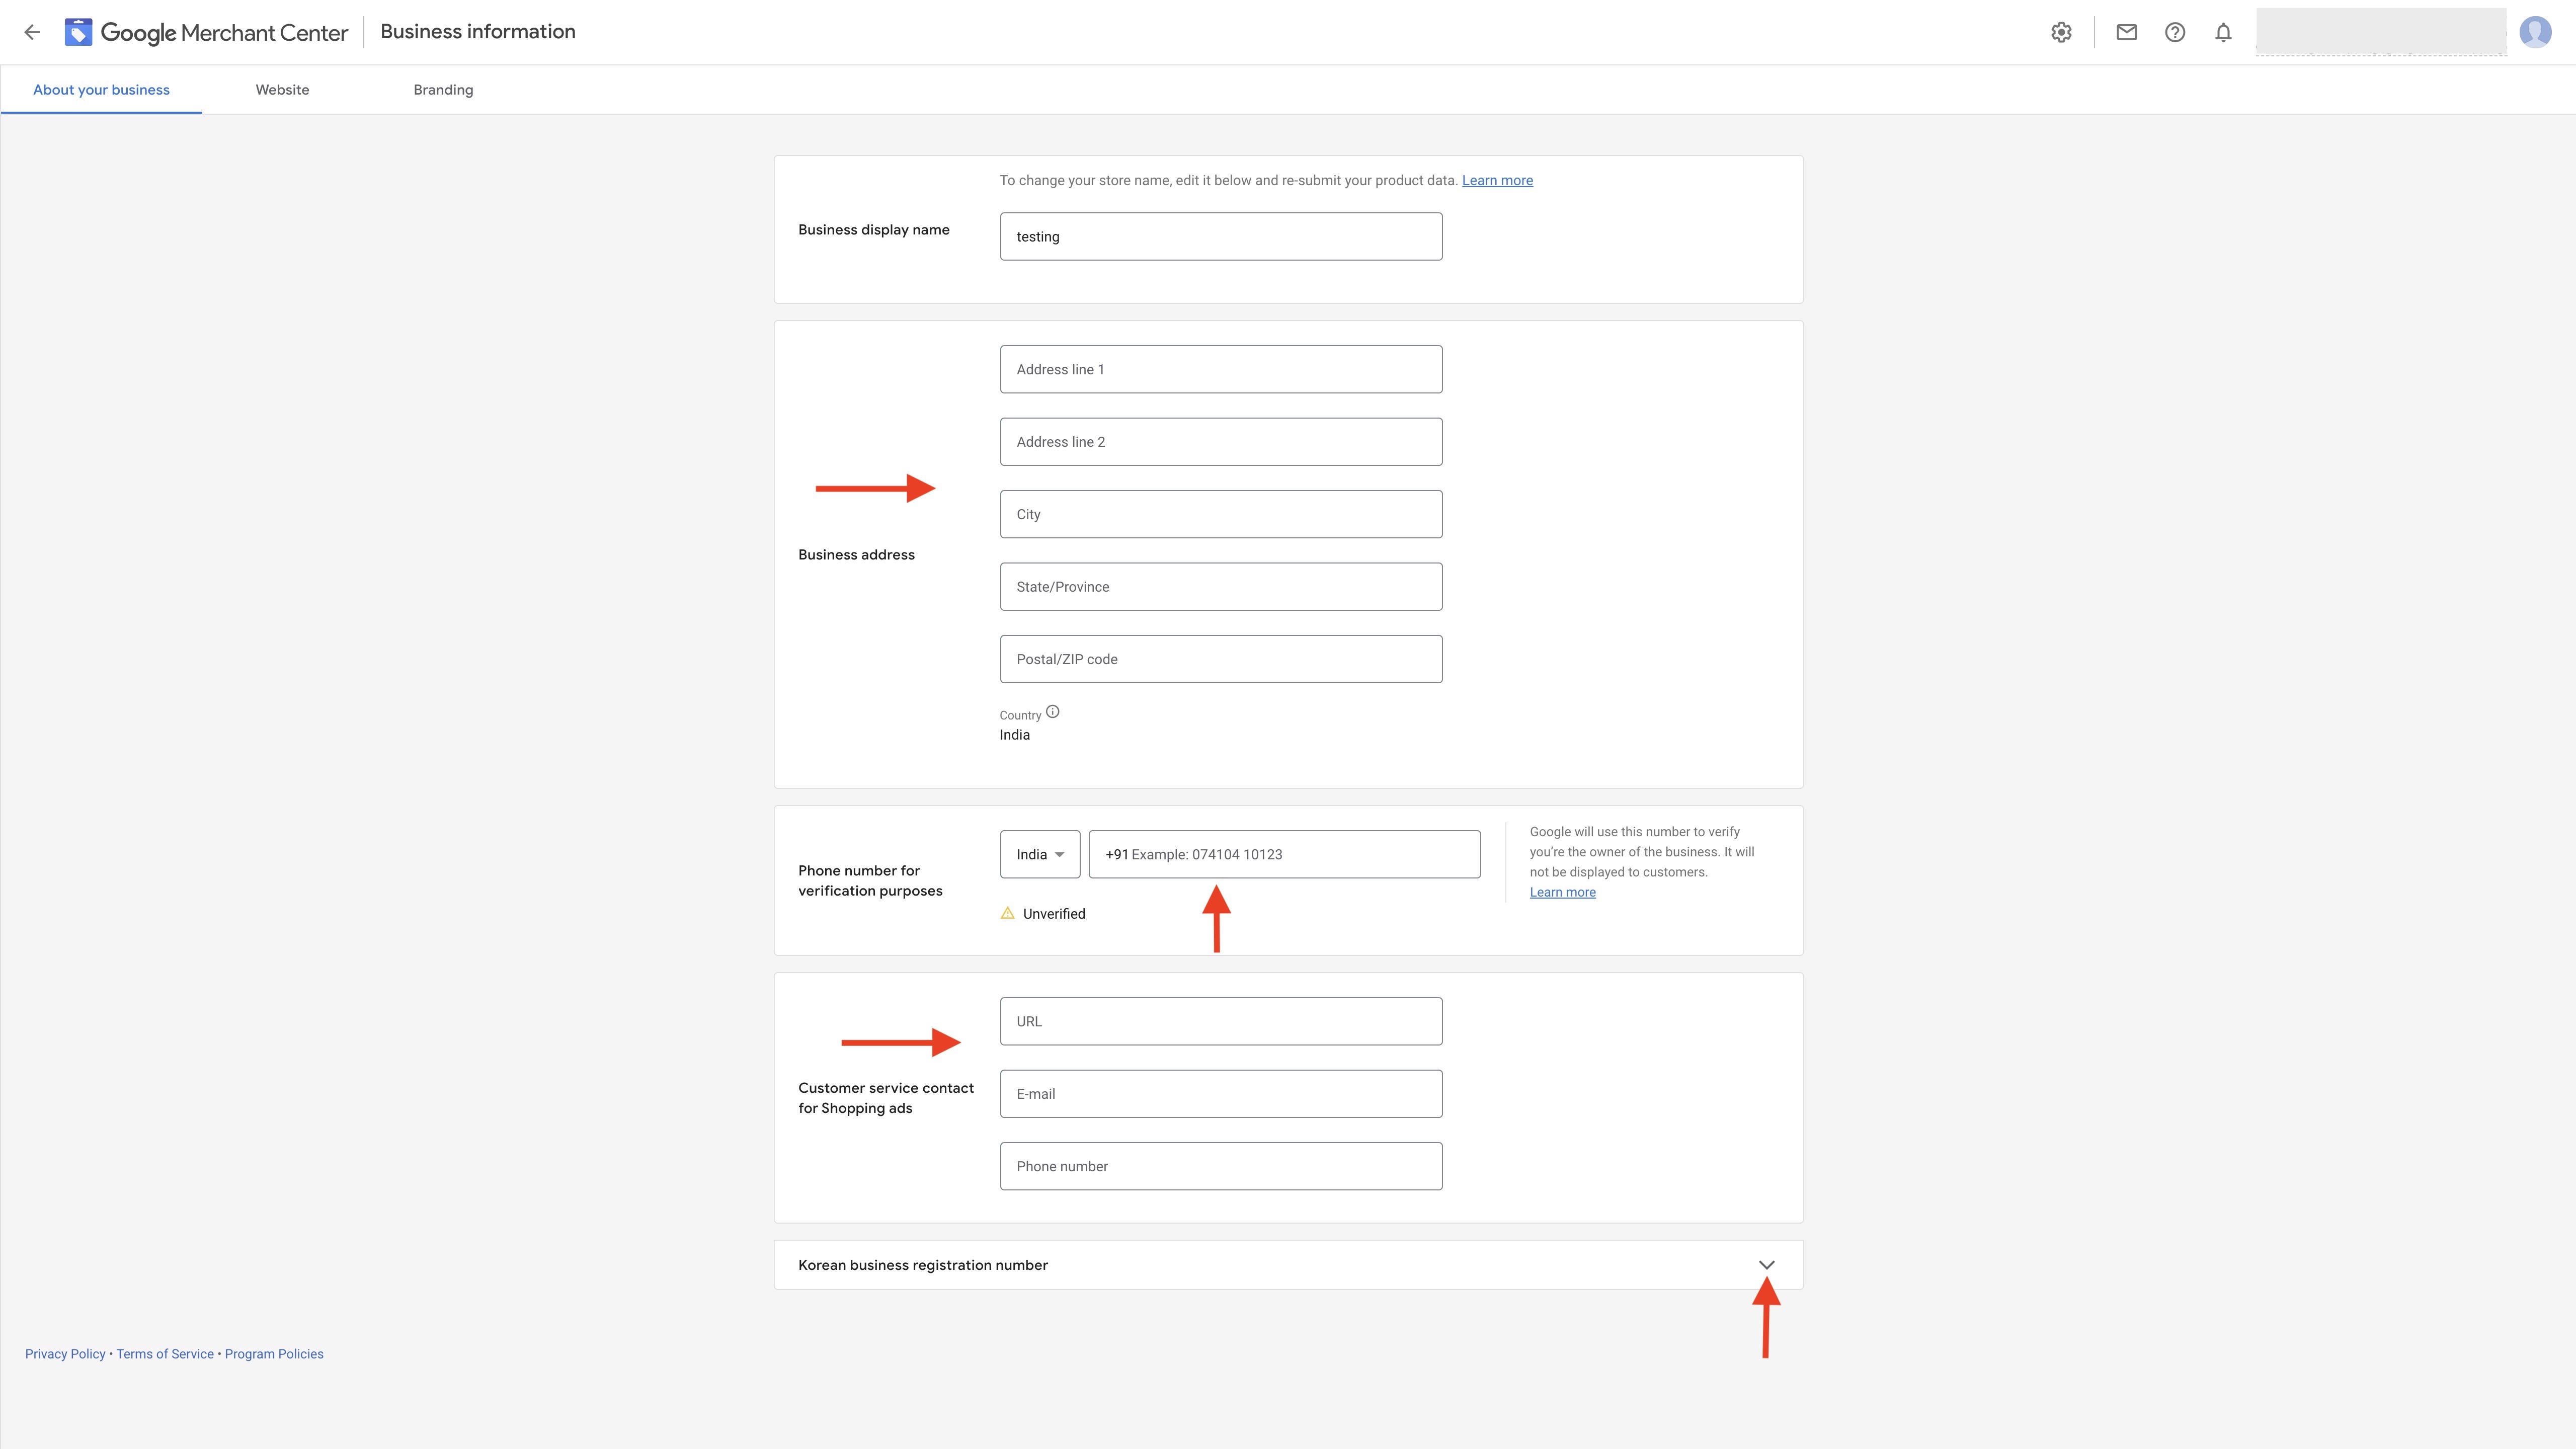 Step 11 : Add the Korean Business Registration number if you want to show Shopping ads in South Korea and click on Save.
 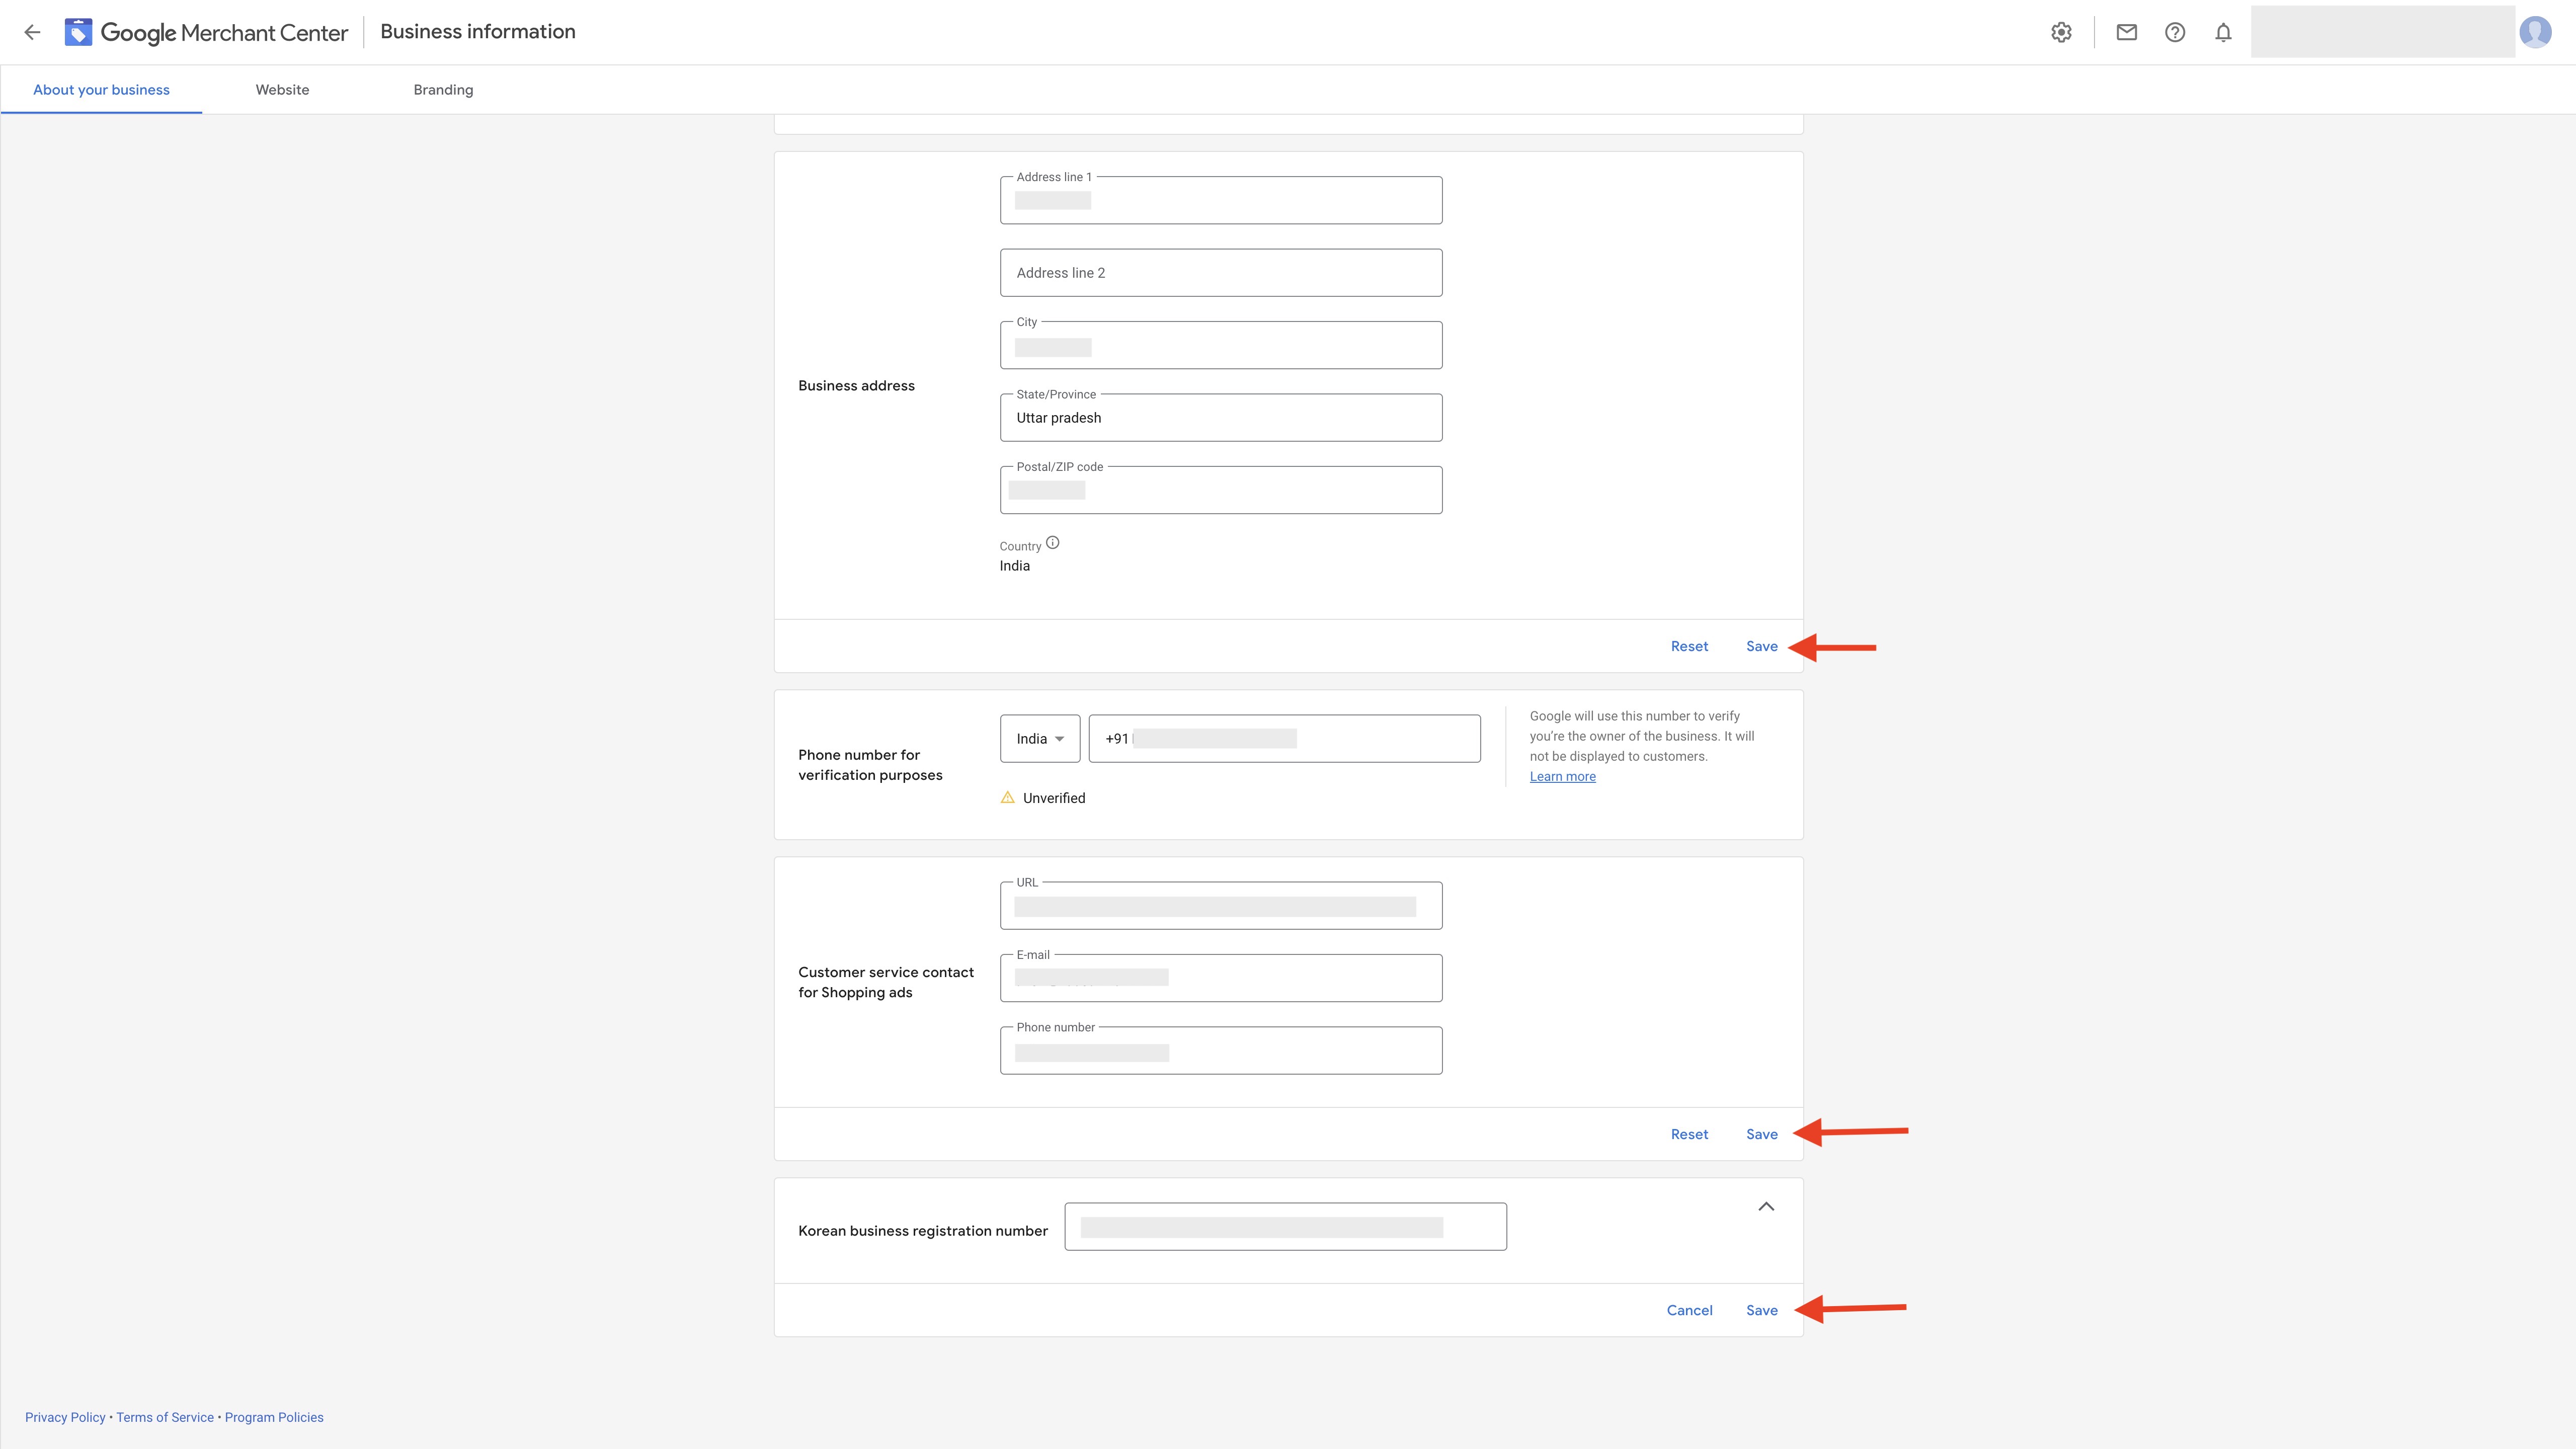 Step 12 : Once you have saved all the details, click on the Website tab at the top of the page.
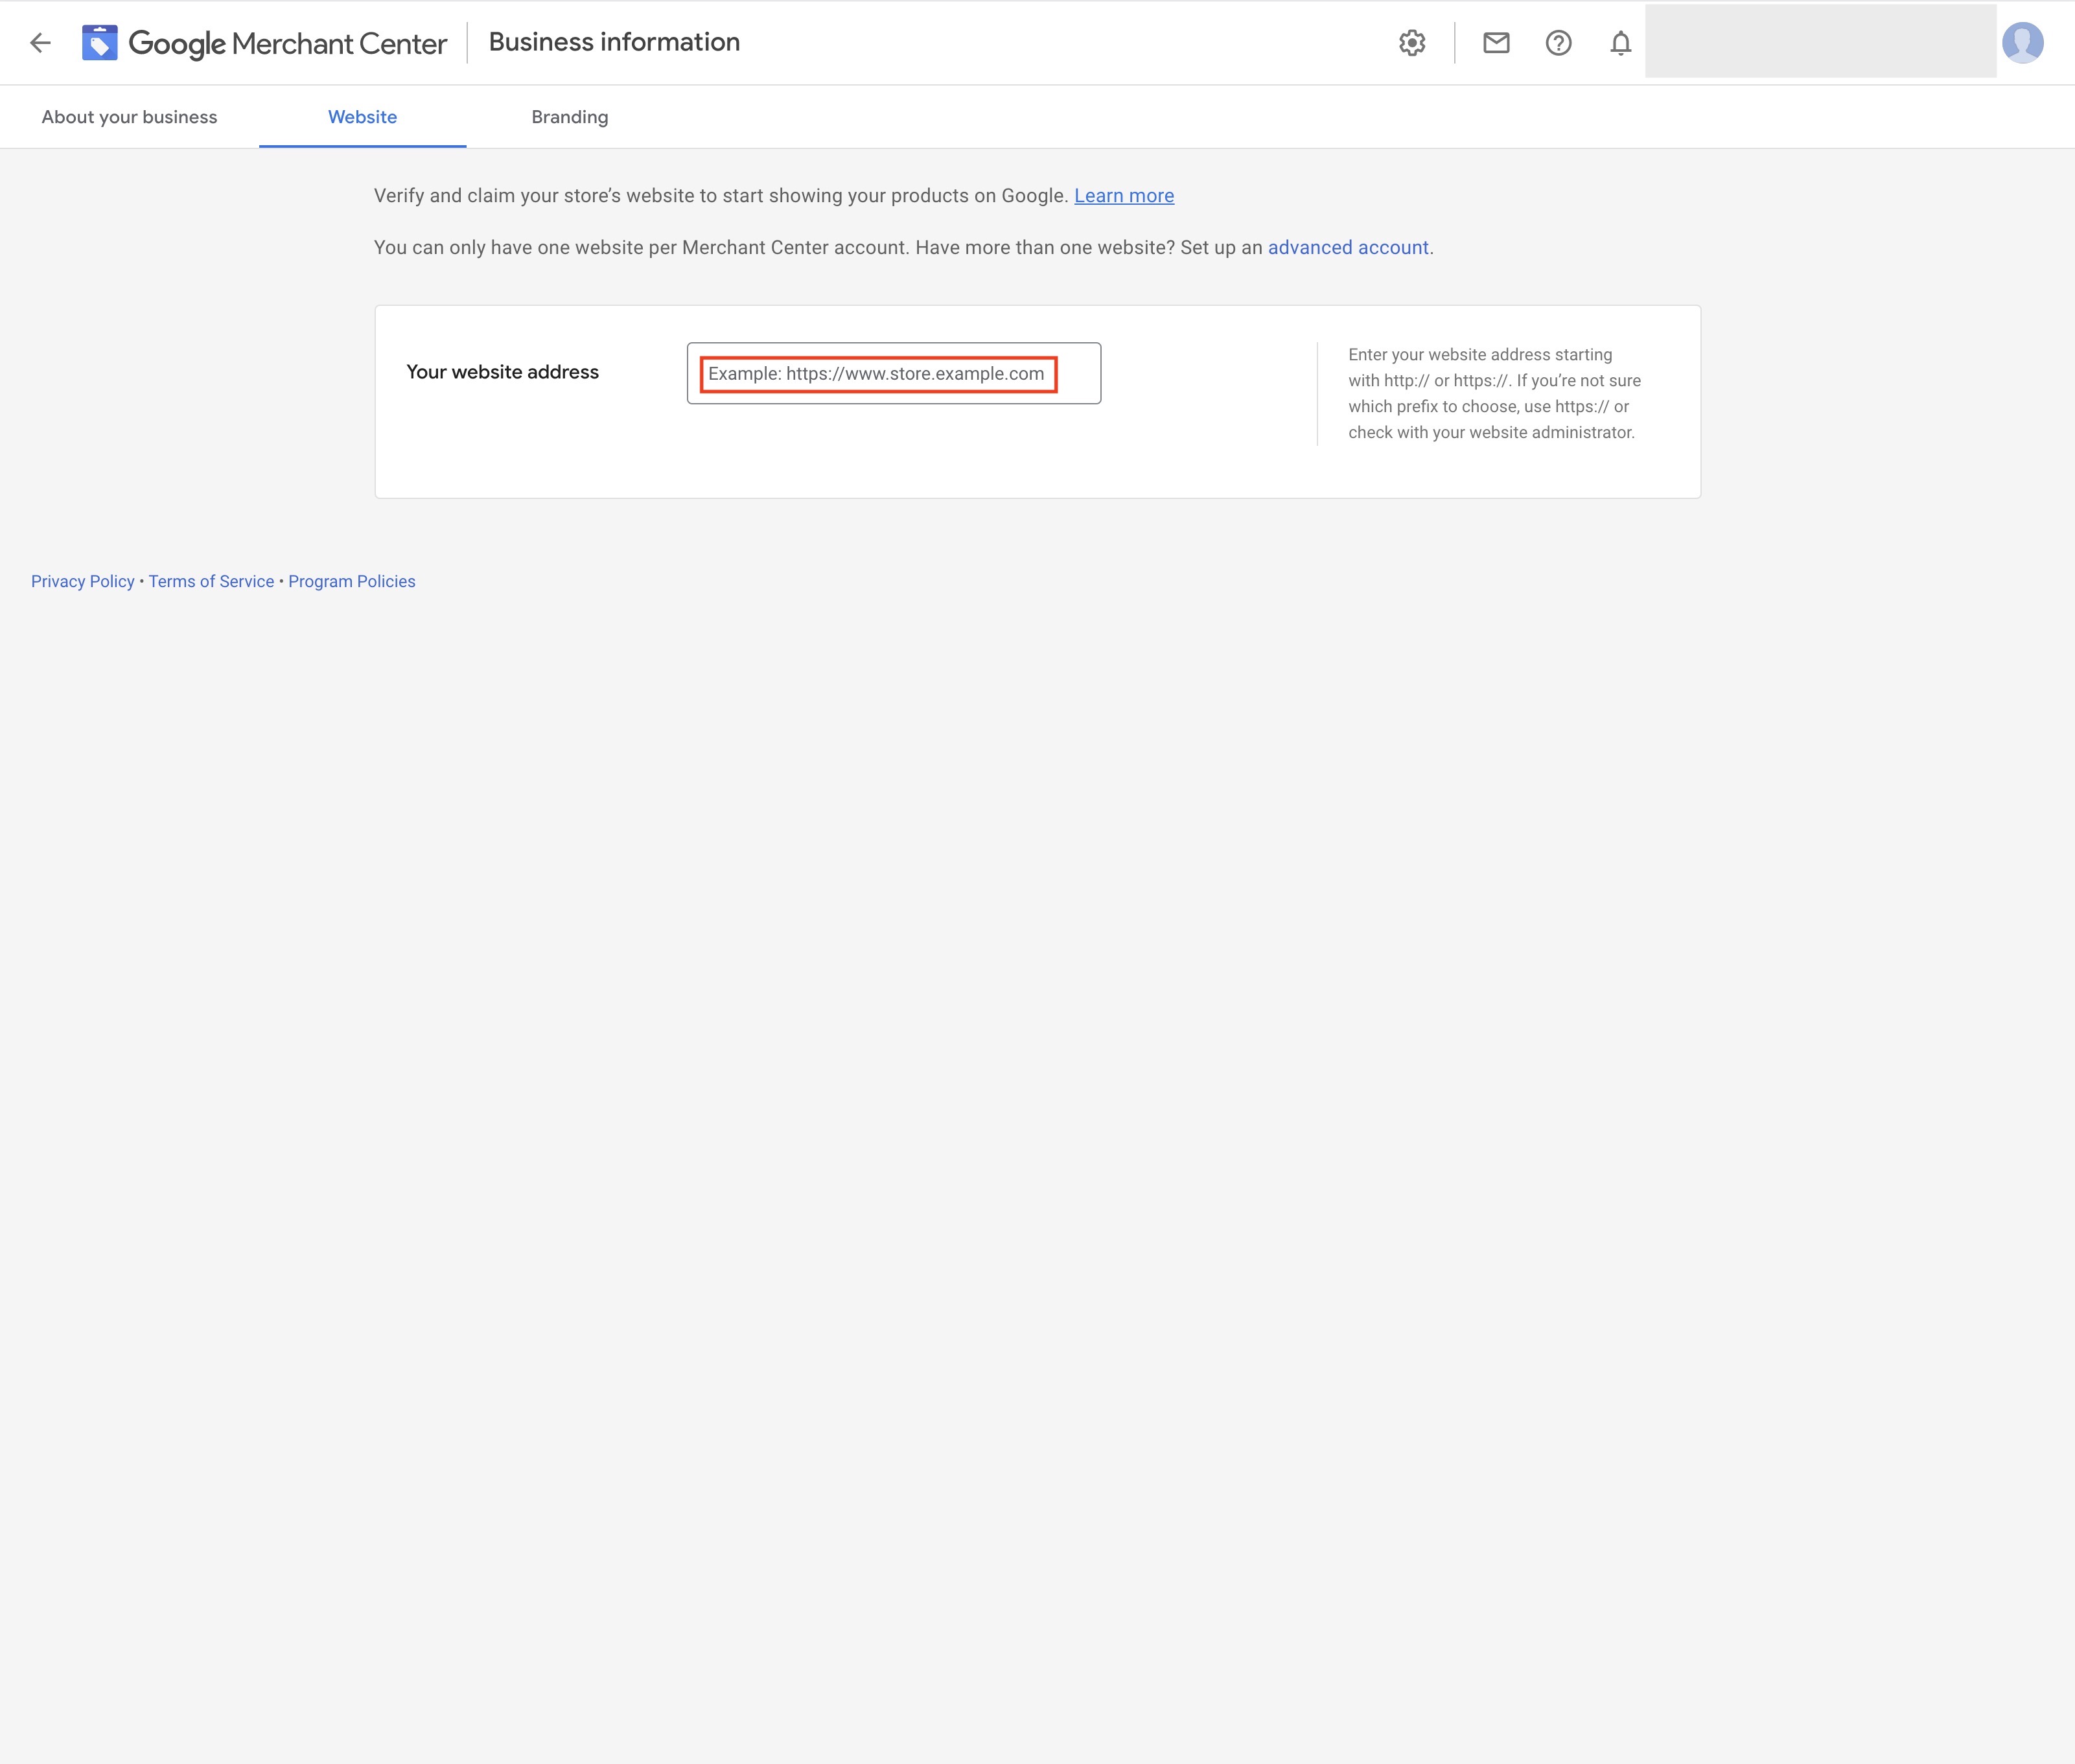
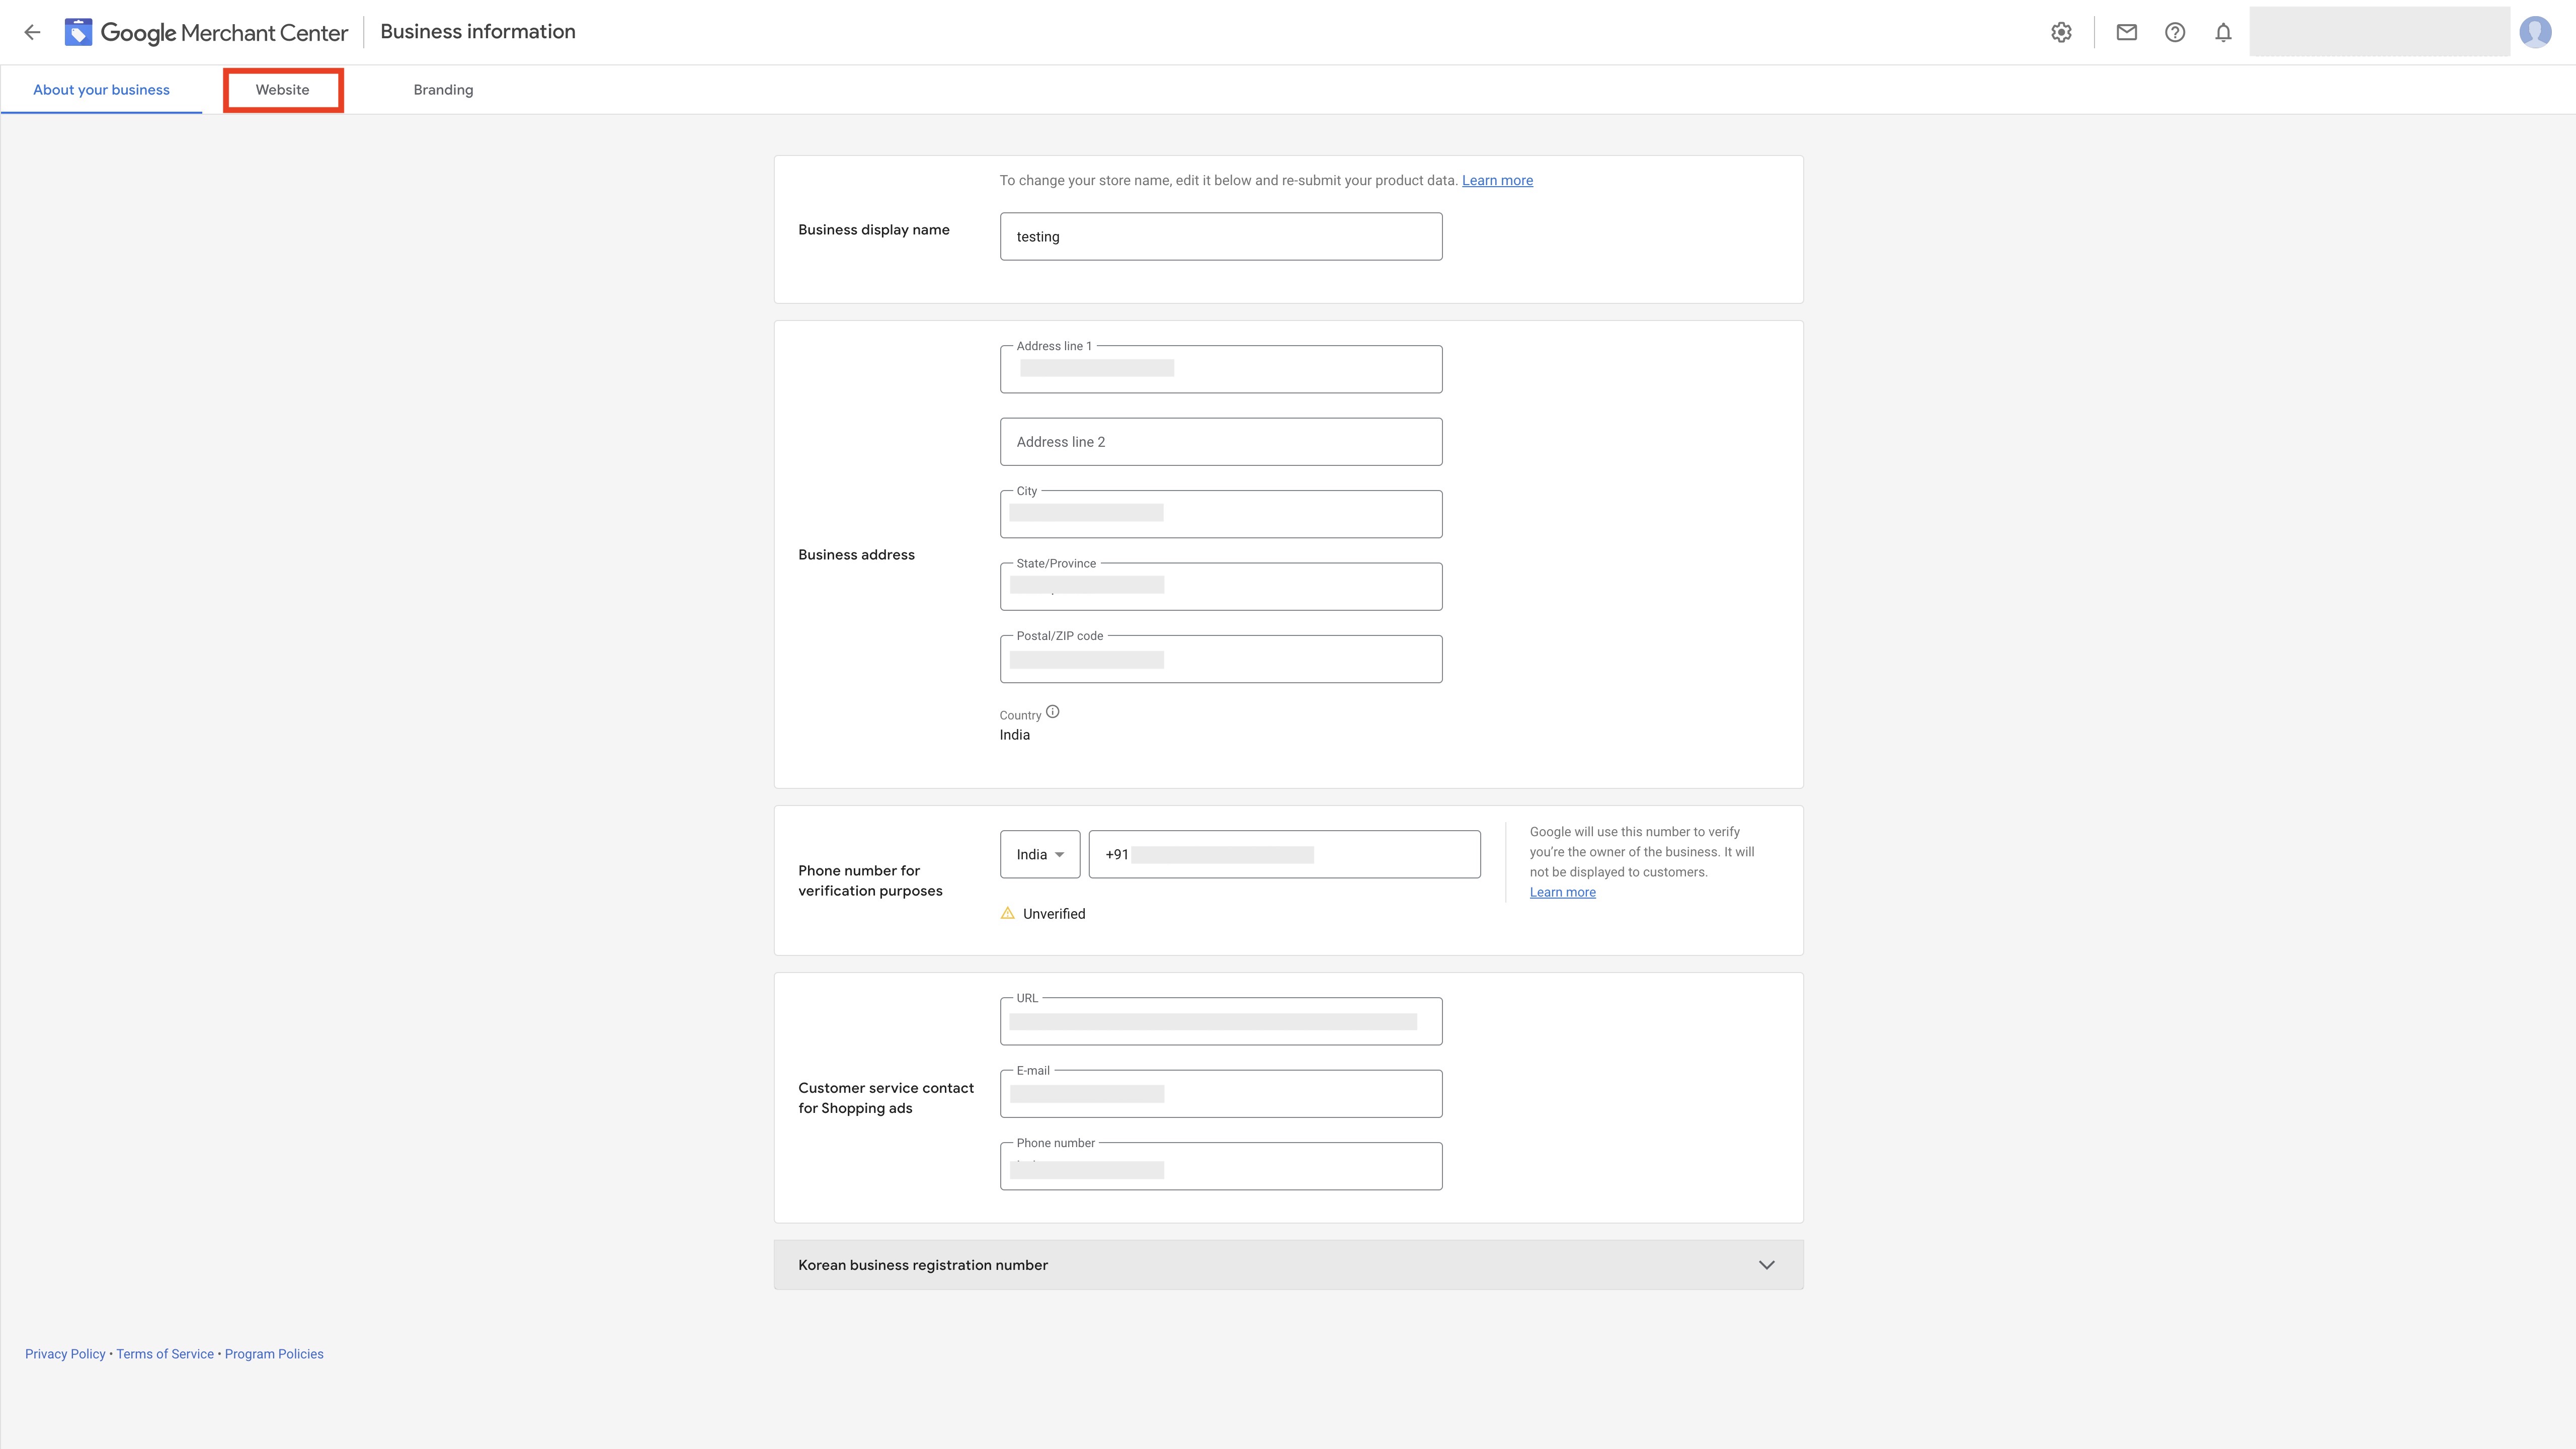
Step 13 : Enter your website address starting with http:// or https://. If you’re not sure which prefix to choose, use https:// or check with your website administrator.
Step 14 : Once you have provided your website address, click on Continue.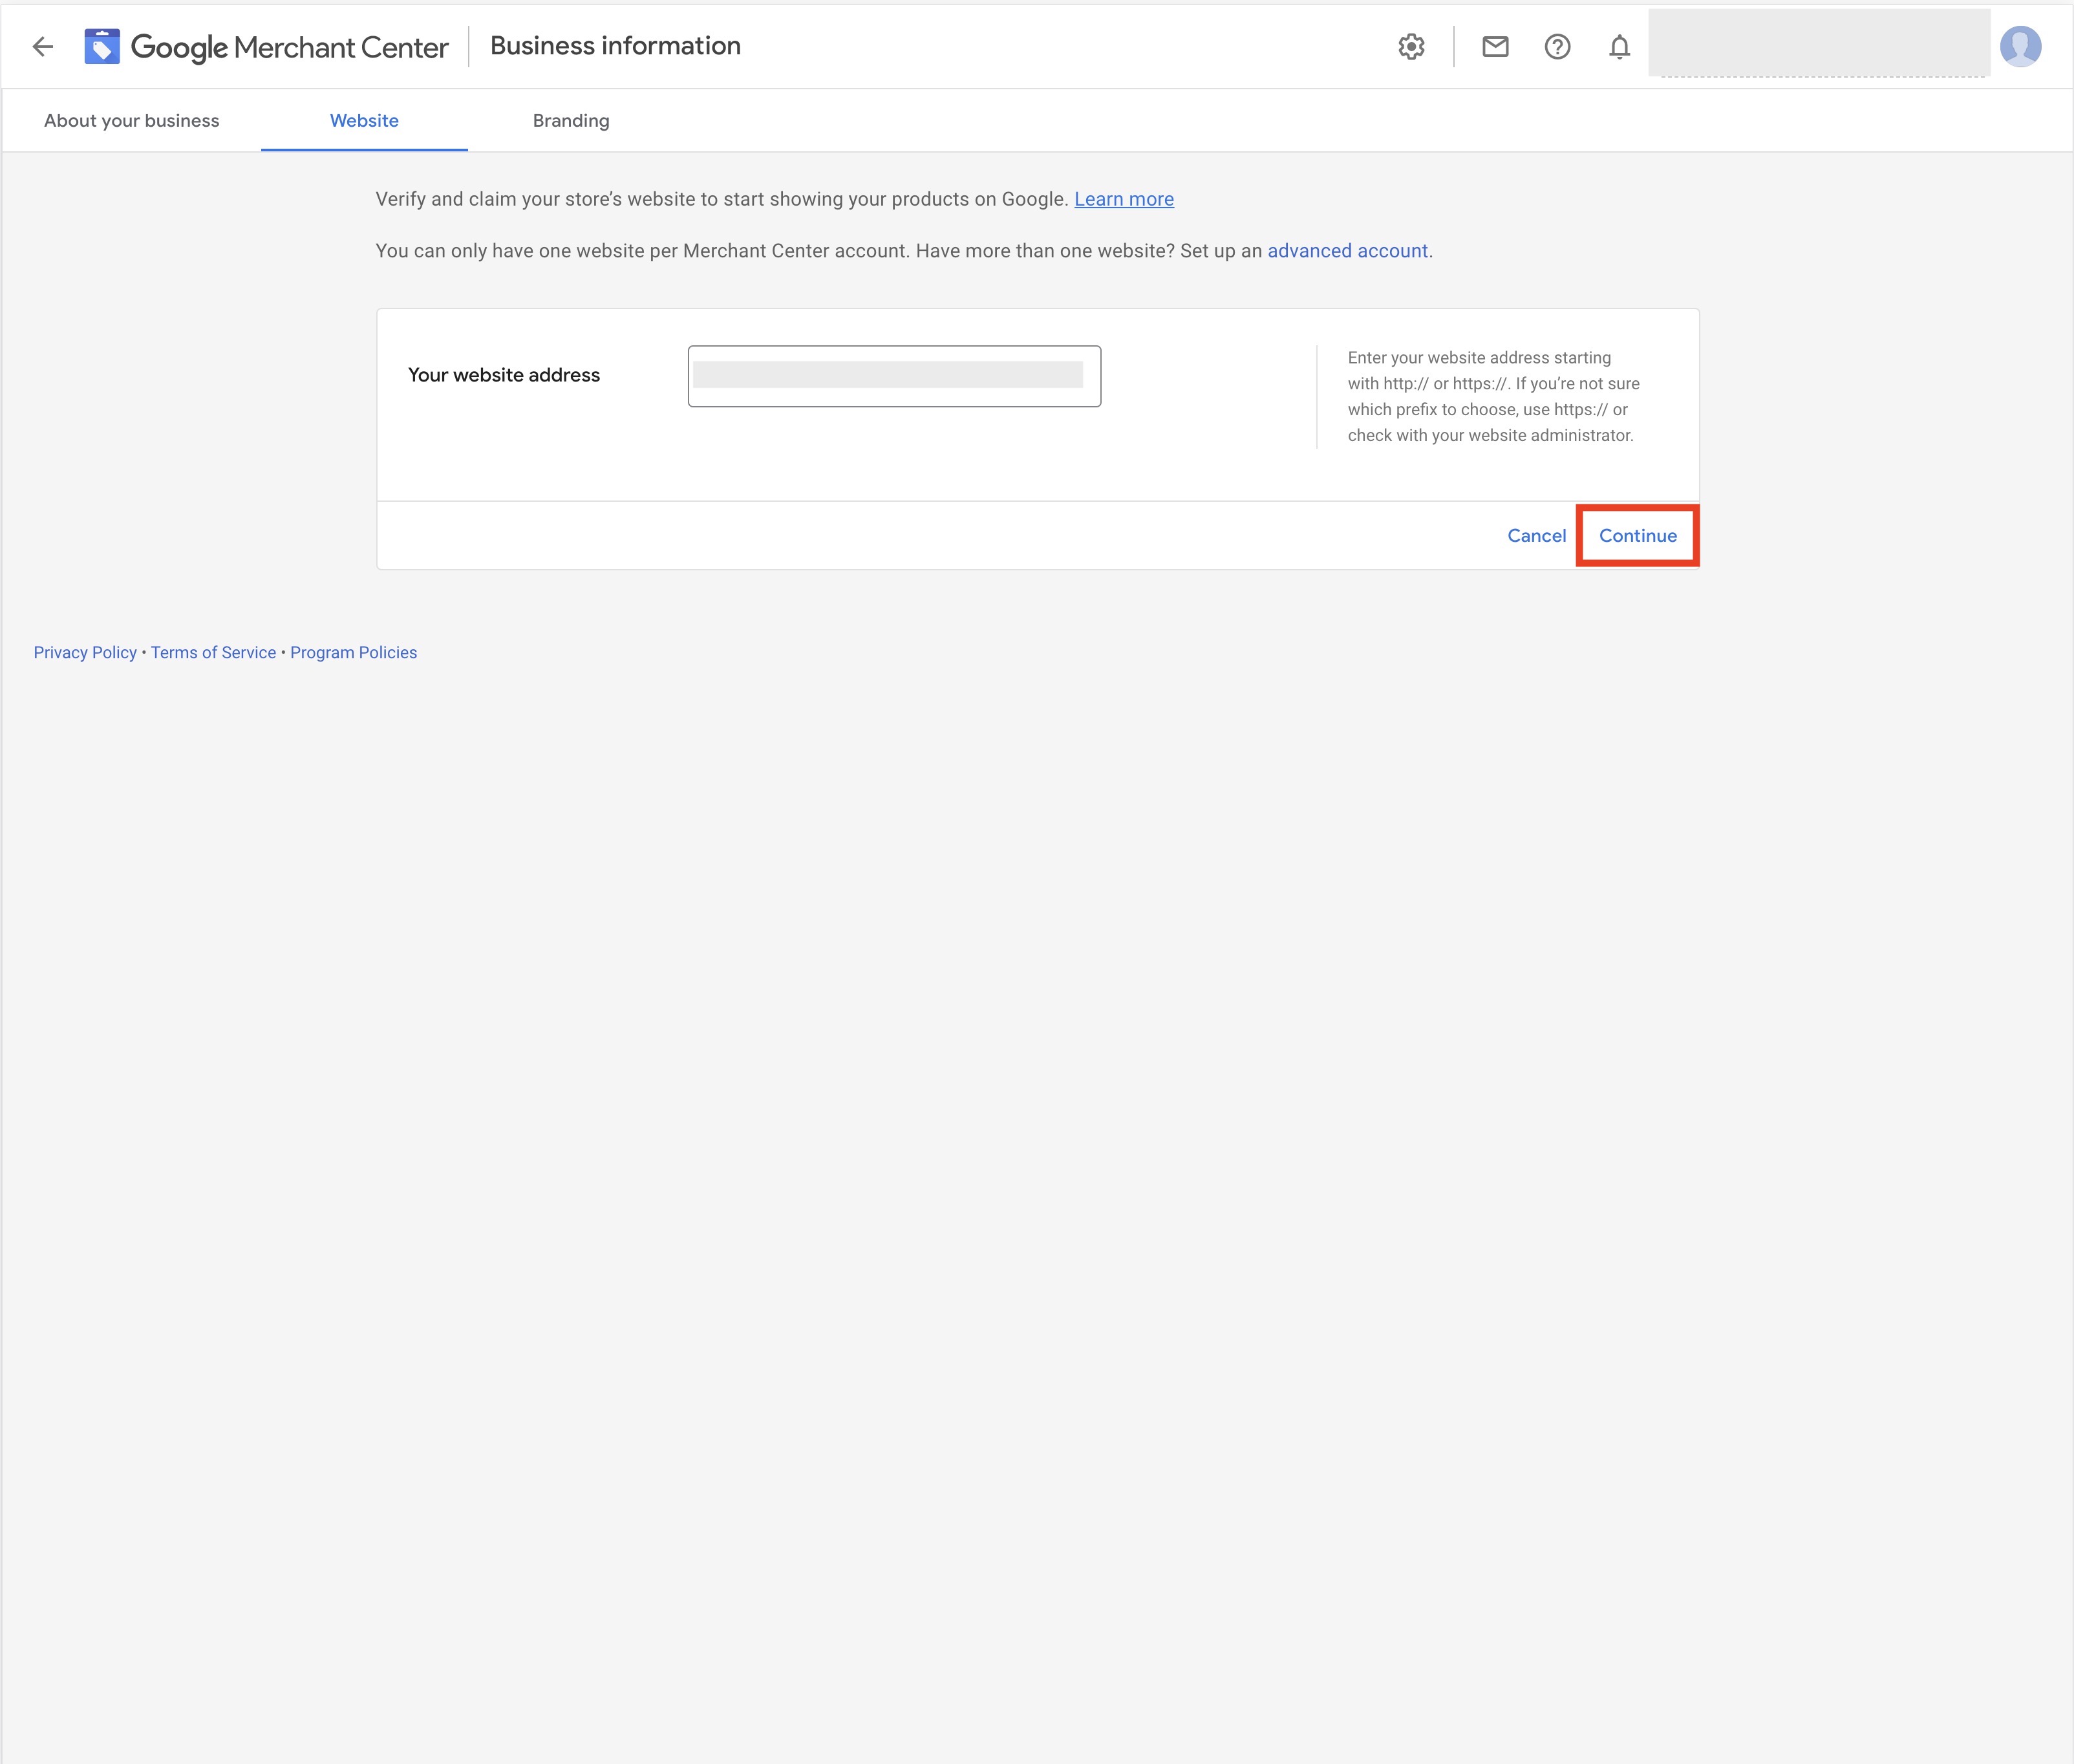
Step 15 : Select your preferred method to verify your website.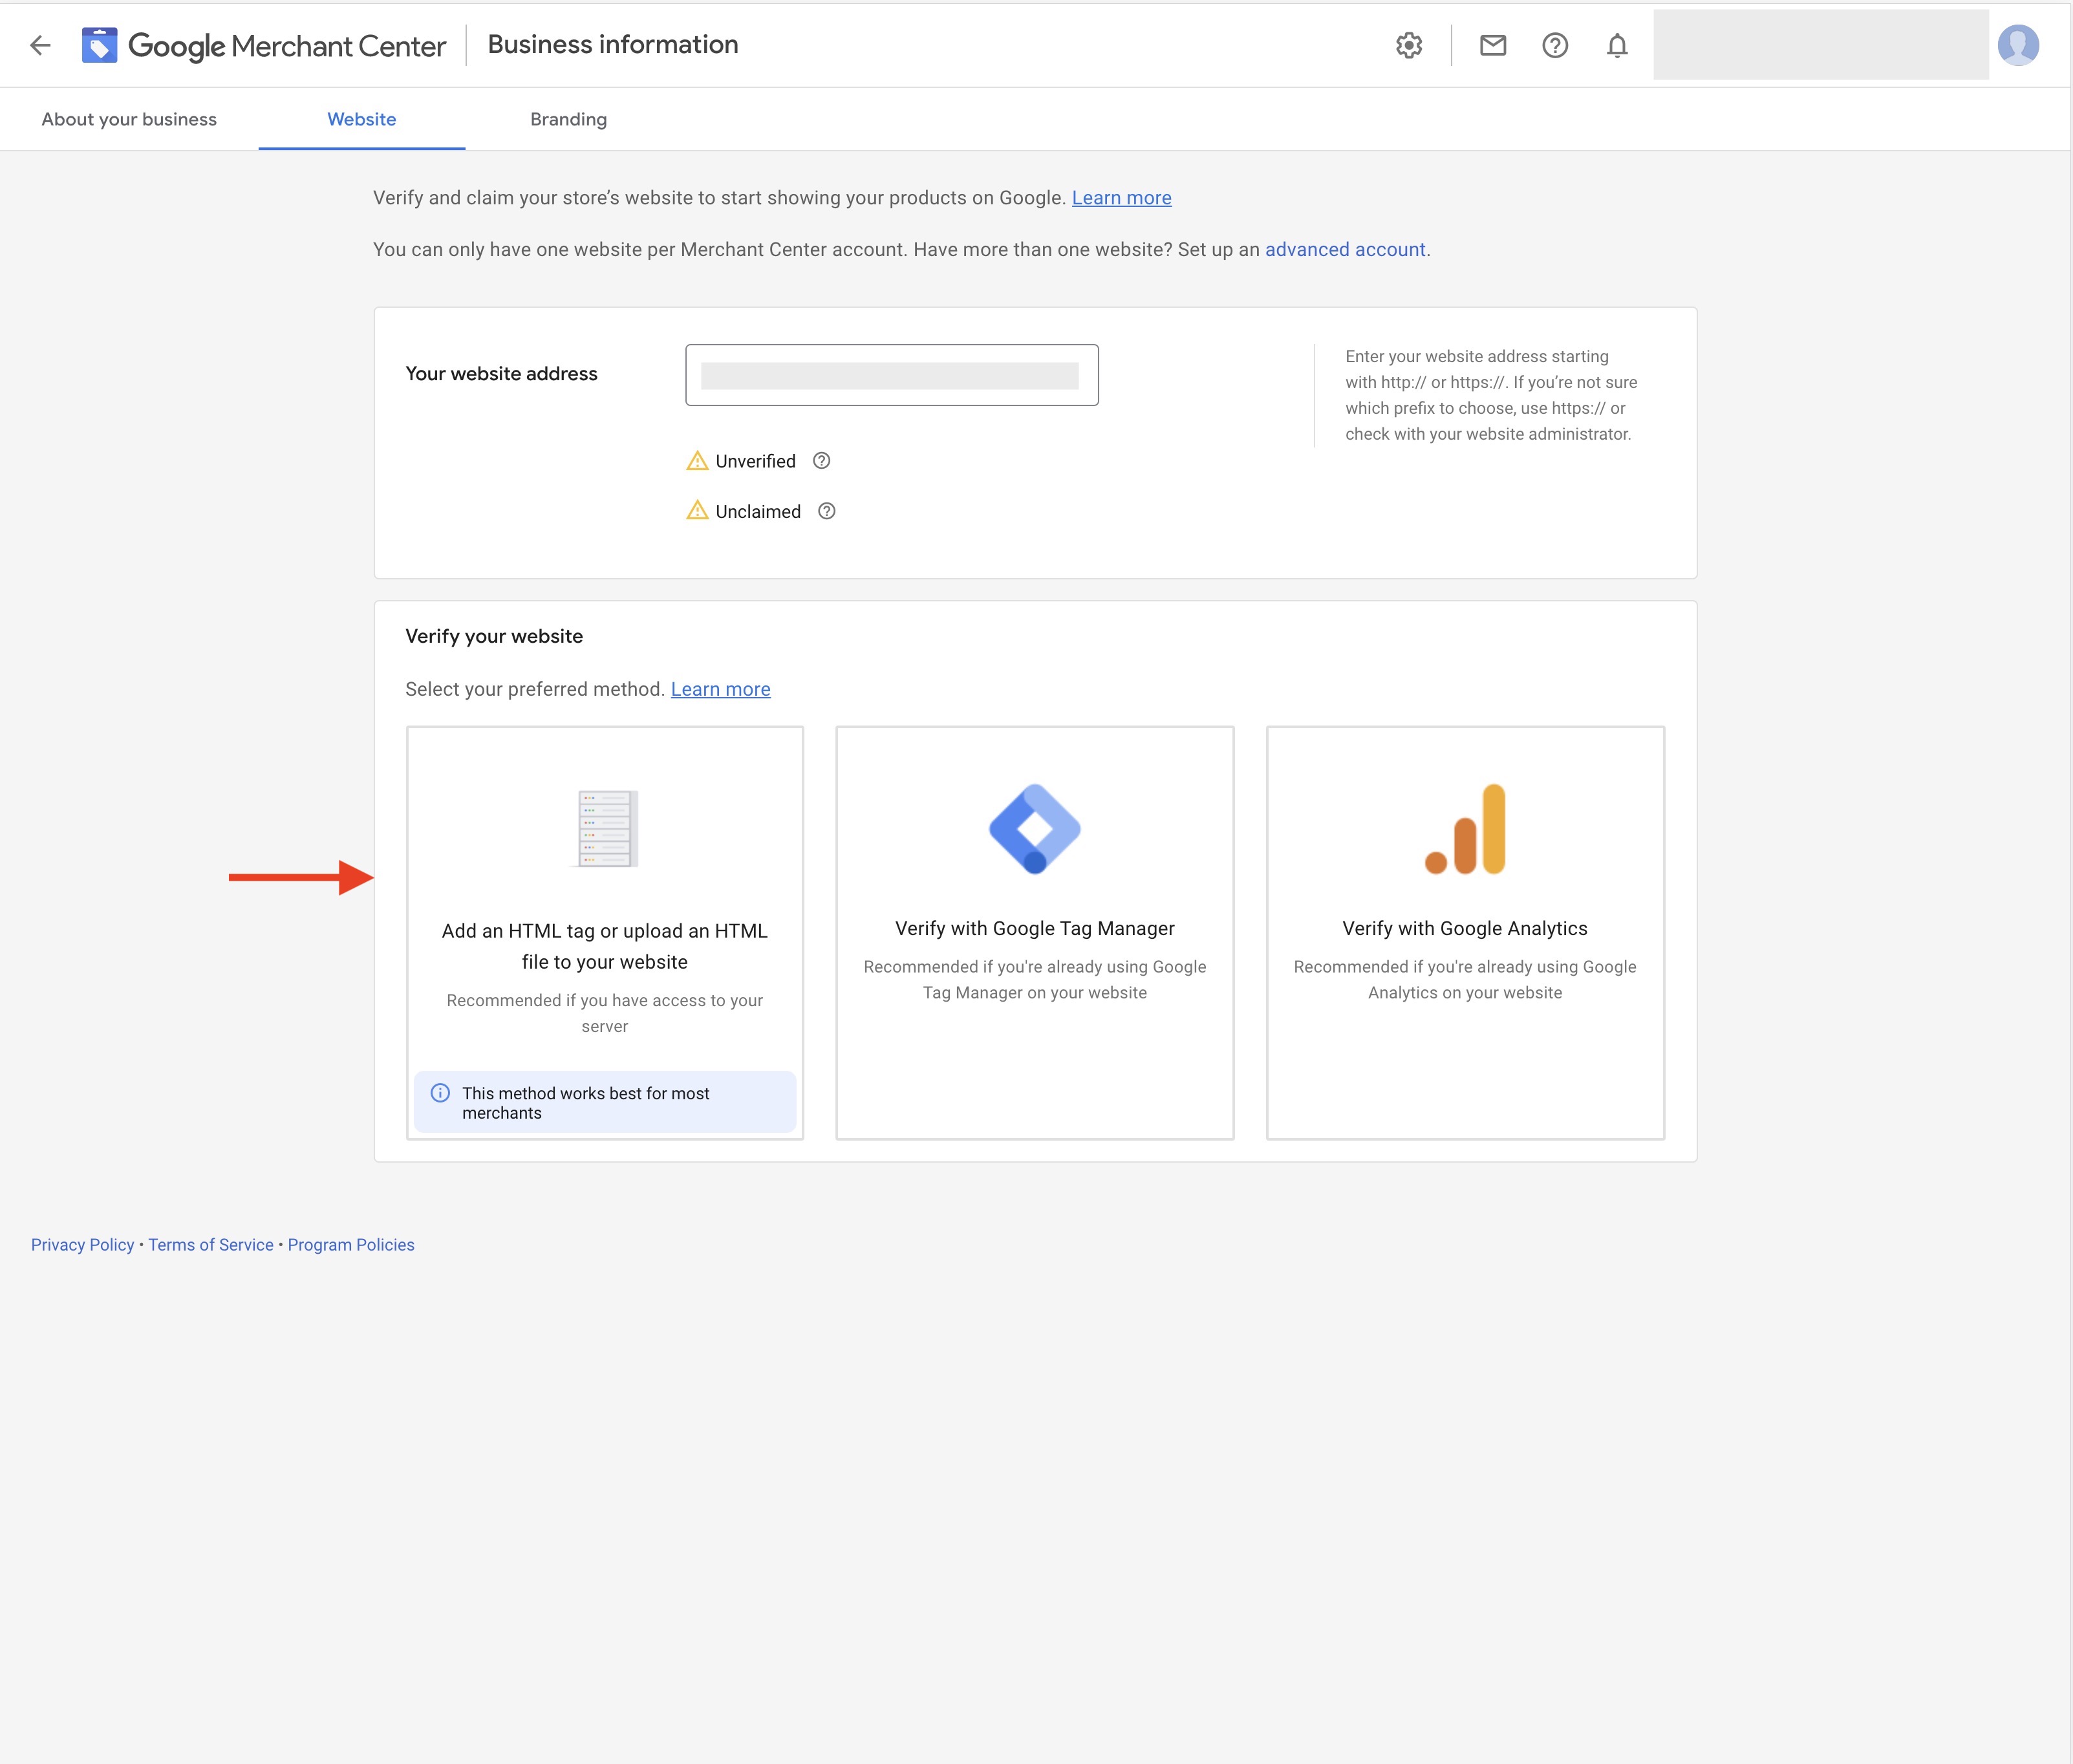
Step 16 : After selecting your website verification method and following the verification instructions, click on Verify Website. Once you have verified your website, click on the Branding tab to upload your store’s logos and advertise your products on Google.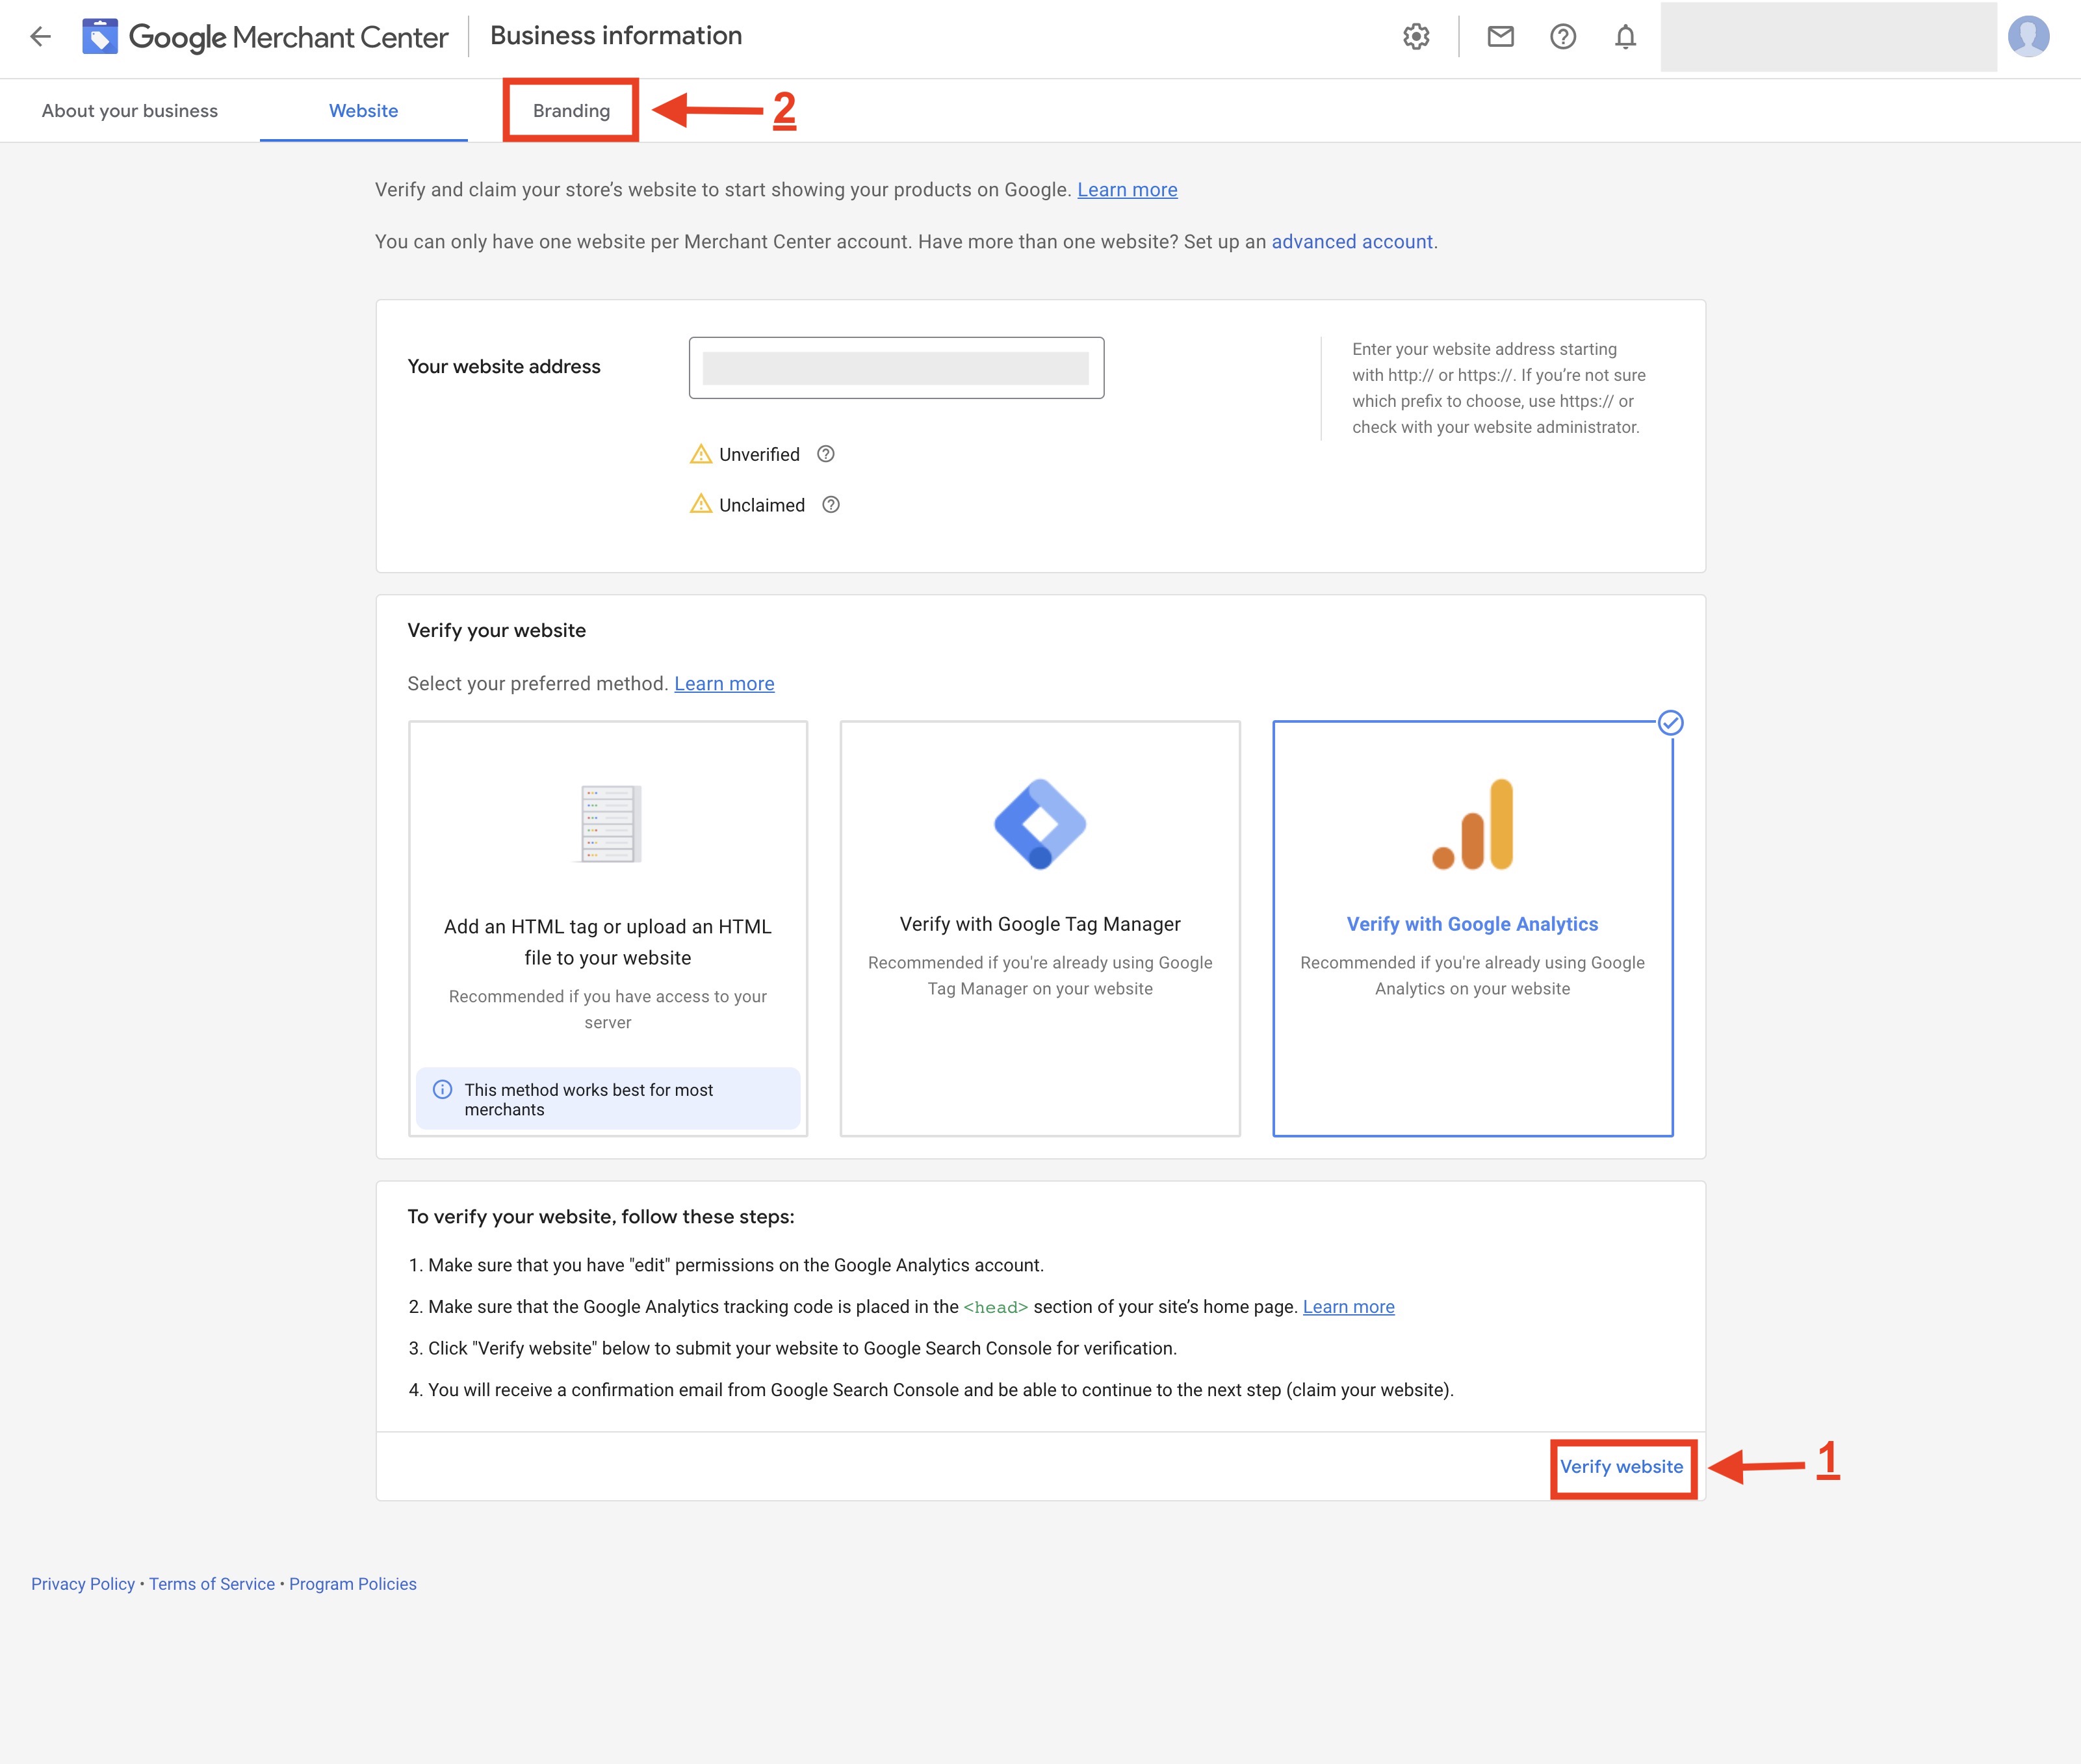
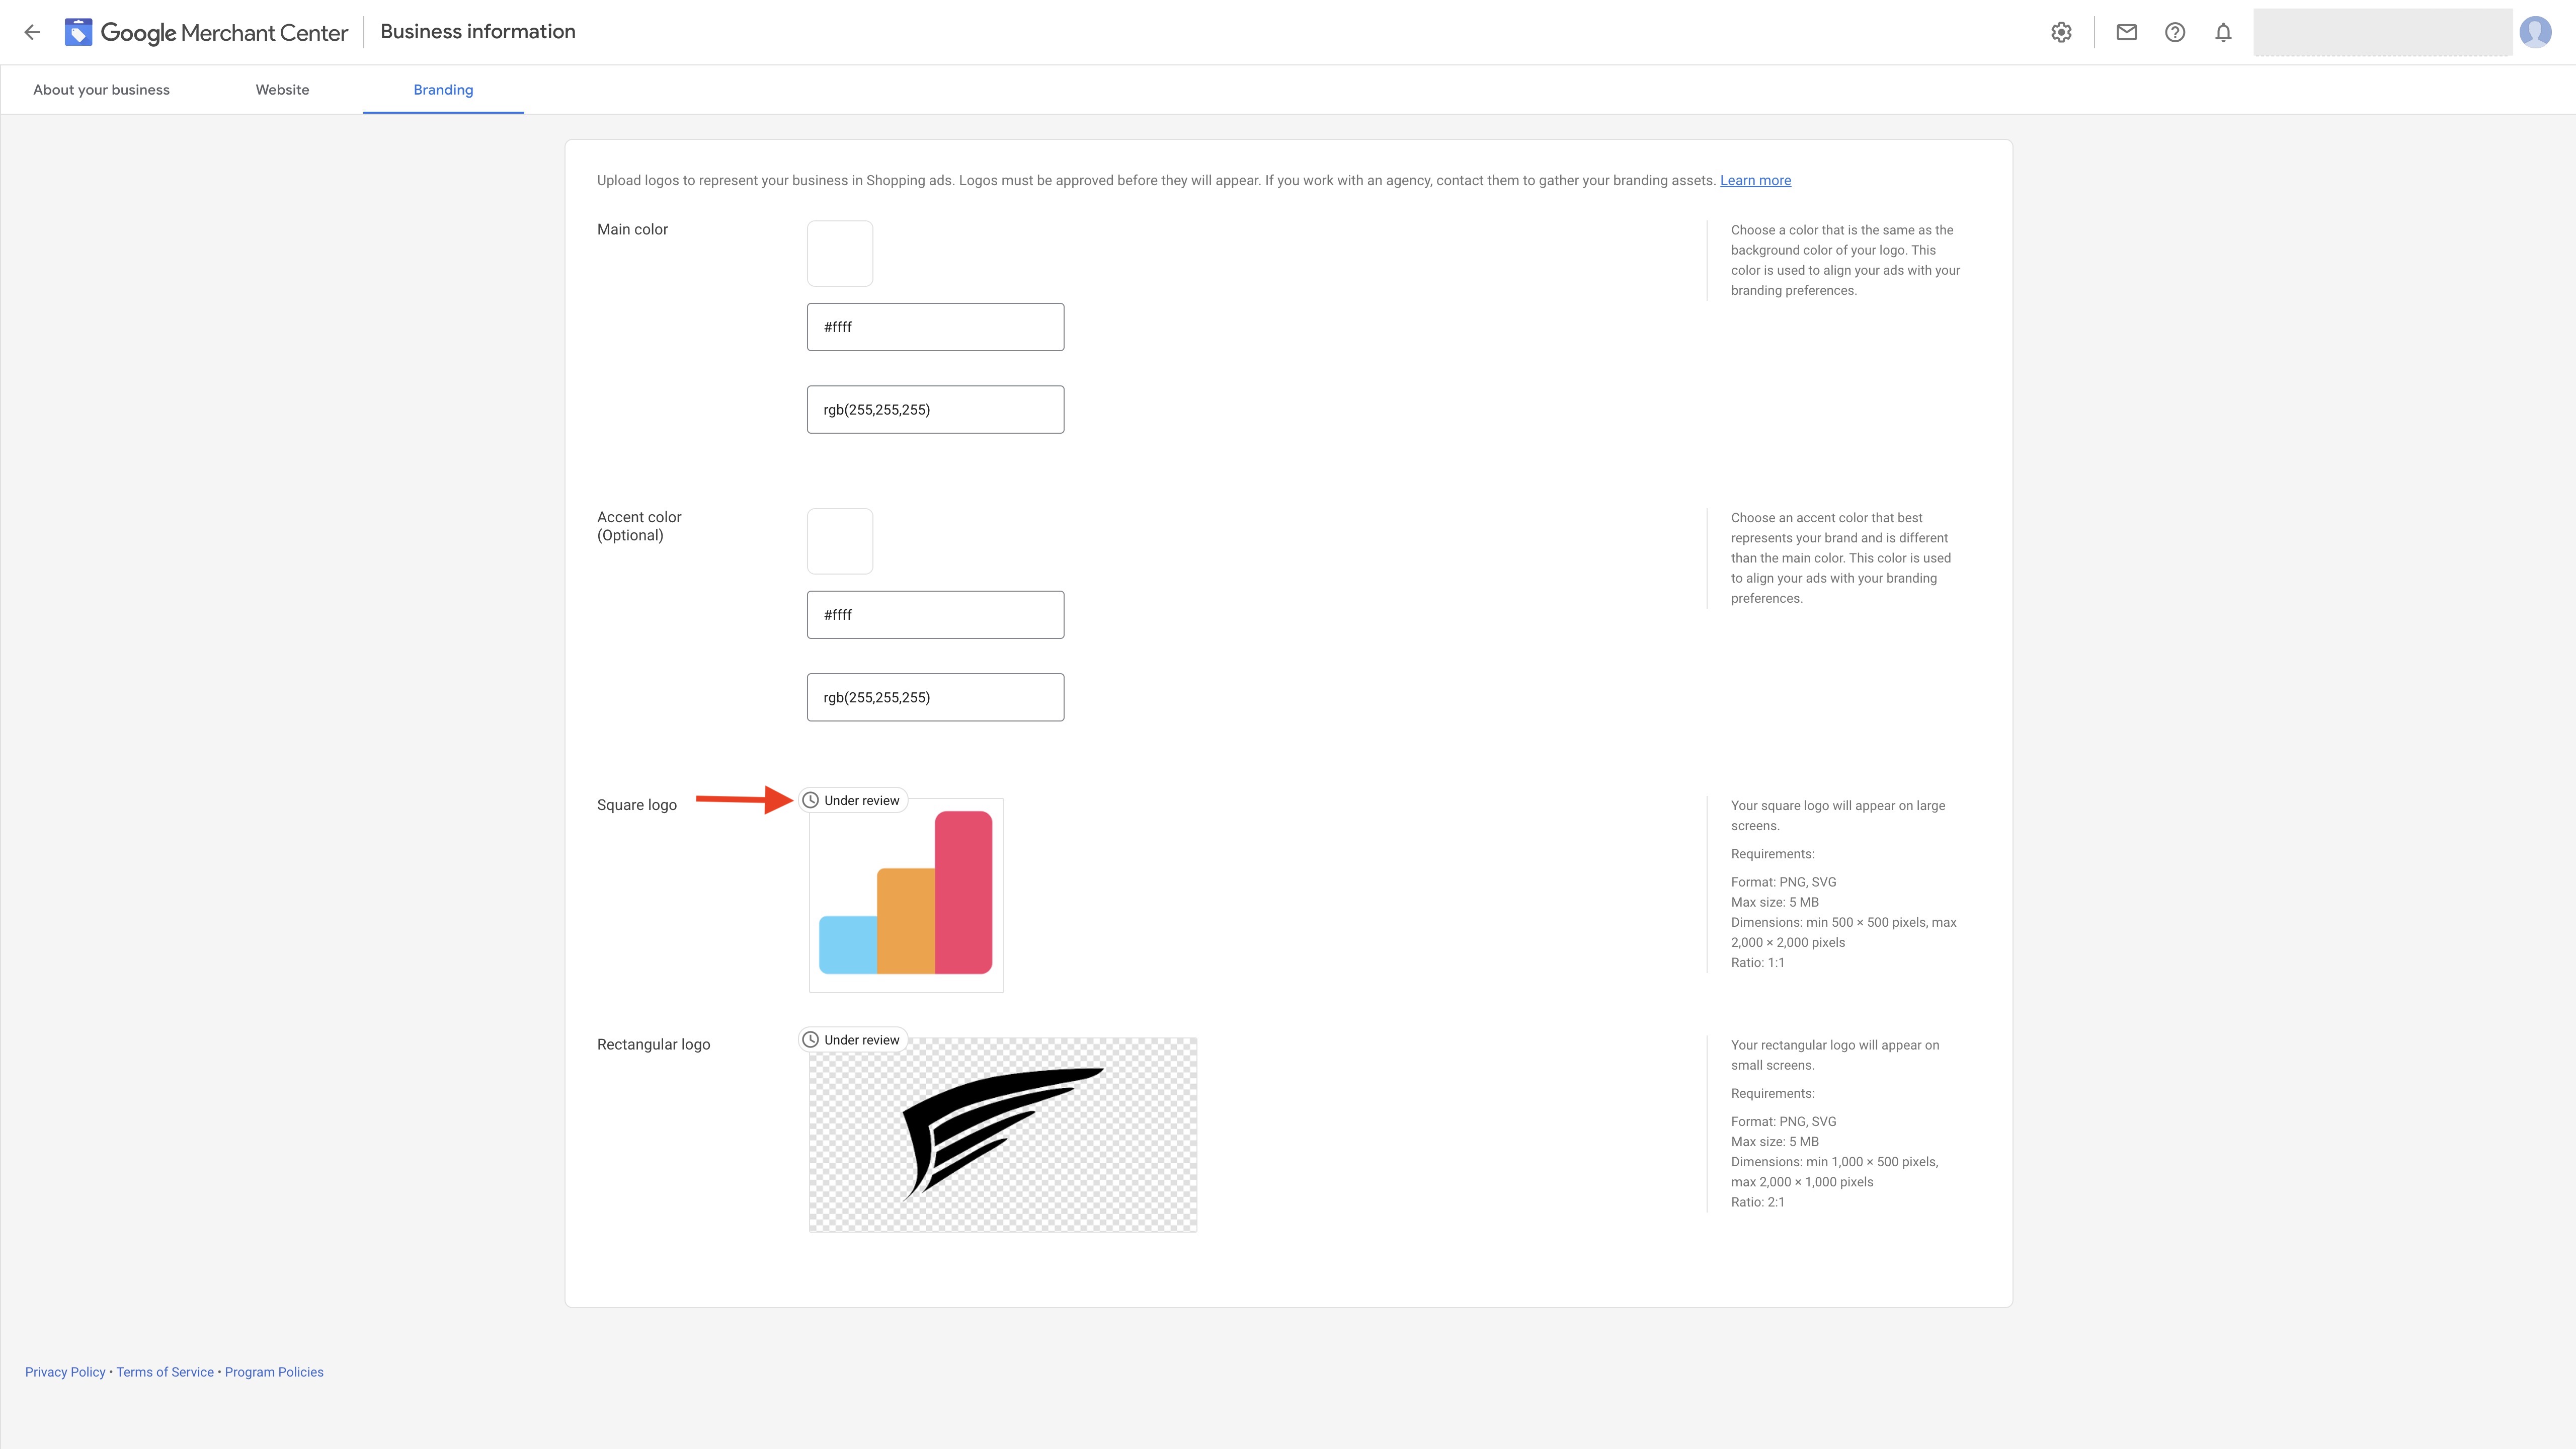
Step 17 : Provide your brand’s main and accent colors (optional) to ensure that your Display ads appear more prominently against different colored backgrounds. Also, upload a square logo and a rectangular logo.
Note: You can find the requirements, max file size, and dimensions for the logo shape of your choice on the right side of the page (either square or rectangle). If your image doesn't fit into either set of these requirements, it won't upload and you'll receive an error message. 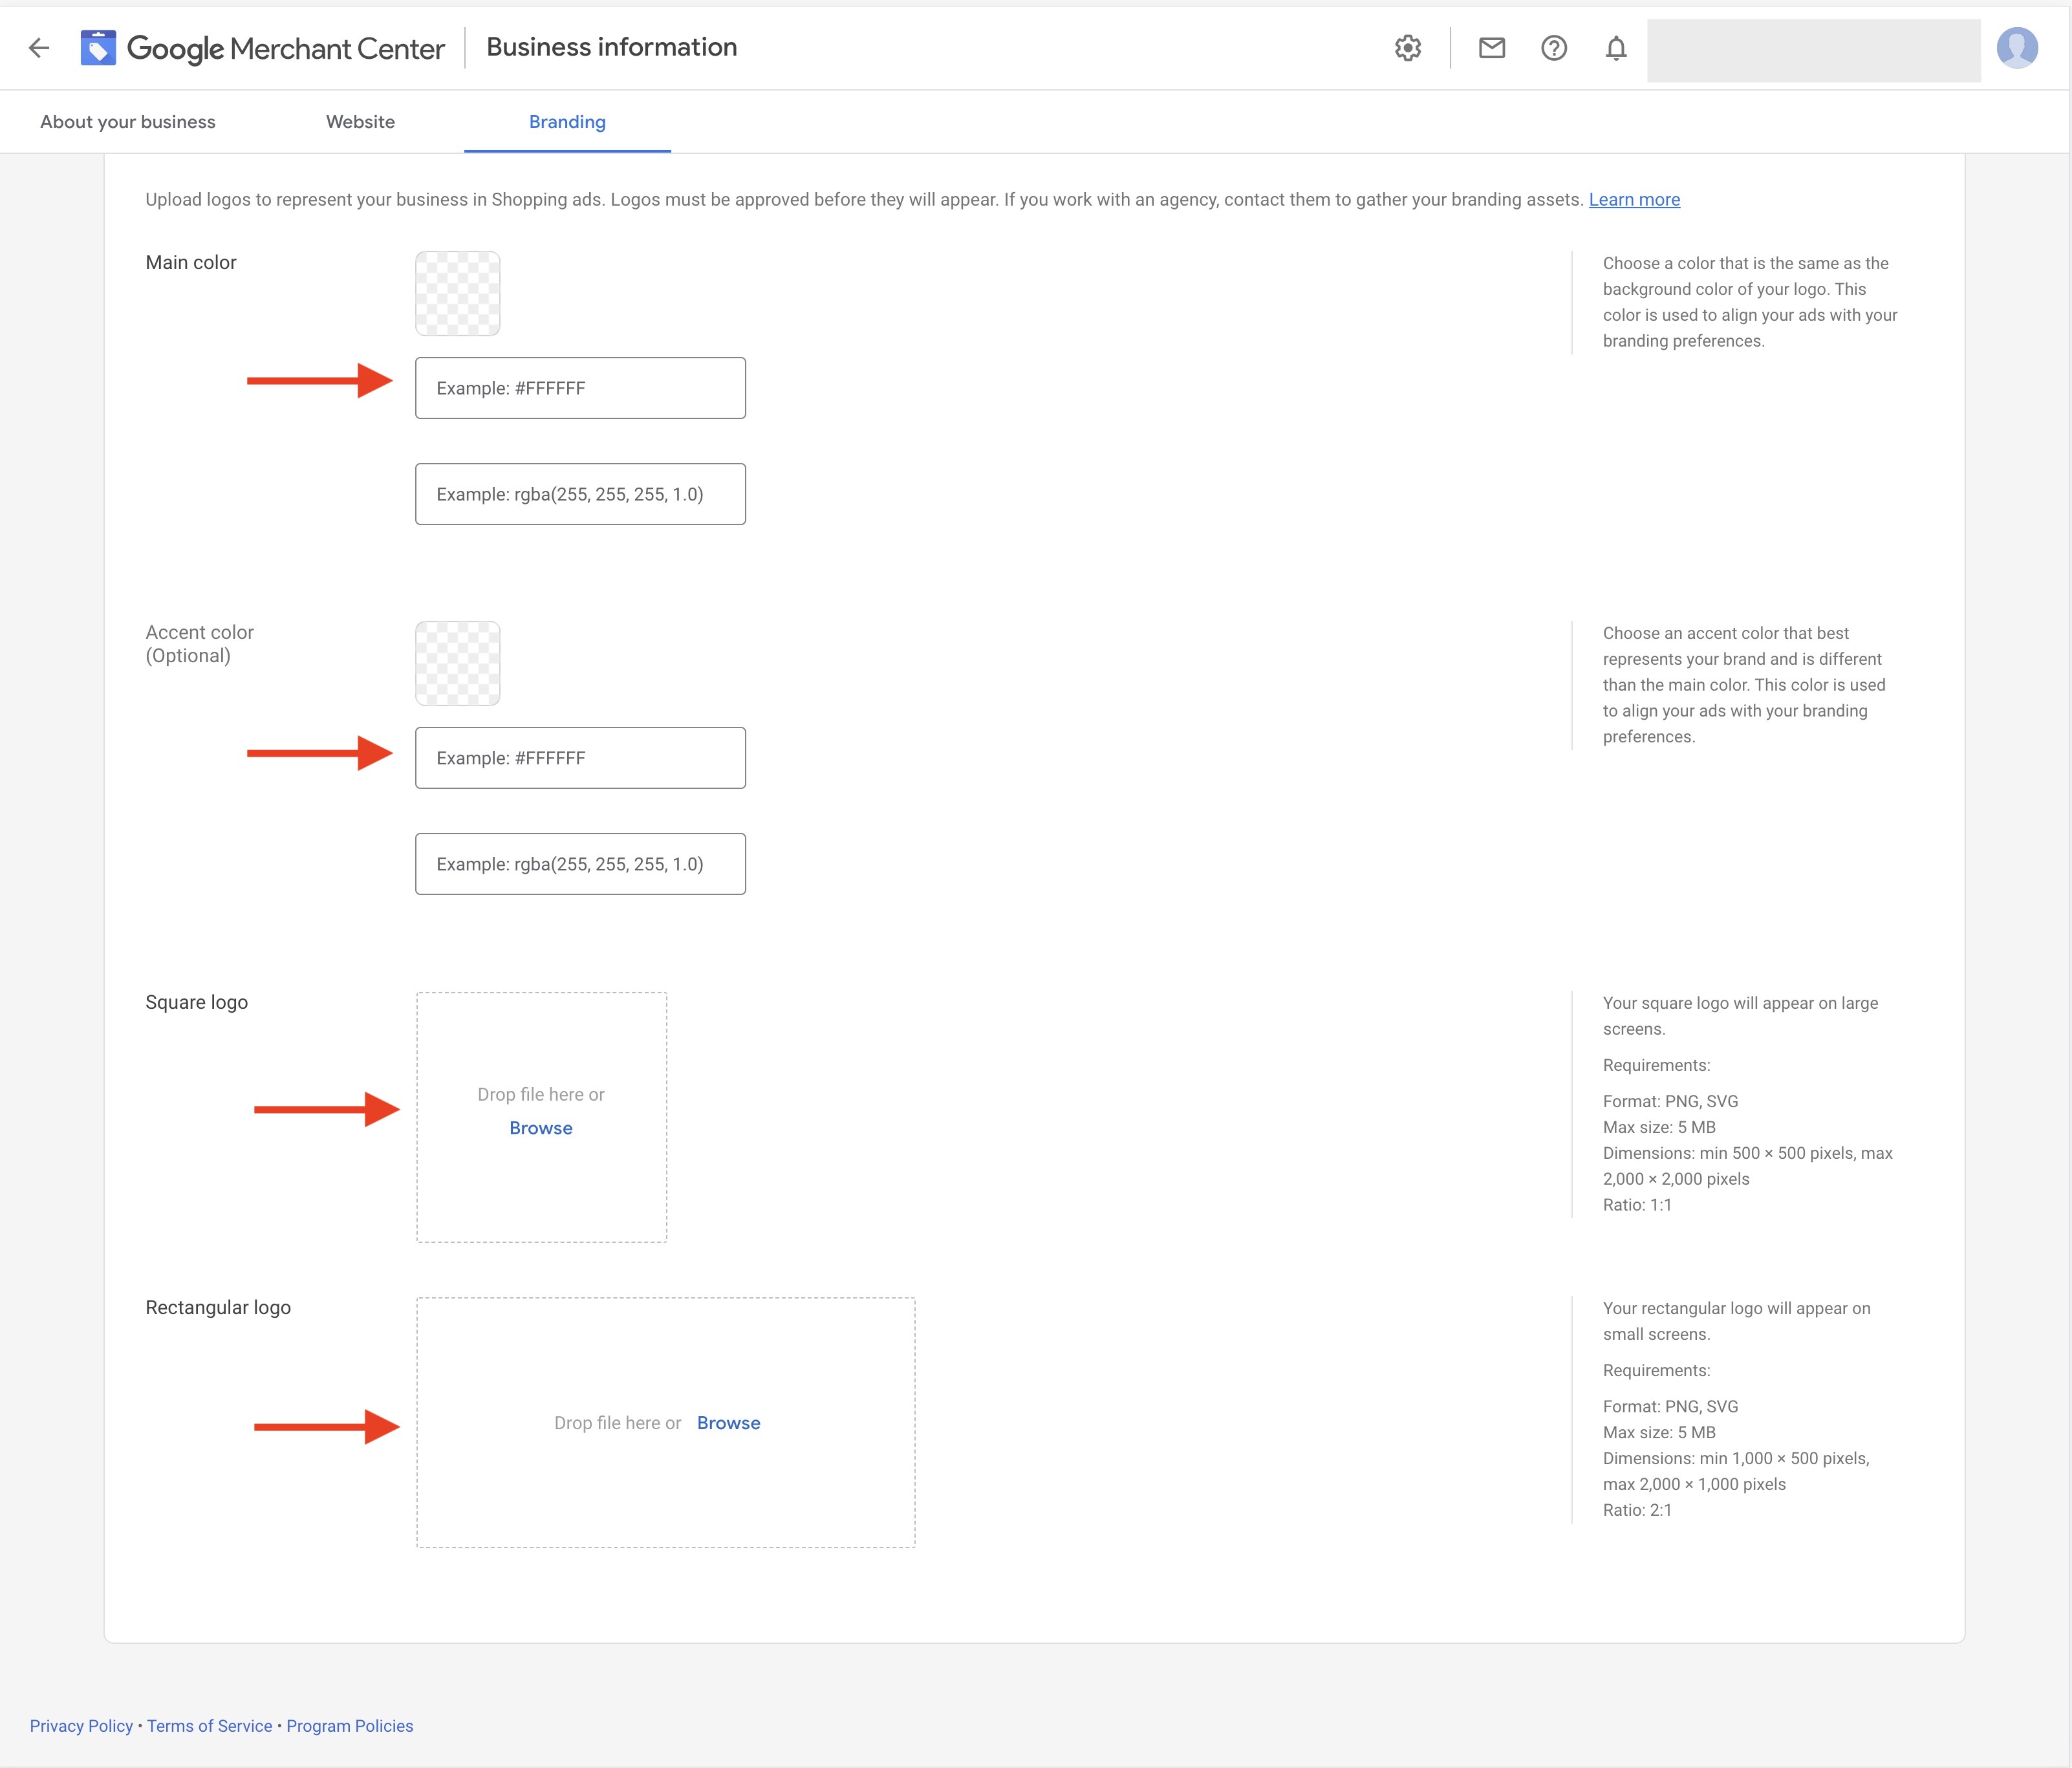
Step 18 : Once you have uploaded the square logo and the rectangular logo successfully, the logos will undergo a manual review in Merchant Centre. After the logos have been approved, they will reflect in your store branding.