How to Transfer Your App from One Apple Developer Account to Another?
You can easily transfer your app from one Apple Developer Account to another without even removing the app from the App Store. The reason for transferring your iOS app may vary from changing the ownership of your app to making an app more compliant with Apple’s latest app store guidelines. But, the best part is even if you transfer the app, your app will retain its reviews and ratings and users will still have access to future updates.
Follow the steps below for transferring your app from one developer account to another:
Step 1: Verify that your app is transferable
Before you can transfer your app, ensure that your app meets specific criteria. For instance: The App must have at least one version that is live on the App Store. For checking all the criteria that need to be fulfilled, refer to Apple’s App Transfer Criteria.
Step 2: Back-Up All App Information
Before you initiate an app transfer, back up all of the app’s information since the app is removed from your account after an app transfer.
Step 3: Get the Apple ID and Team ID of the Recipient Account Holder (Account Holder Of The Account You’re Transferring The App Into)
Before you begin, obtain the Apple ID and Team ID of the Account Holder of the Apple account that you’re transferring the app into. The Apple ID is the email address that the recipient’s Account Holder use to log in to their Apple Developer account whereas the Team ID is a unique identifier to the recipient’s Account Holder that is used for verification purposes.
The Recipient Account Holder can follow the below steps to find the Team ID:
1. The recipient should log in to their App Store Connect account.
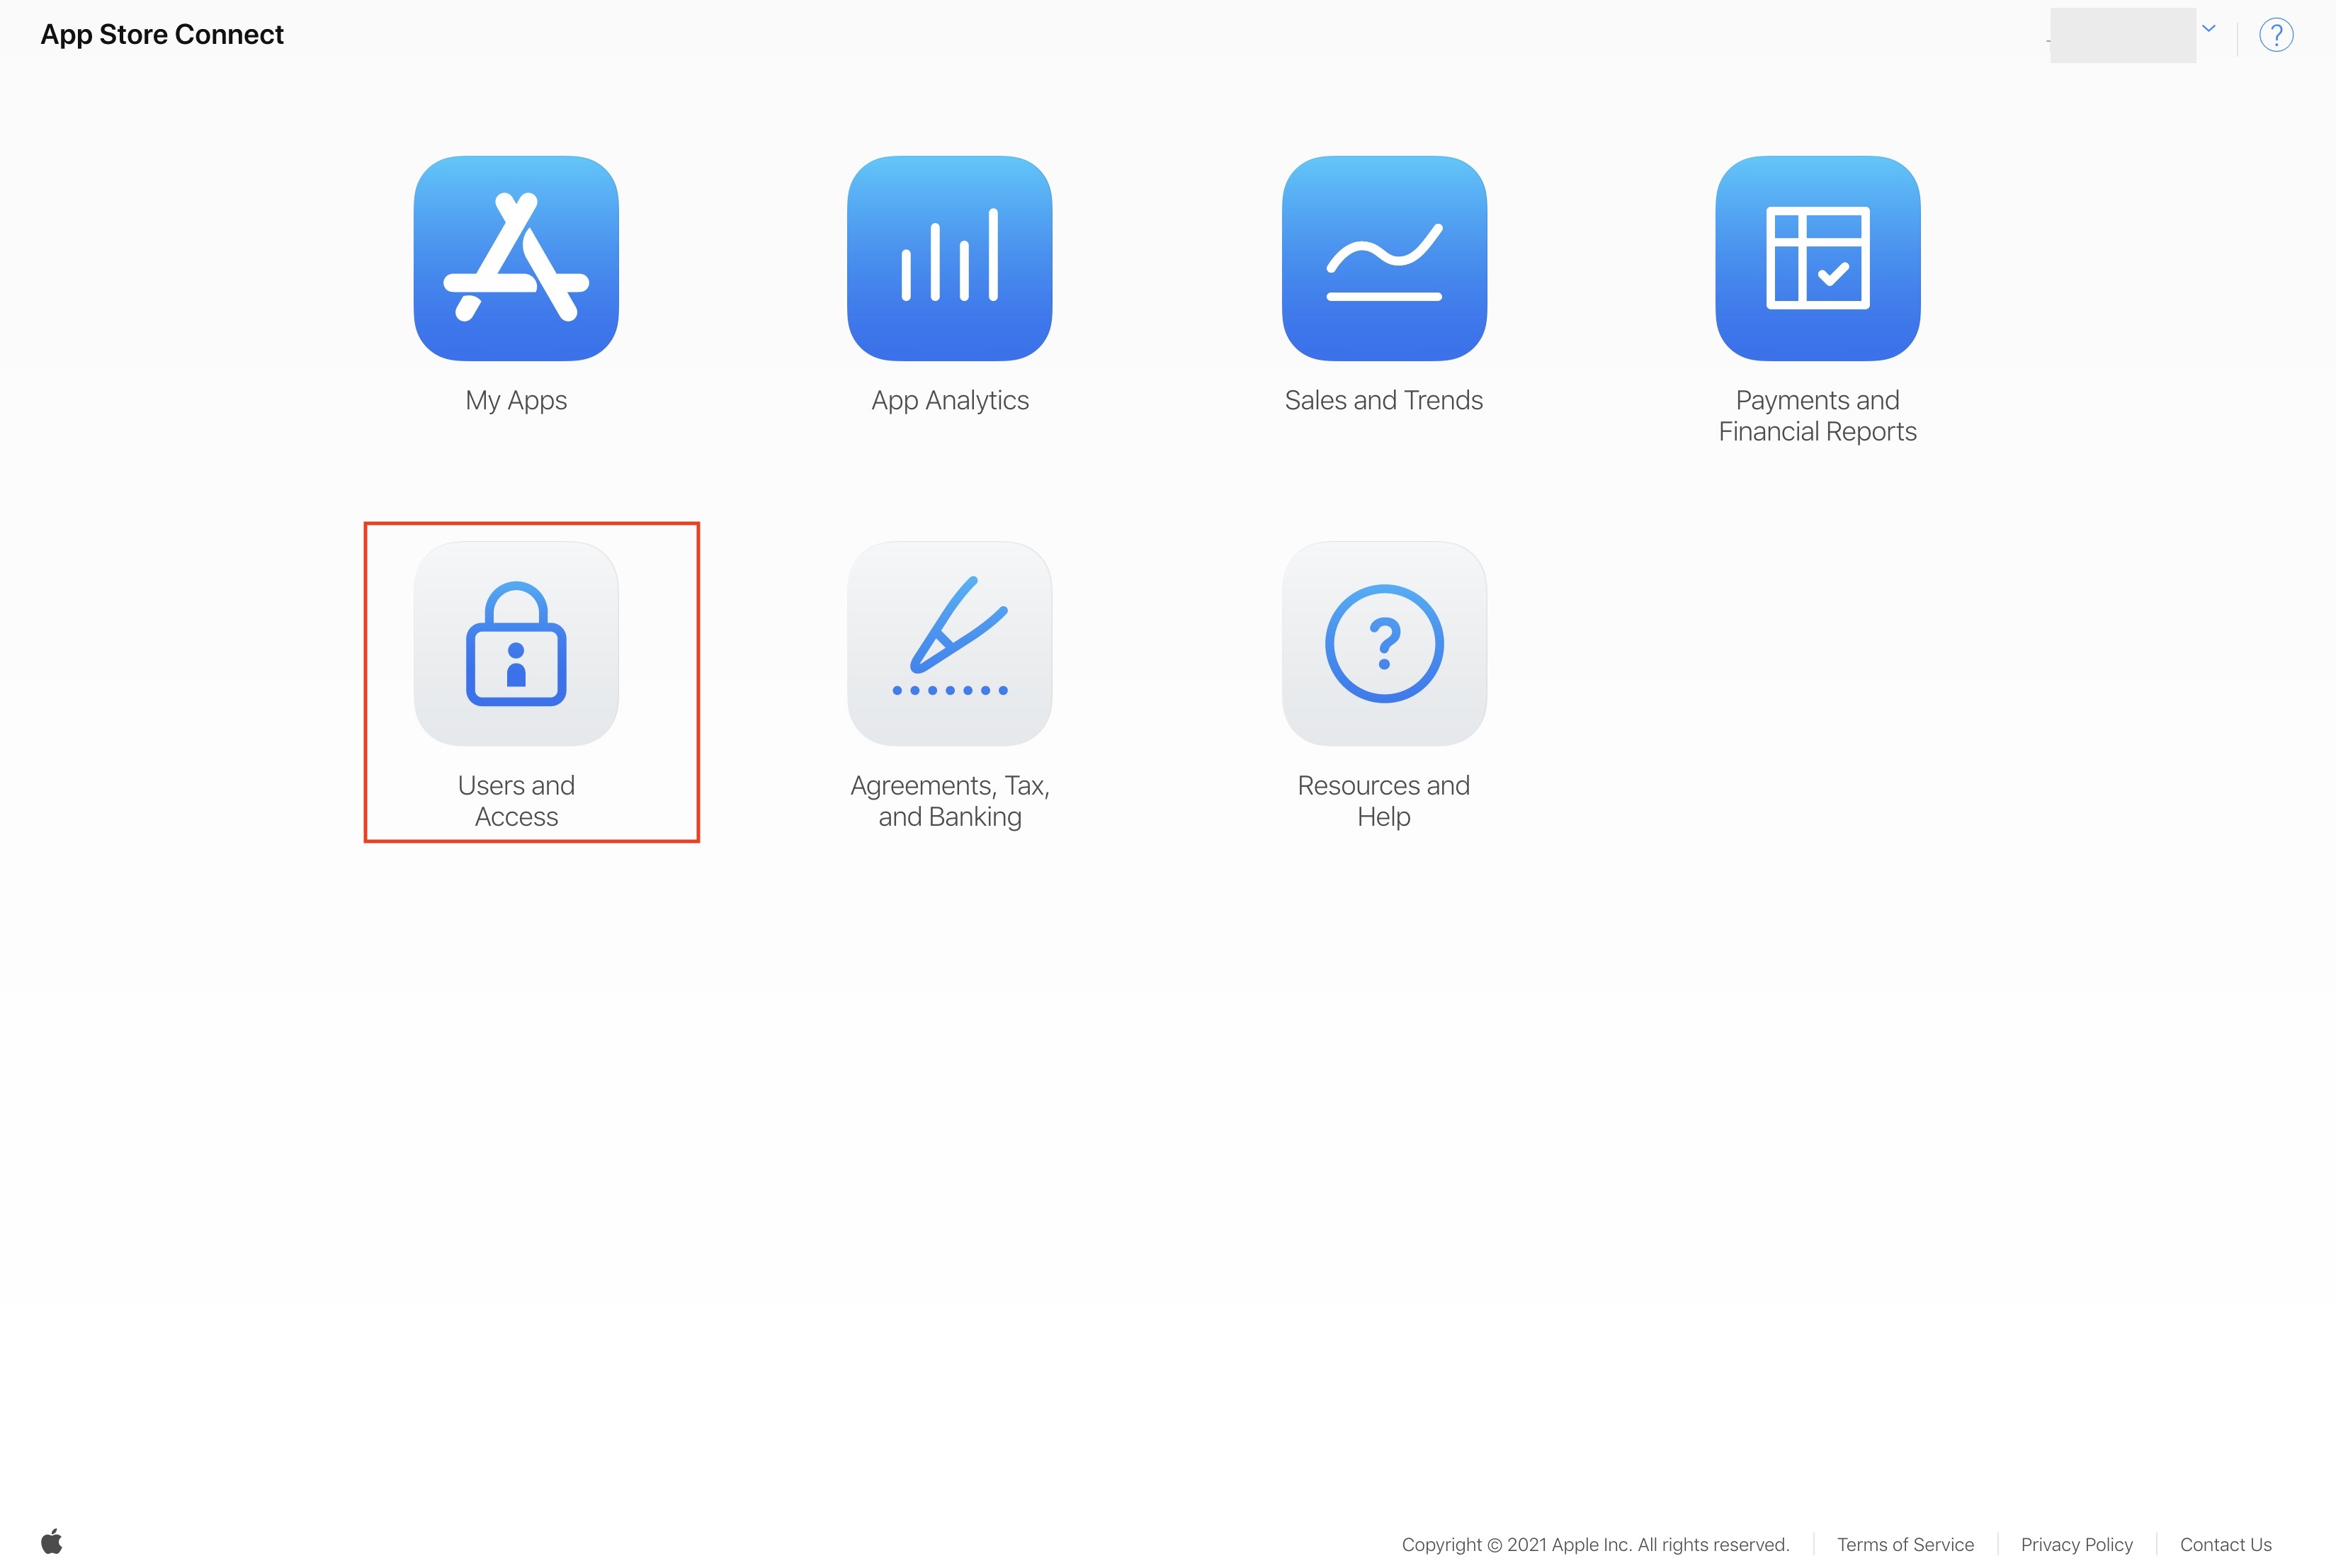
2. Once logged in, the recipient needs to click on Users and Access.
3. The recipient needs to click on their Apple ID/Email Address.
The recipient needs to locate their listing in the group of users if more users are tied to the developer account. After locating, the recipient needs to click on their Apple ID/email address.
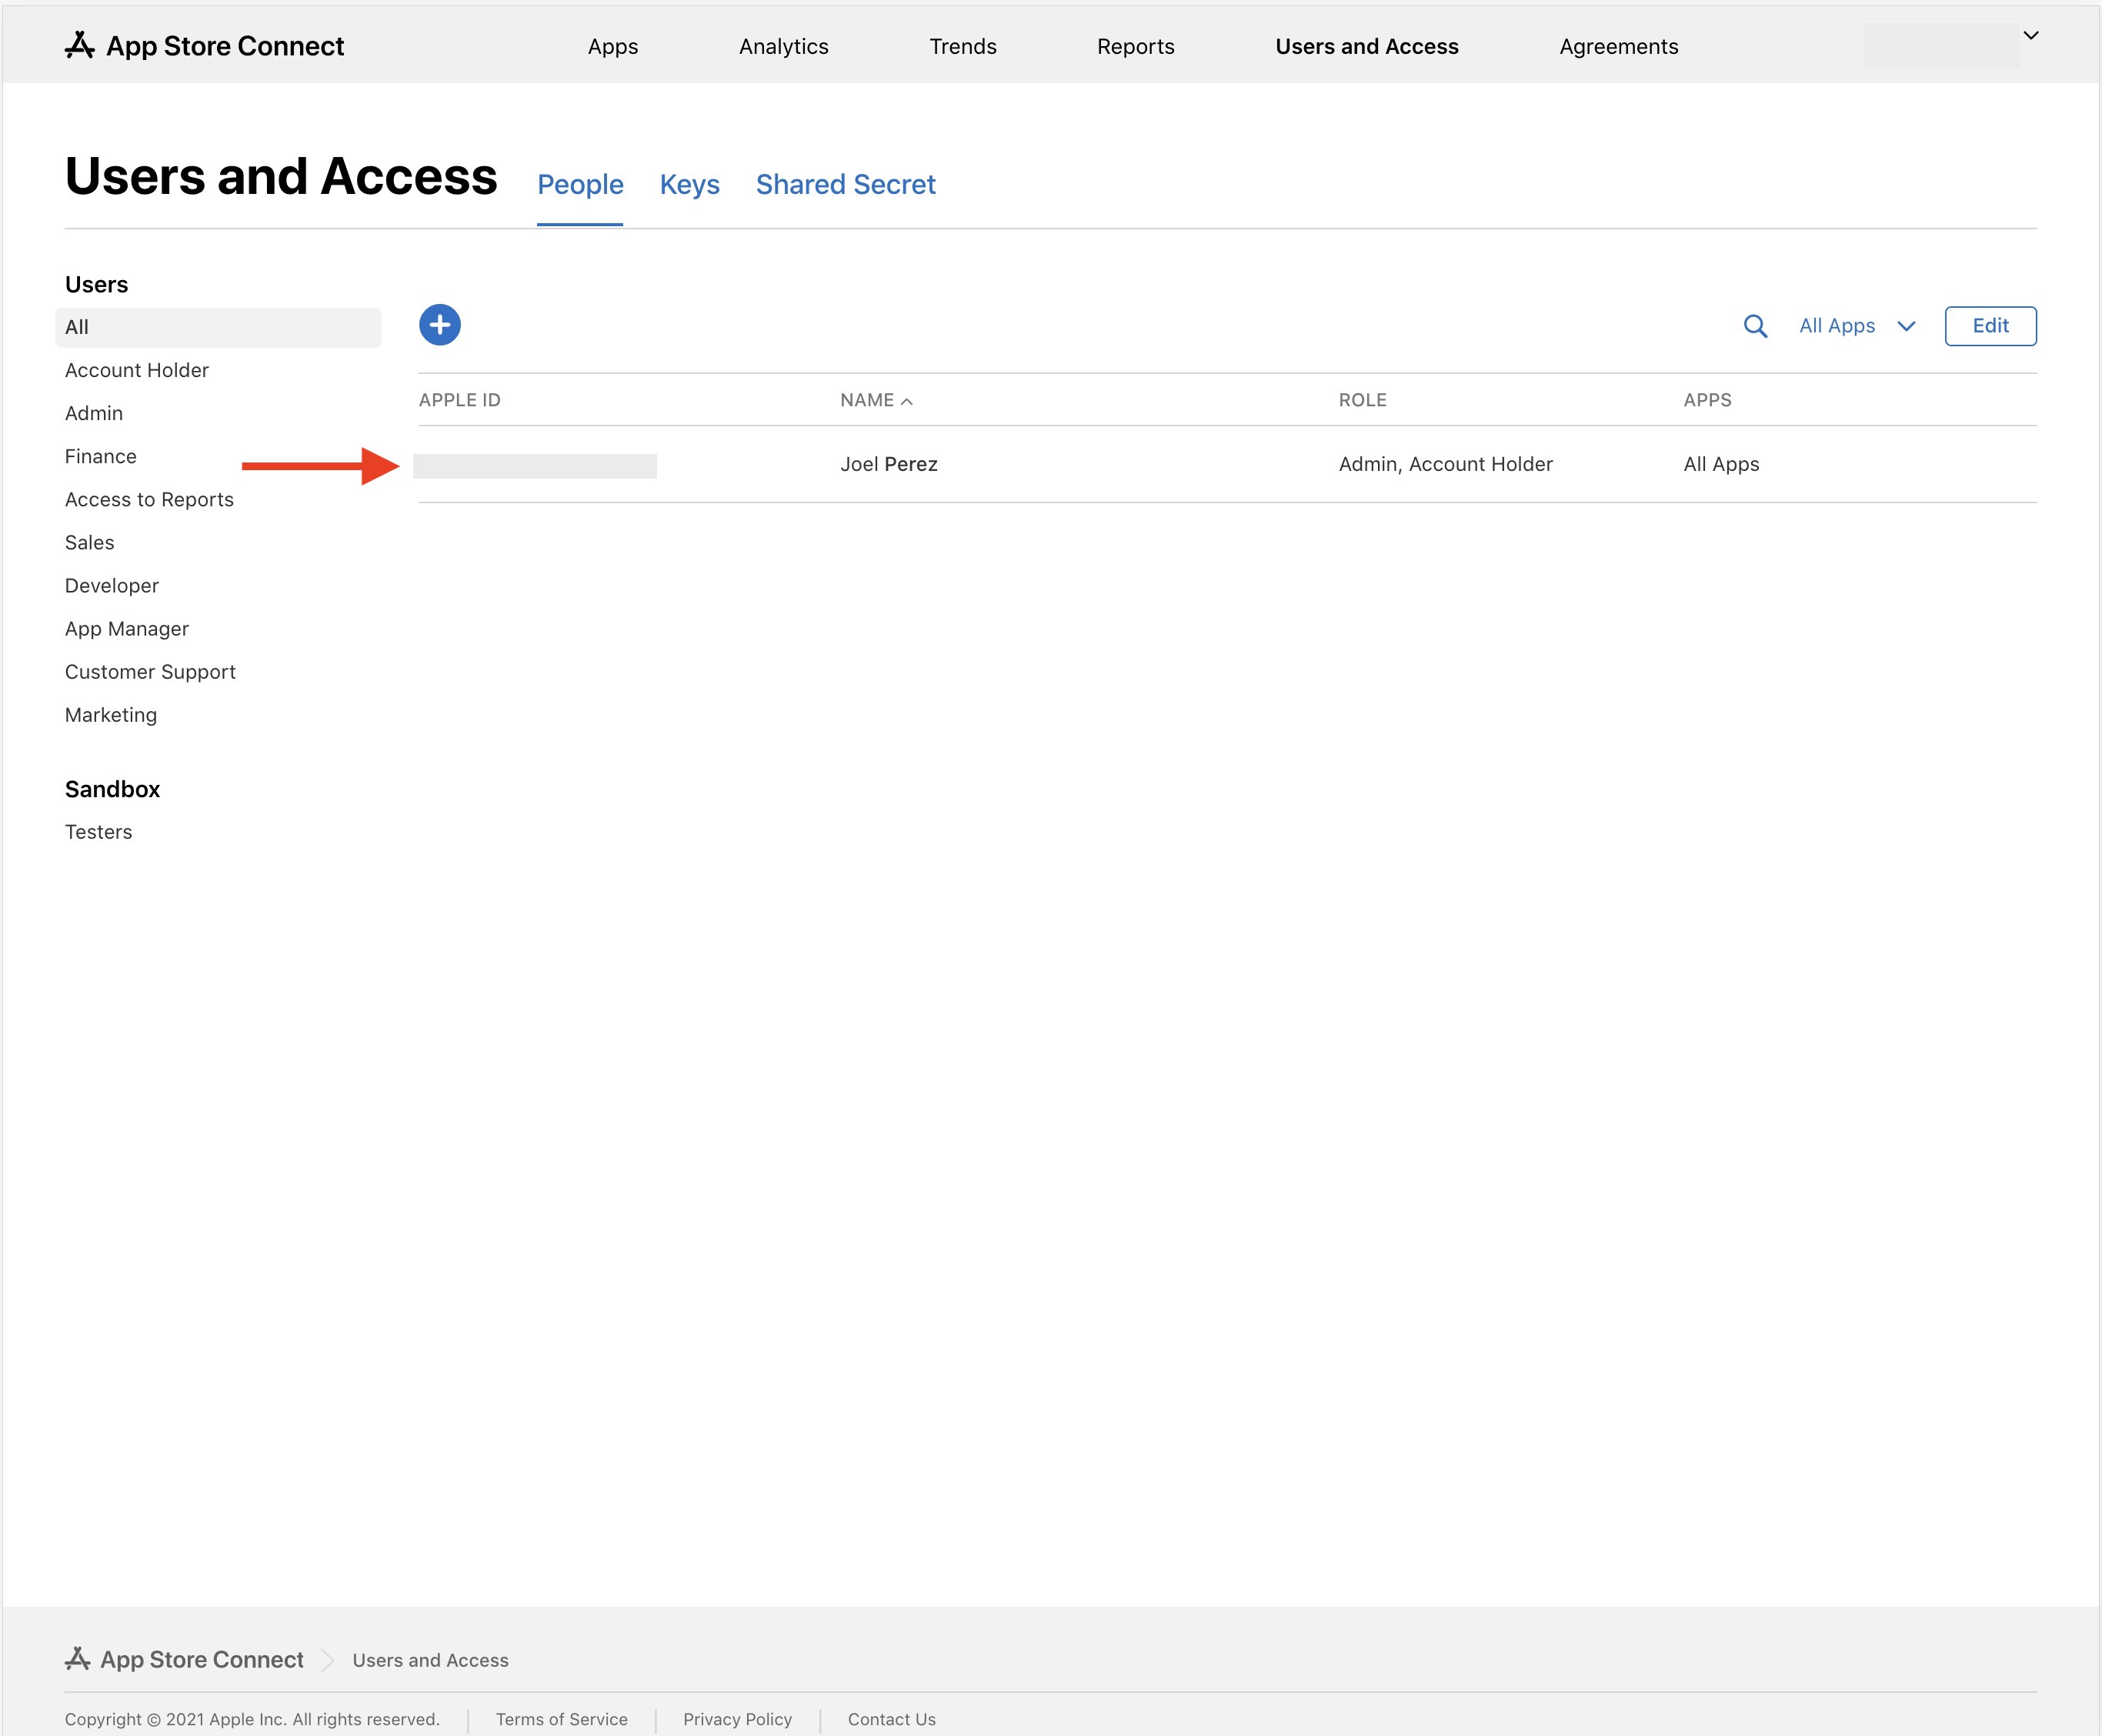
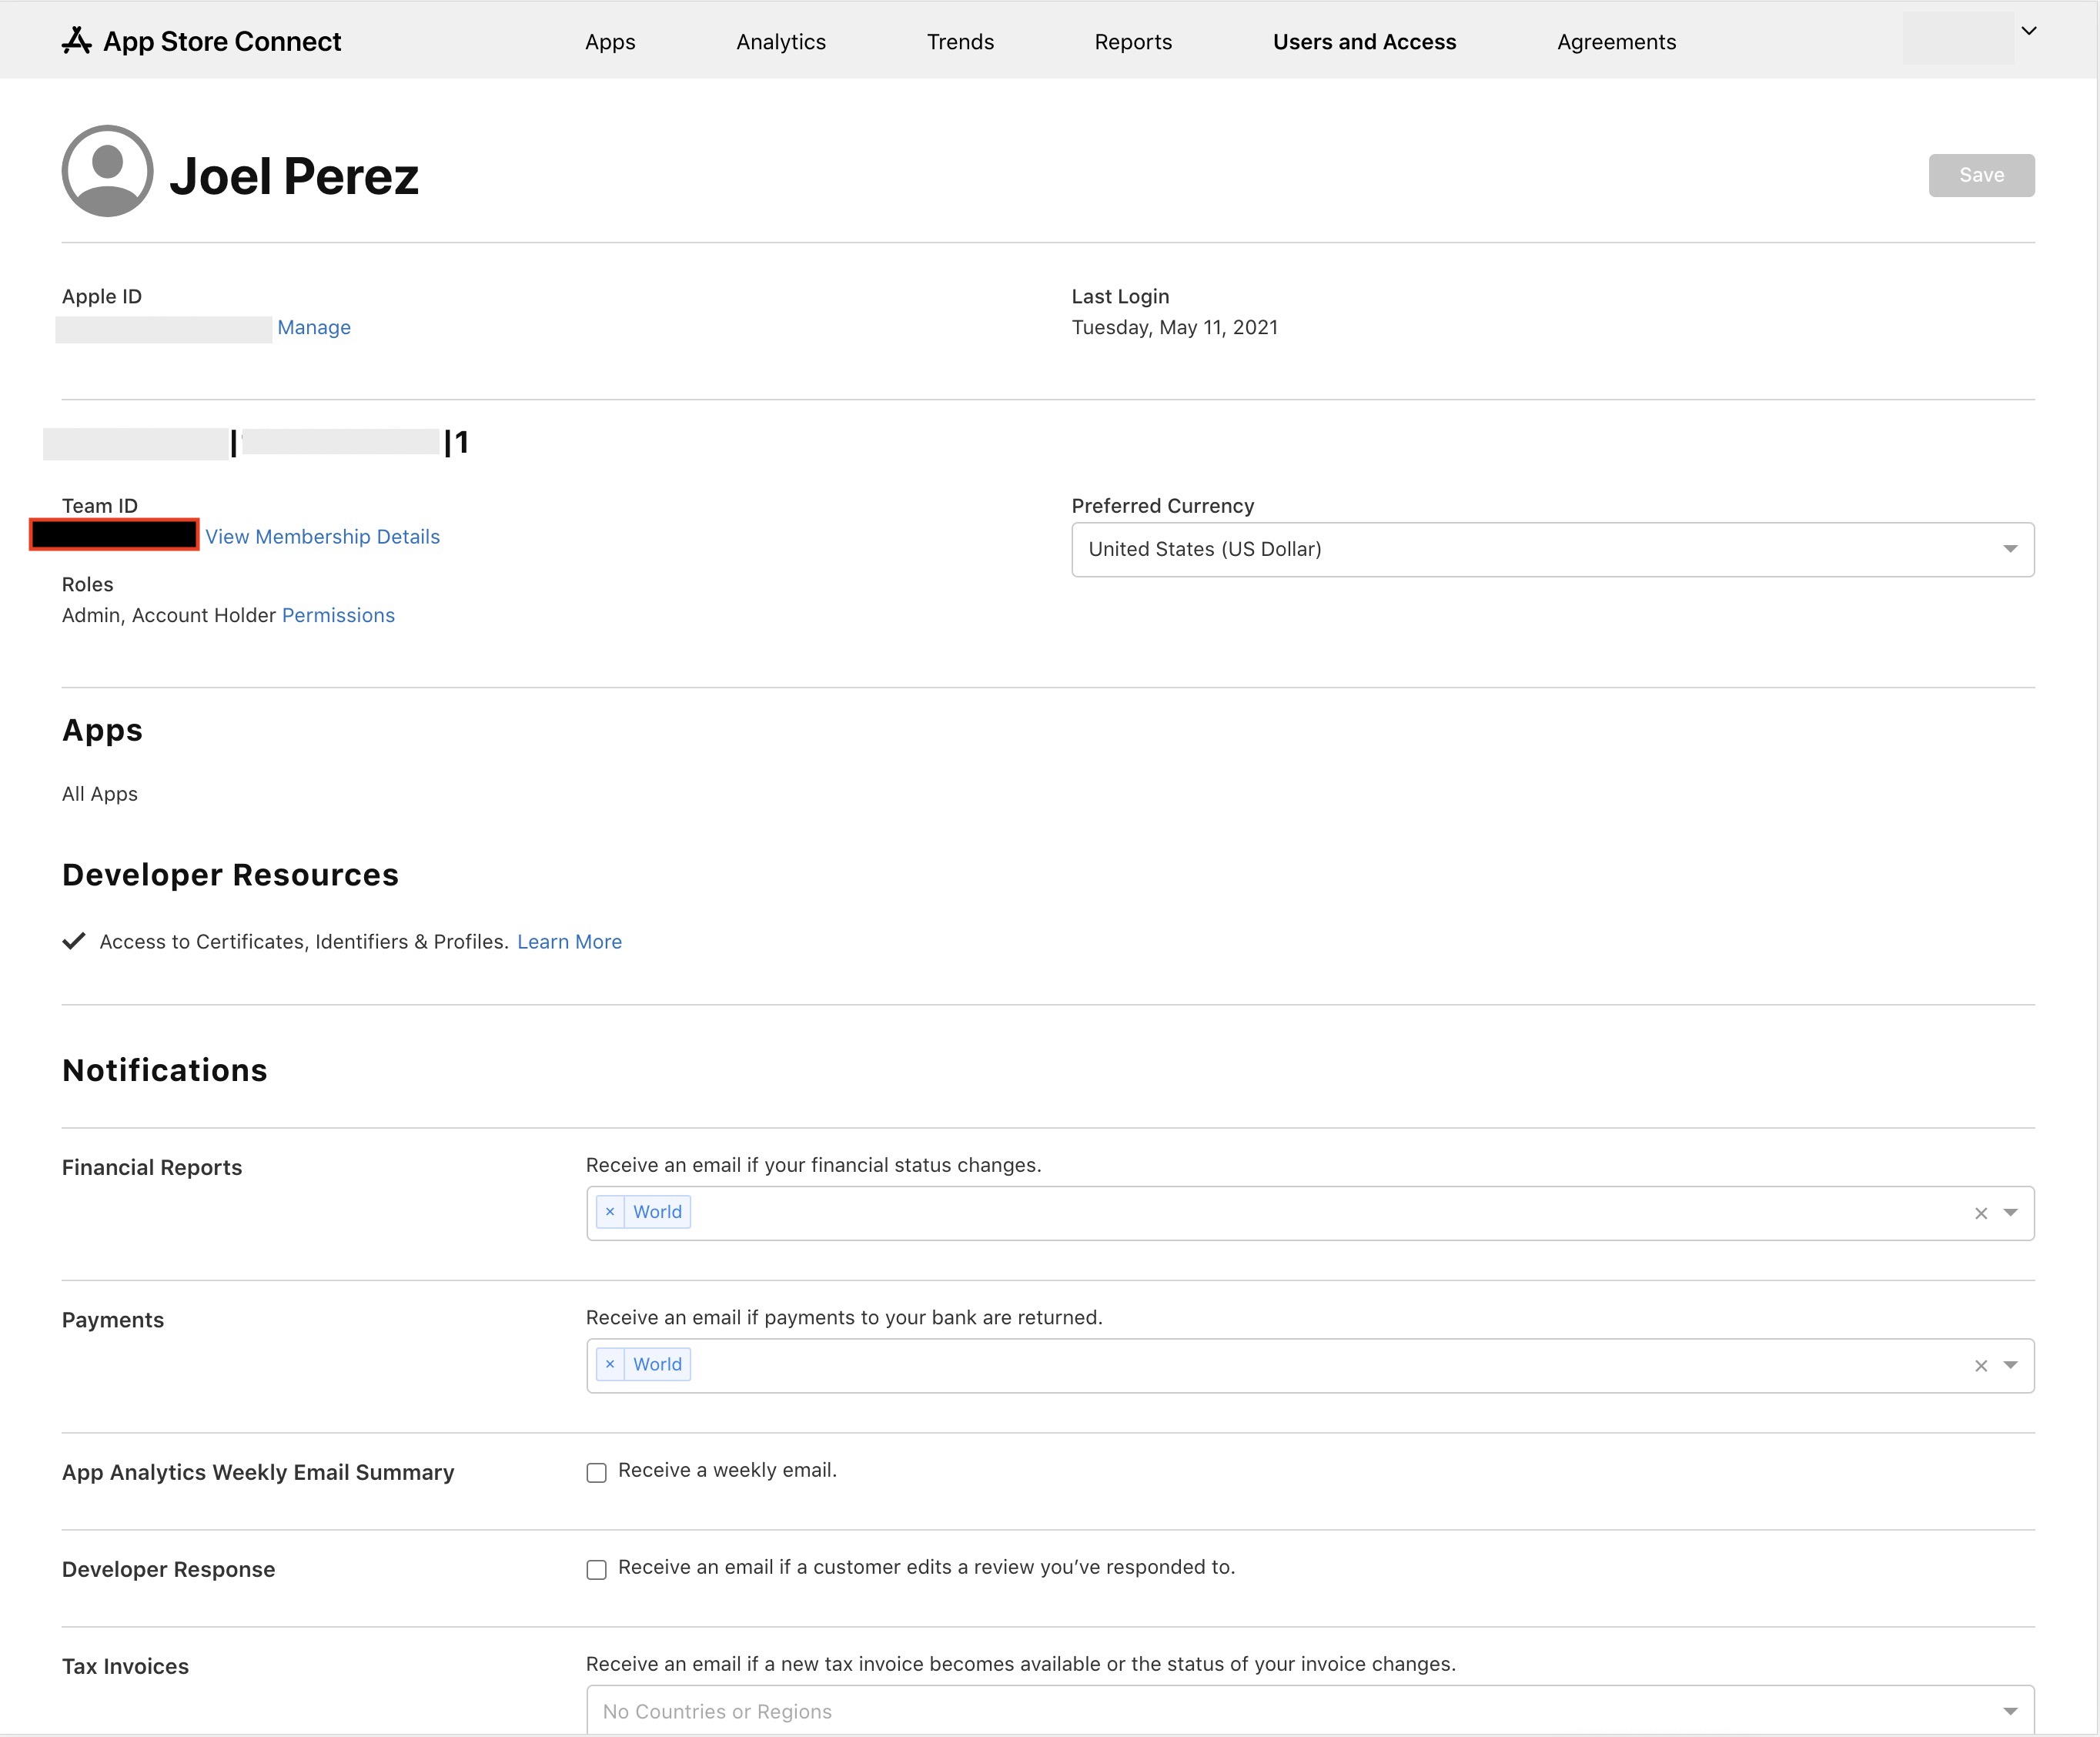
4. On clicking the Apple ID/email address, the recipient will be redirected to the individual user page and can find the Team ID on this page.
After obtaining the Team ID, the recipient needs to provide that to you so that you can initiate the app transfer.
Step 4: Initiate the App Transfer
Before initiating app transfer, ensure that the person who is assigned as the Account Holder is the one who initiates the app transfer in case your account has more than one user assigned to it. If you are the sole person associated with the Apple Developer account, then you’re assigned the role of Account Holder.
The Account Holder can now initiate the app transfer. Follow the below steps to initiate the app transfer:
1. Login to your App Store Connect account.
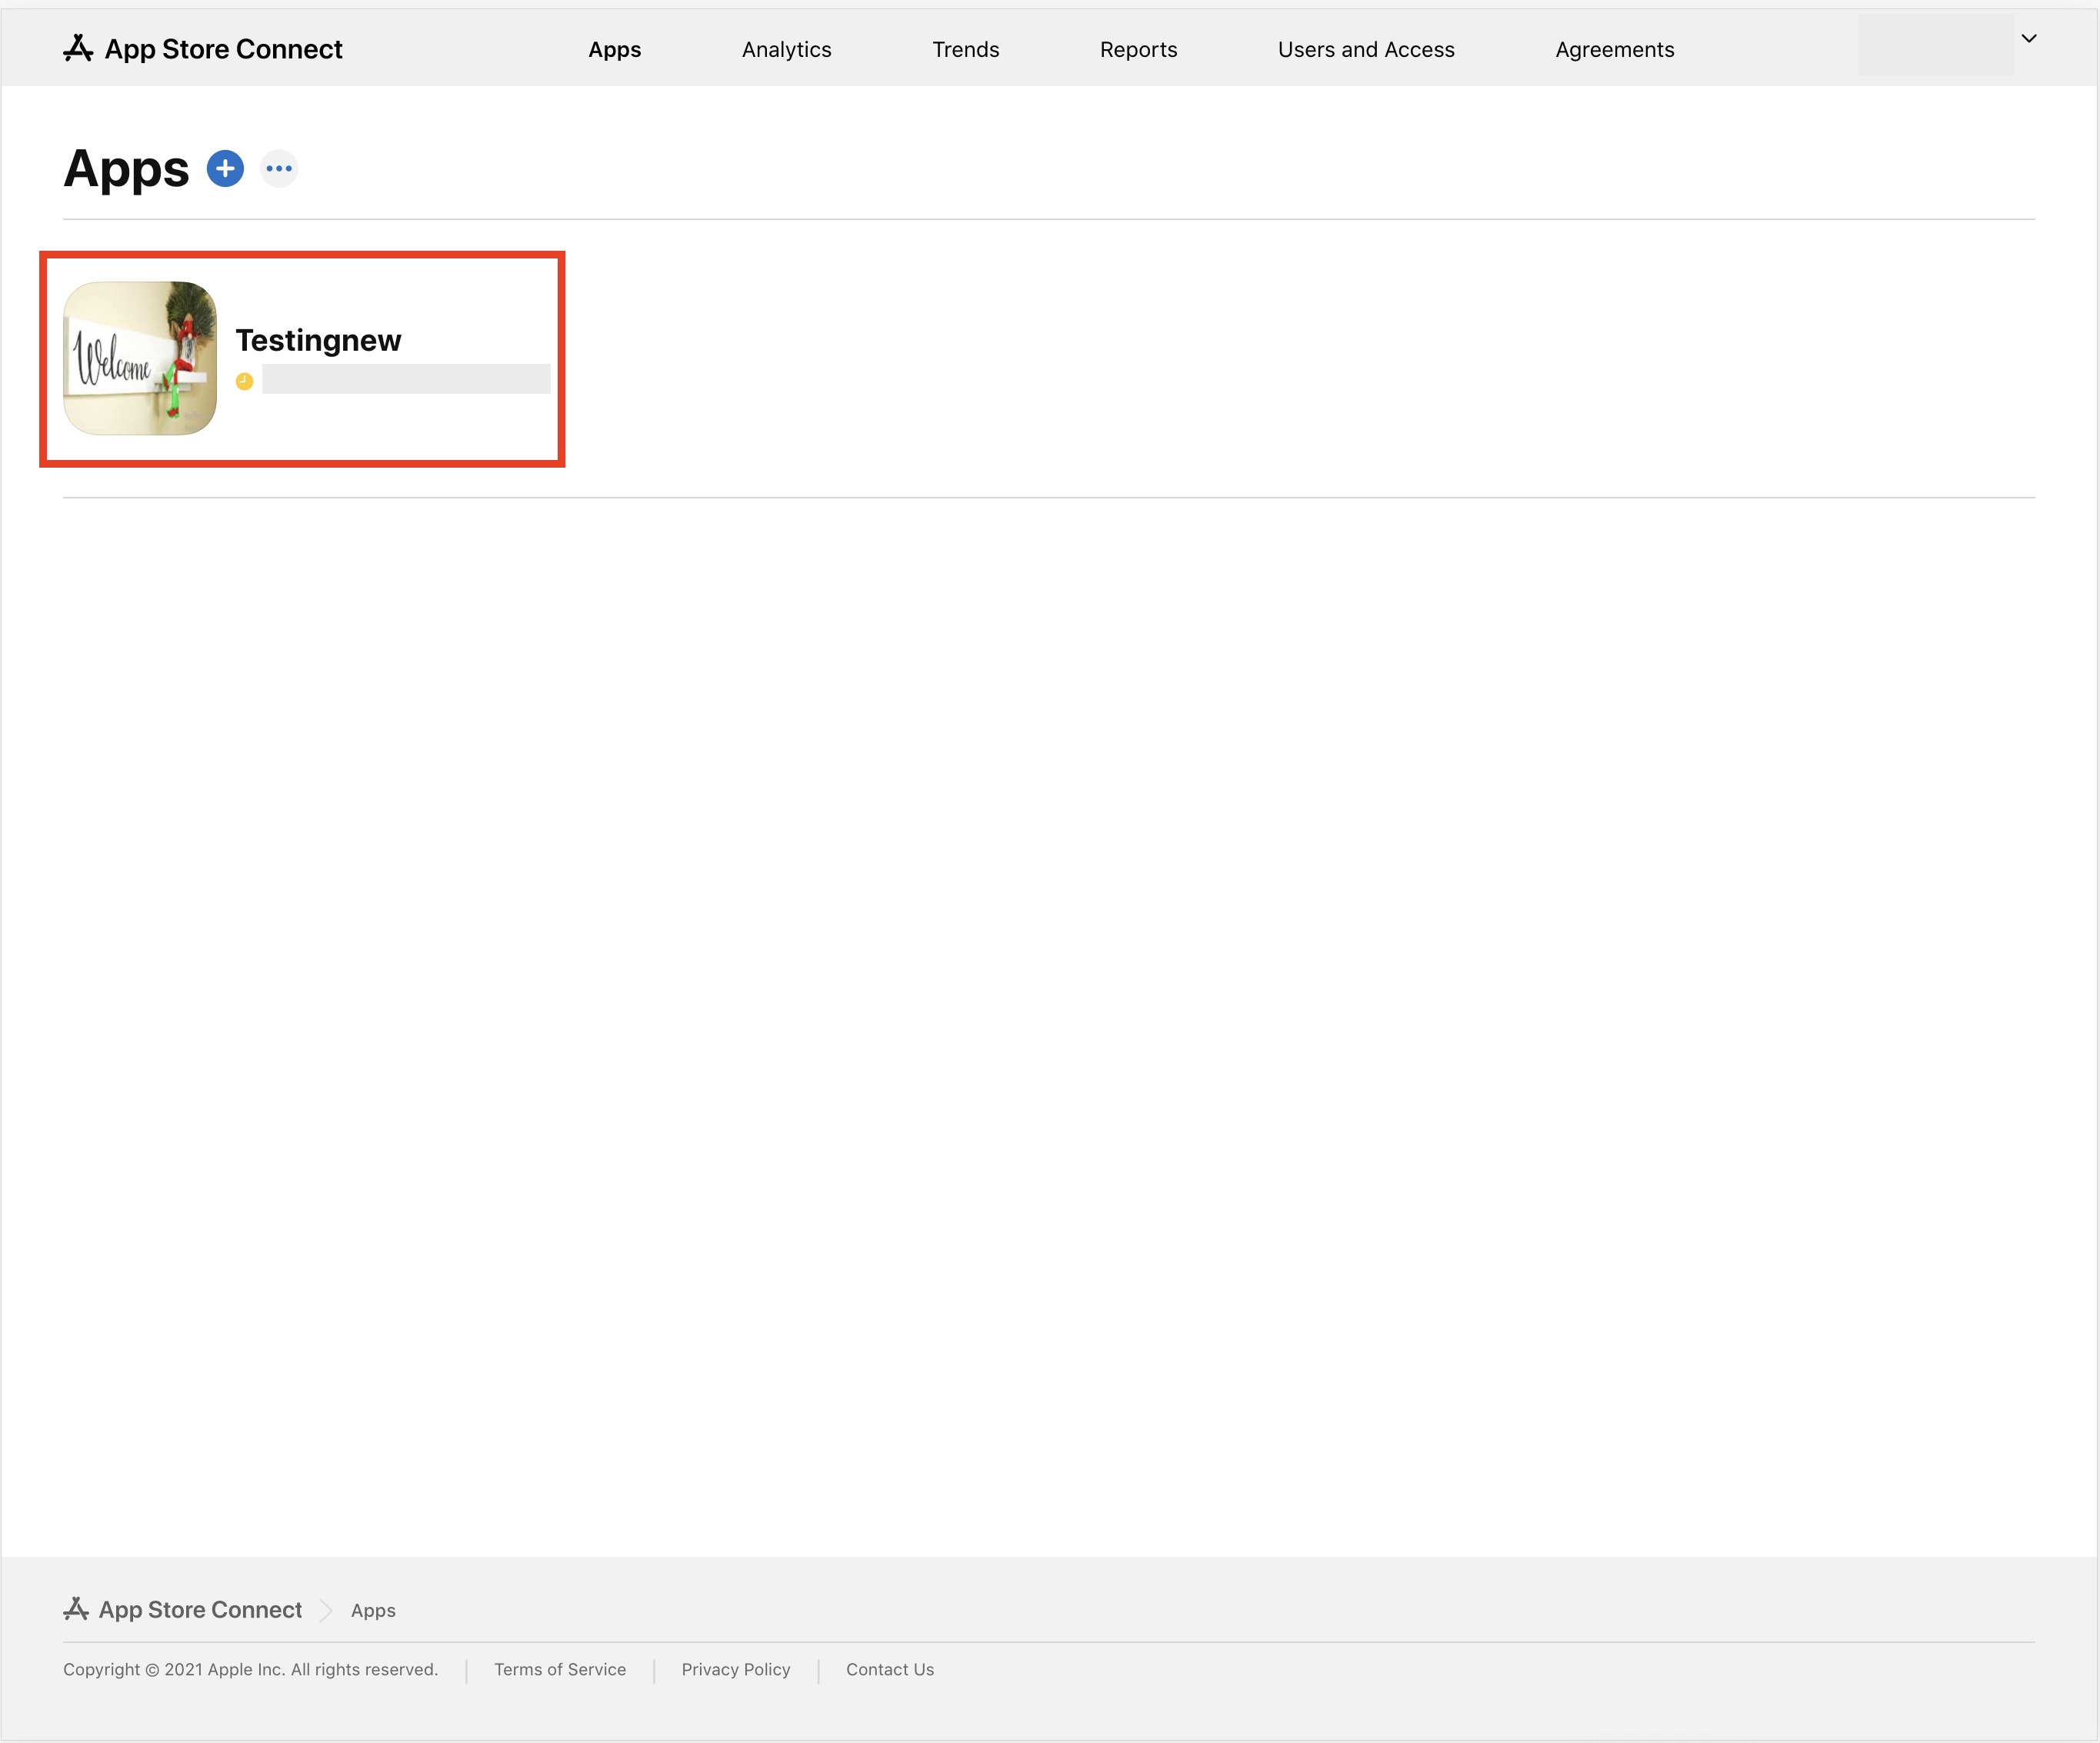
2. Click on My Apps.

3. On the My Apps page, click on the app you would like to transfer.
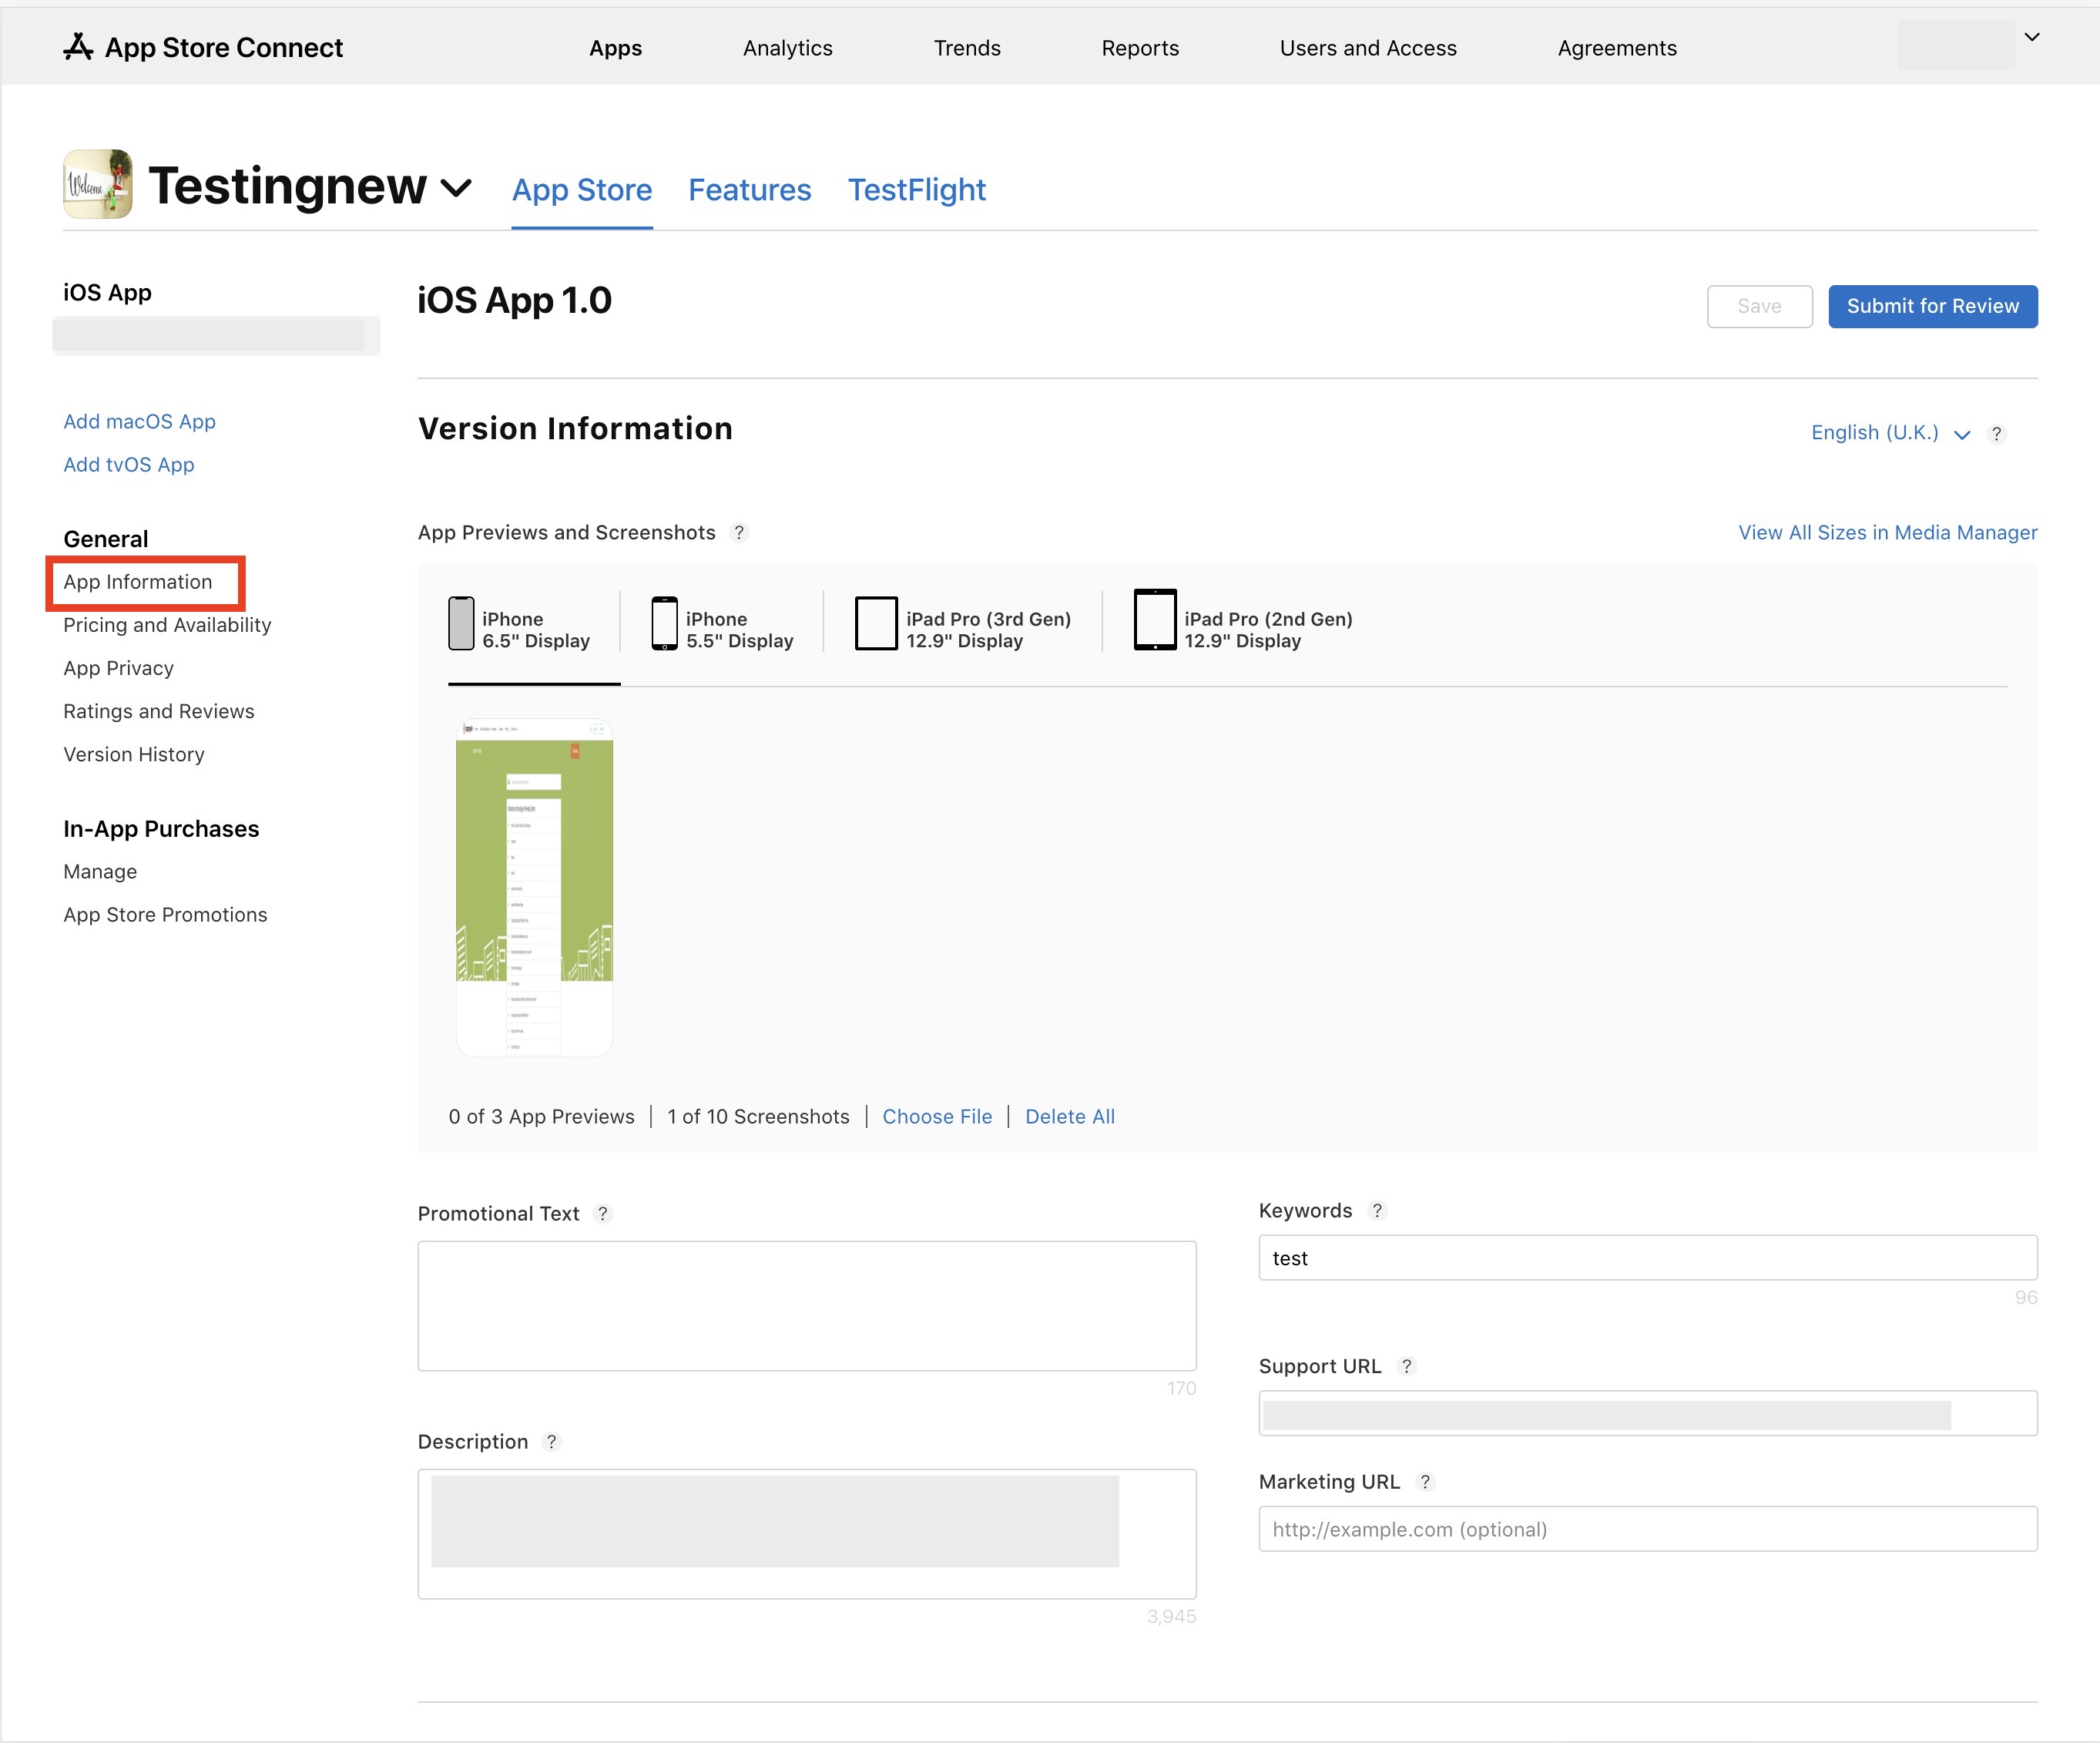
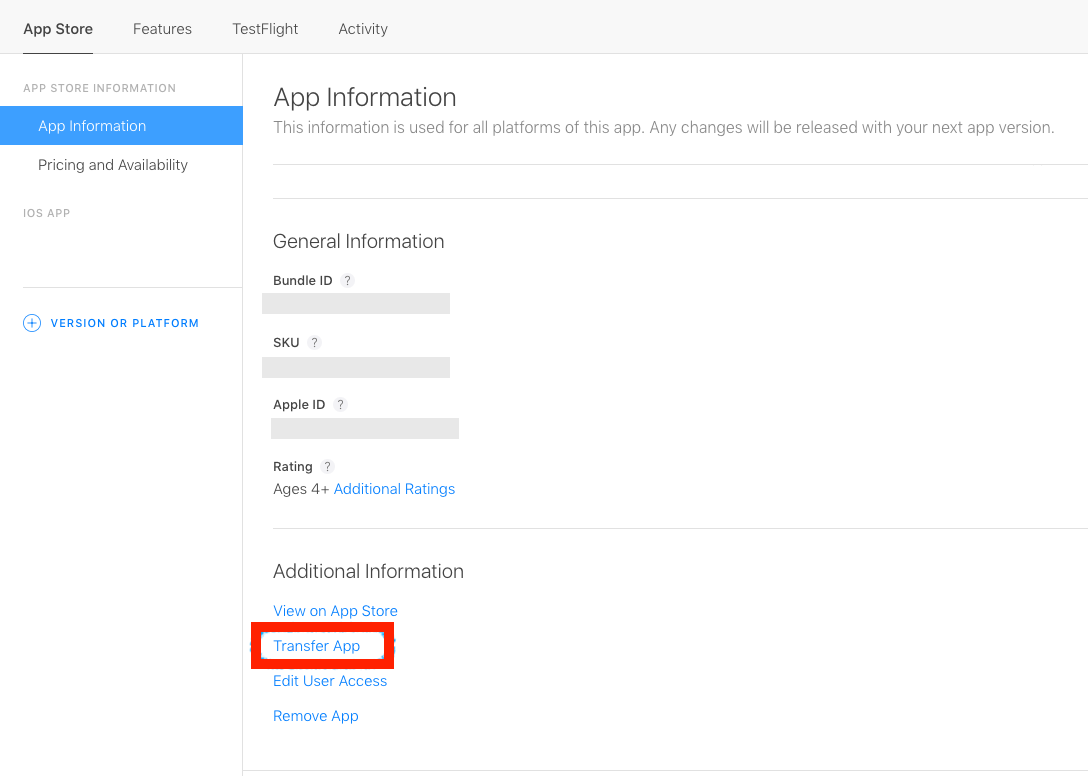
4. Under General, click on App Information.
5. Scroll down to the Additional Information section and click on Transfer App.
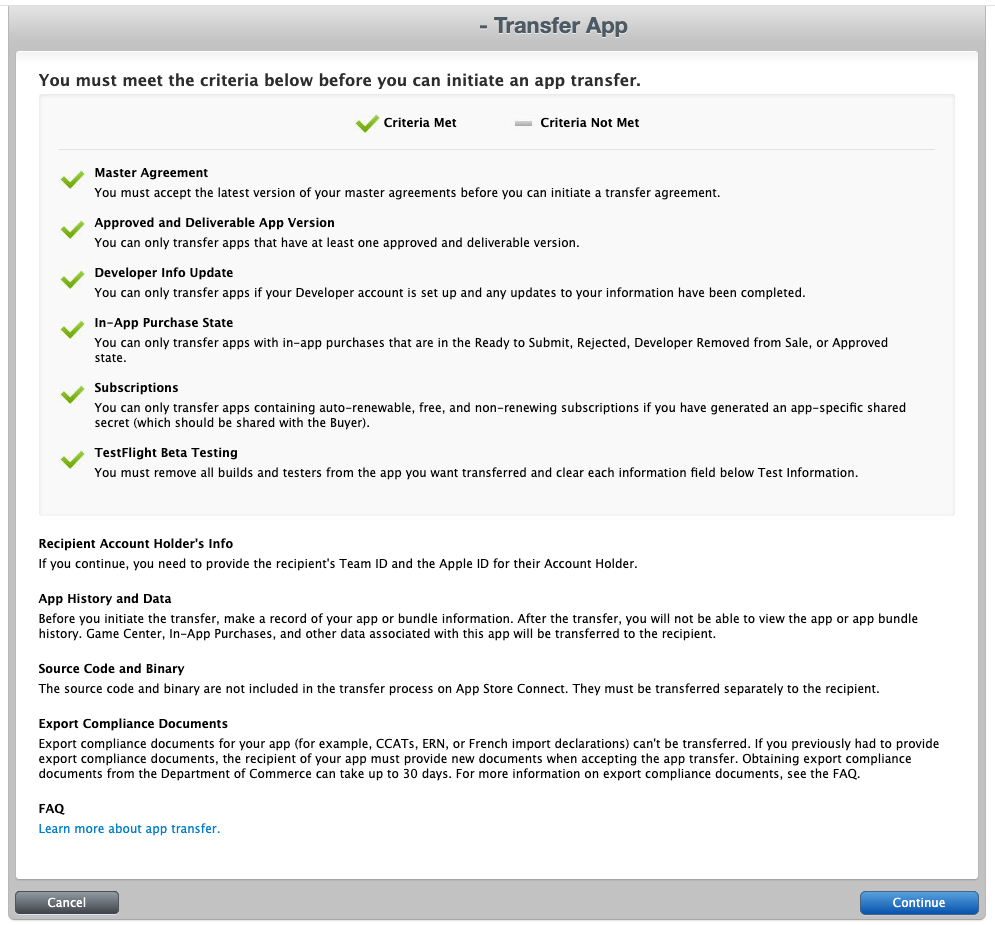
6. Ensure that the app meets all of Apple’s criteria provided at the beginning of the app transfer process. If your app meets all the criteria, click Continue. If the app doesn't meet all criteria, resolve the issues before continuing.
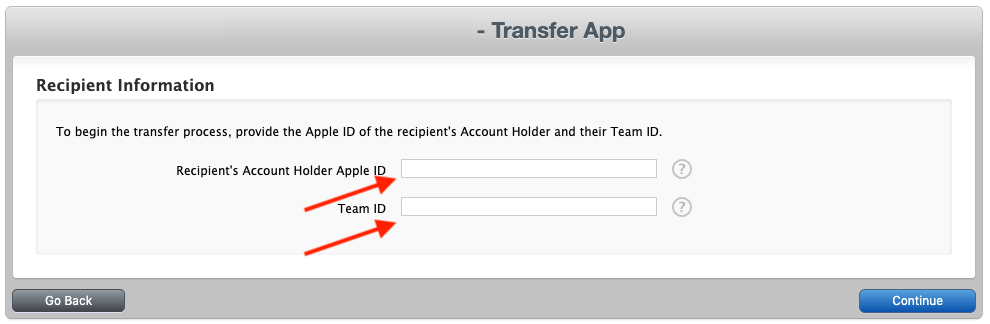
7. Enter the recipient’s account holder Apple ID and Team ID in the respective fields and click on Continue.
8. Read and agree to Apple’s Terms and Conditions and click on Request Transfer.
9. Click on Done to return to the App information page.
Step 5: Recipient’s Account Holder needs to accept the App Transfer Request
Once the app transfer request has been submitted, the Account Holder of the account that the app is being transferred to will need to accept the app transfer by following these steps:
1. Login to App Store Connect account. A notice indicates that an app transfer is ready to be accepted.
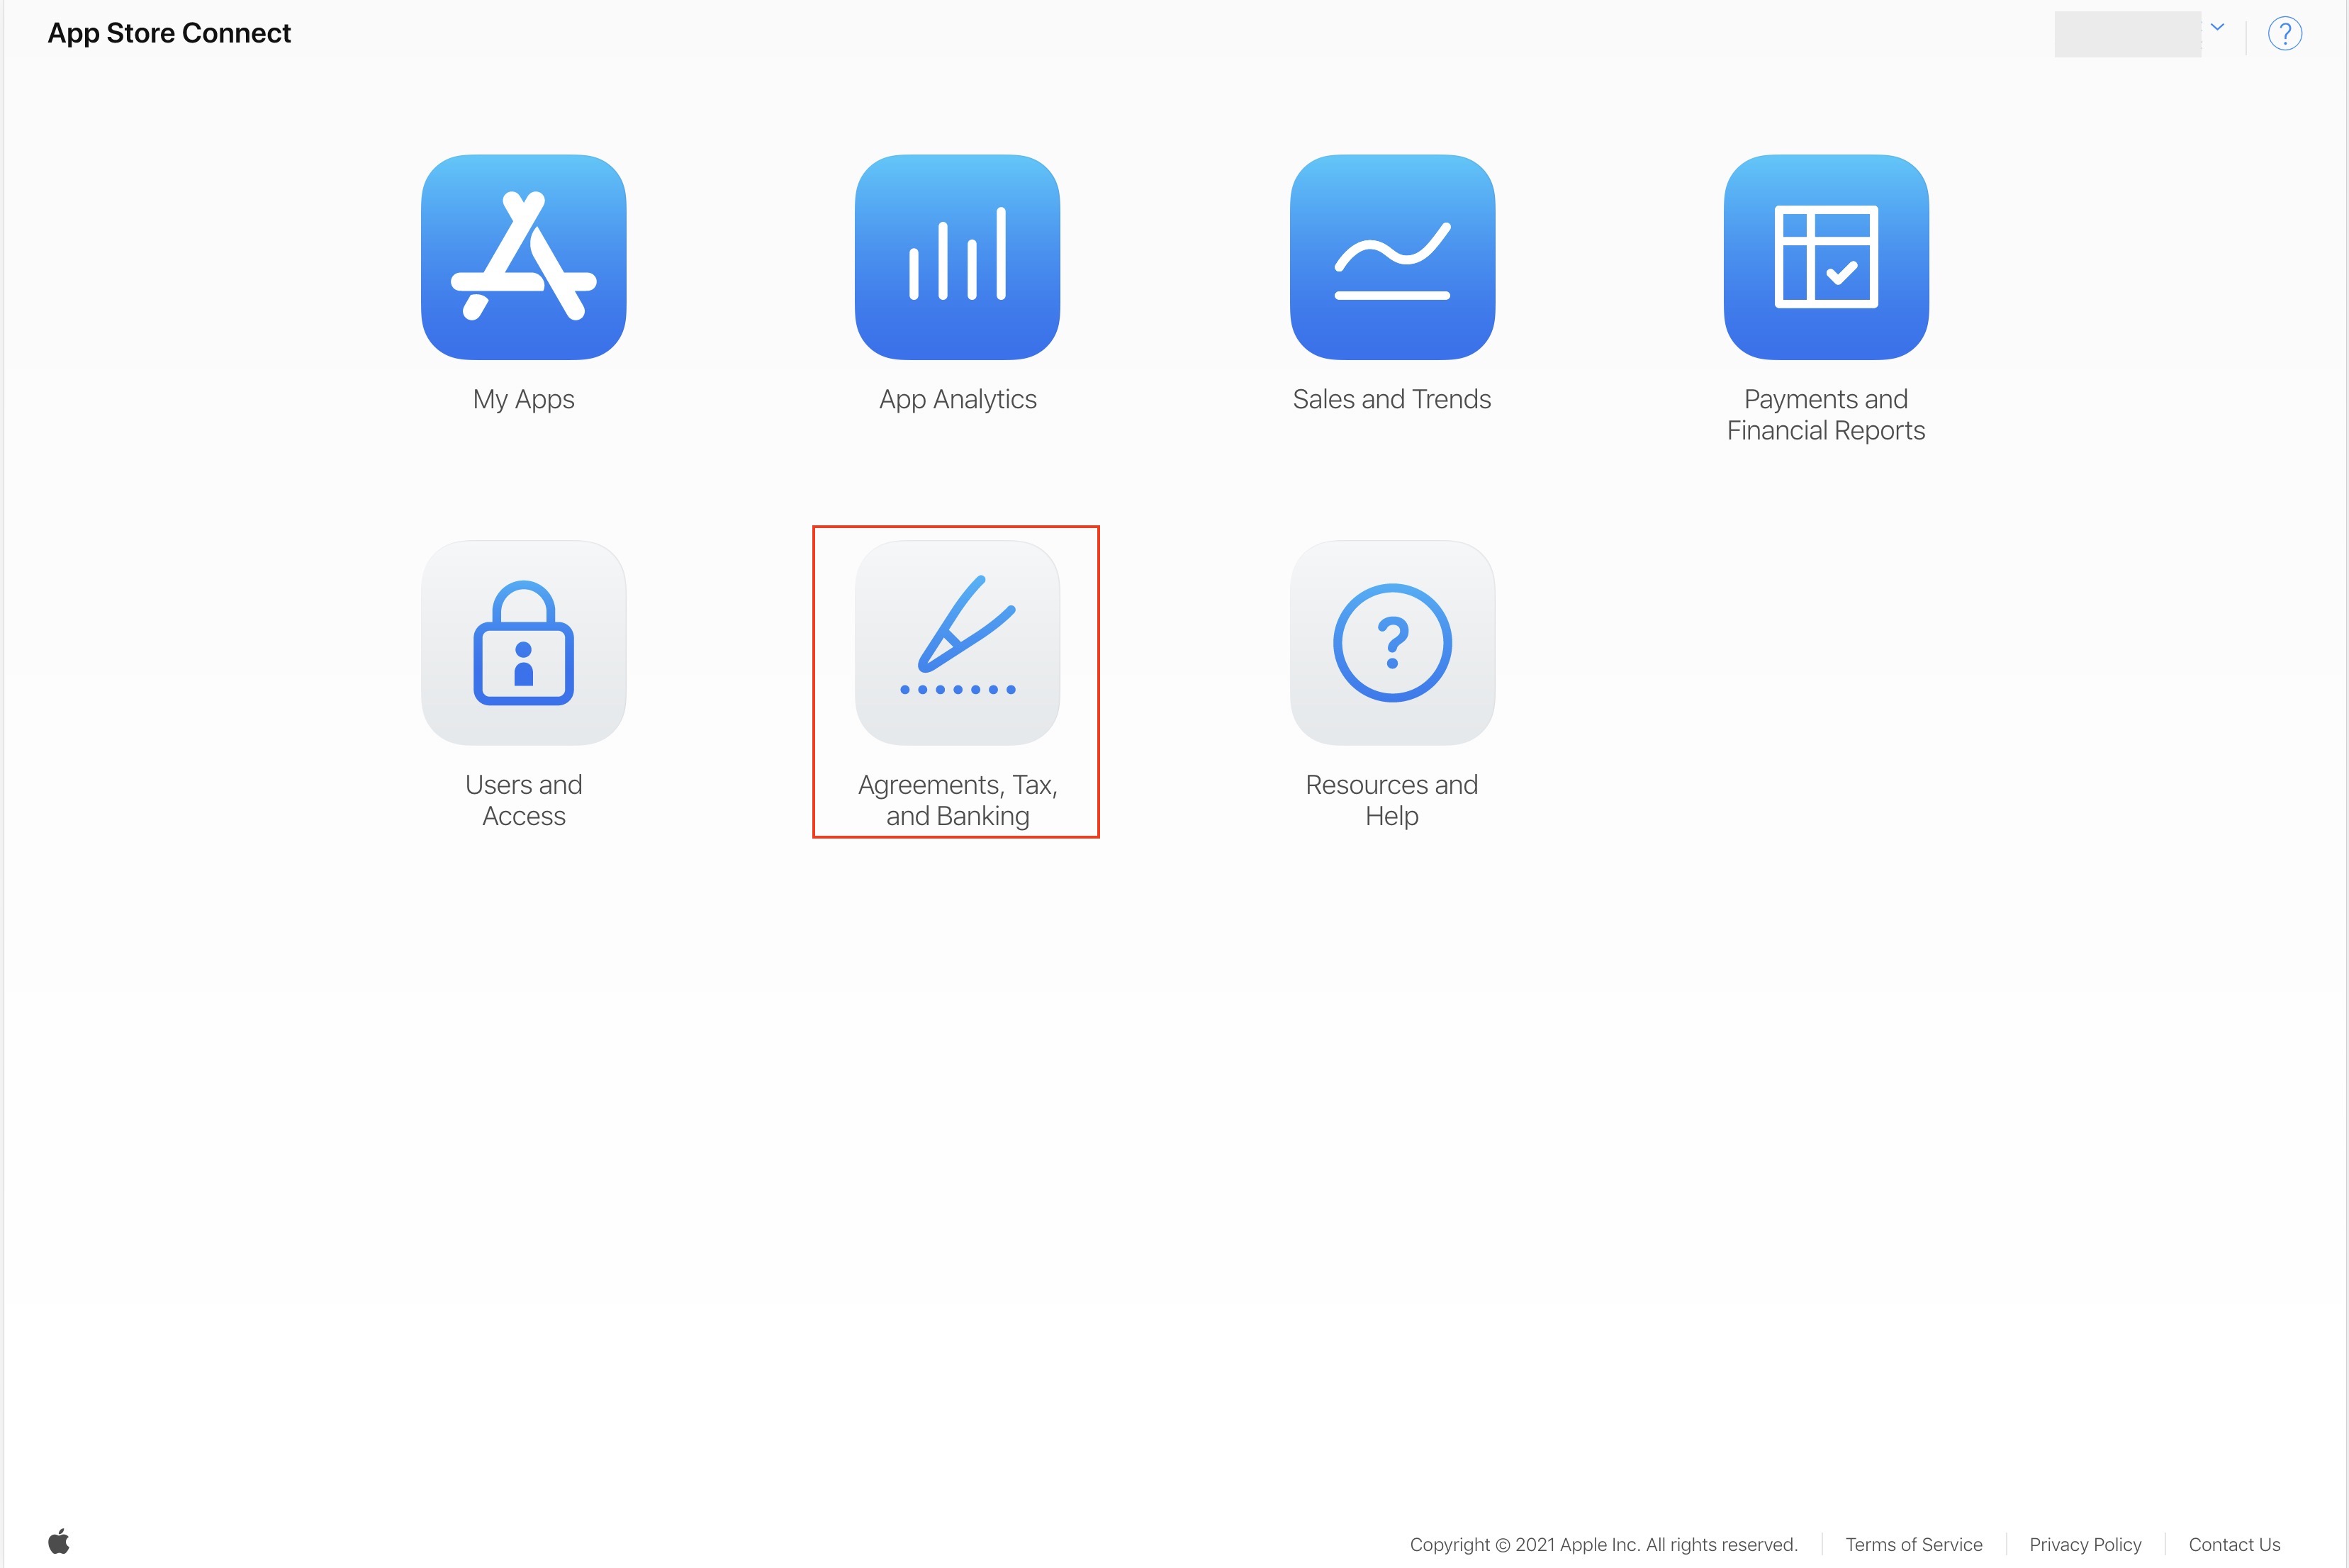
2. Click on Agreements, Tax and Banking.
 3. Under App Transfers, click on Review next to the app.
4. Enter the appropriate metadata. The recipient needs to update any of the relevant Metadata for the app:
- Support URL
- Atom feed URL (required if the app previously had an atom feed URL)
- Marketing URL (required if the app previously had a marketing URL)
- Privacy policy URL (required if the app previously had a privacy policy URL)
- CCATS (a new CCATS form is required for apps that use export compliance)
- App Review contact information
- App Store contact information
5. Review Apple’s Terms and click Accept
After the metadata is updated, the recipient needs to read and agree to Apple’s terms. The recipient must select “I have read and agree to the agreement presented above,” and then click Accept.
Note: It can take up to two business days for the app transfer to complete, during which the app status is Processing App Transfer. Once the app transfer is complete, the app will no longer appear in the original App Store Connect account.