How to Deploy Chatbot widget in webflow website builder?
Following are the steps to deploy Appypie’s Chatbot widget in a website created in webflow :
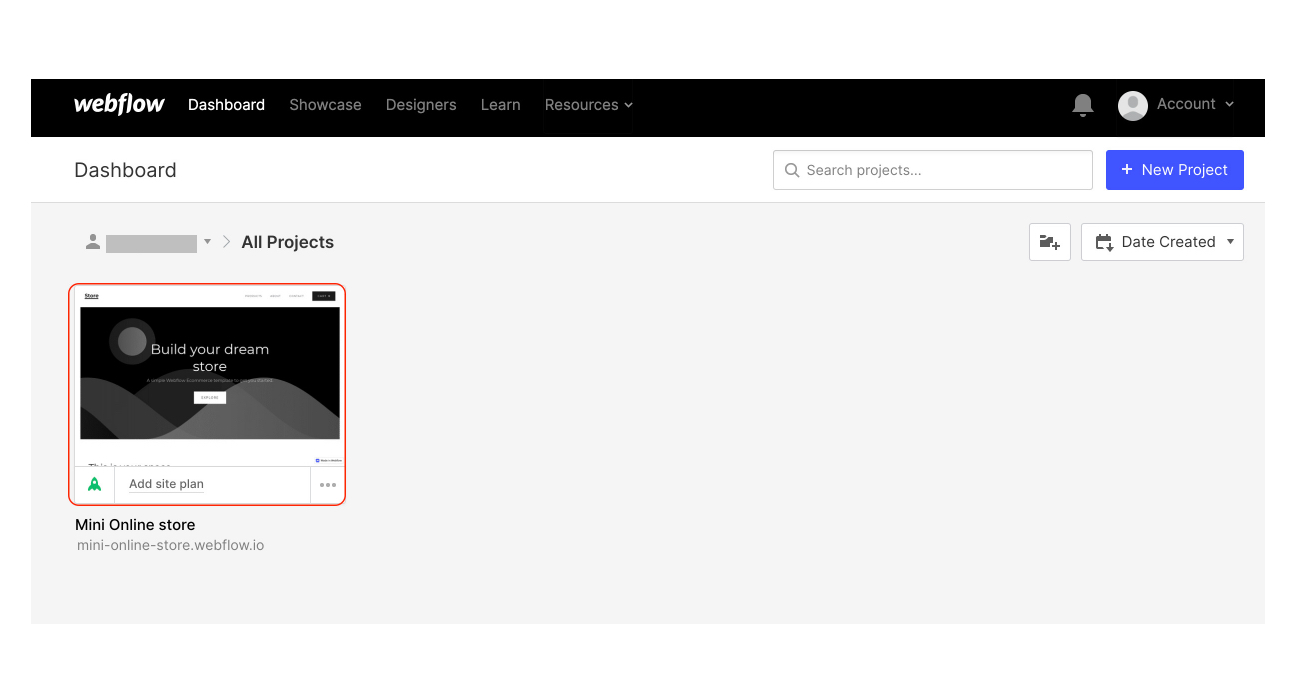
Step 1: Open webflow website builder and click on View Dashboard.
Step 2 : Click on your project that you’ve built on the website.
Step 3 : Now click on the ‘+’ icon(Add elements)on the top left corner.
Step 4 : Click on embed from the Add elements section from the top left tab.
Step 5 : Now log on to Appy pie Chatbot, click on the Chatbot icon and click on the bot you want to deploy.
Step 6 : Click on the setup section and select ‘Self -service’ ,then click on Deploy bot on a custom website.
Step 7 : Click on copy code to copy the chatbot widget.
Step 8 : Now go back to webflow website’s backend, and paste the code widget on the embed section that you clicked on earlier. Click on save and close.
Step 9 : Now click the Publish button and select the domain you want to publish your website on.
Step 10 : Click on the bot on your website.
Step 11 : Congratulations! Your bot is now working on your webflow website.
Follow our video tutorial below to know the deploy Appypie’s Chatbot widget in webflow website builder: