How to Use Evernote. A Beginner's Guide
Keeping organized is always part of each person's daily puzzle, and there are so many online and technological ways in which to now do so. With new applications, personal digital assistants, smartphones, and more, we are constantly learning how to update ourselves in how to use such smart technology.
The Evernote application is available on your smartphone and computer. It allows you to send voice notes, pictures, and text into a cloud-based application that organizes the content. Evernote offers storage for various types of information including notes, clipped web pages, screenshots, and photos. All data is archived in a unique system that will organize everything by the date of creation or storage. The system automatically syncs the data across all devices and allows users to search the archive from anywhere.
Even the images in the archive are searchable through an innovation called OCR (Optical Character Recognition). That means users can take a snapshot of an invoice, then access it later by searching for any text on the page. As long as the writing is fairly legible, Evernote can even search photos of your sticky notes. This feature is especially useful for taking a quick photo of a paper, then storing it for later review.
Glossary
Here are some of the words that will be frequently used in the tutorial, hence you should know about them:
Note: It is a type of blank sheet of paper where you can note down important content or points.
Notebook: It is a collection of notes.
Tags: It is something that can be linked to your notes.
Shortcuts: As the name suggests, it is a shortcut to your notes.
How to create Notebook in Evernote
It is good if you create notebooks before starting writing. Evernote allows you to create notebooks, add more notebooks, rename them, or even move notes from one notebook to another.
Simply log in to your Evernote account. Click on the ‘Notebooks’ option available in the left sidebar to see the notebook list. Next, click on the ‘New Notebook’ option.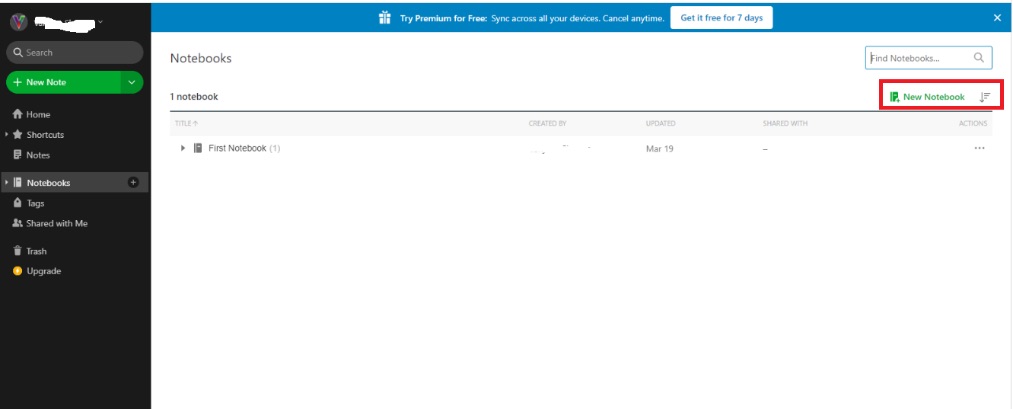
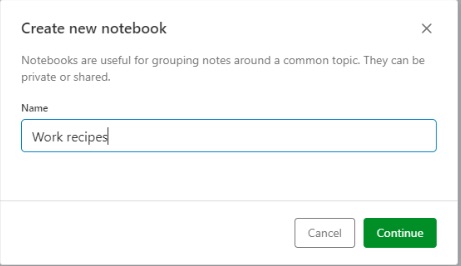
Enter your notebook name. For instance, here we have mentioned ‘work recipes’. Next, click on the ‘Continue’ button.
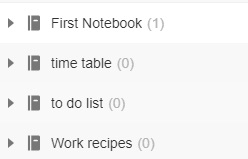
All your created notebooks will appear in the notebook list.
If you have a downloaded app of Evernote, then you can also organize your notebooks with stacks. It also enables you to combine multiple notebooks into one pile, saving you some litter on the menu. All you have to do is simply drag the notebook on top of another to build a stack.
--Please note that this feature is not available in the web version.
How to Create and Organize Notes in Evernote
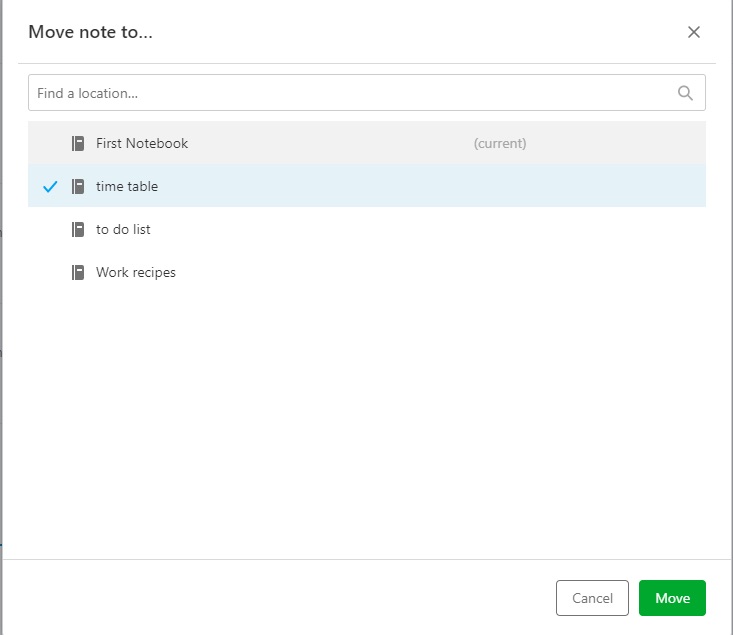
Now you are ready to create notes in notebooks. You need to follow the same process, except selecting the notebook where you had like that note to live, and then you can click on the ‘Create’ option. You can simply move the note by clicking the three dots available beside the ‘Share’ option. It allows you to move the note wherever you would like to.
On the other hand, you can create a new note in a notebook by clicking on the notebook available in the left sidebar. Next, you have to click on the ‘New Note’ option. It will be automatically be placed in the notebook you are clicked into.
How to write notes in Evernote
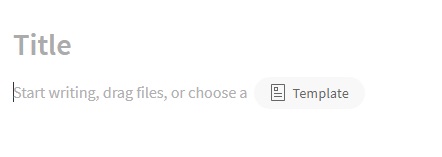
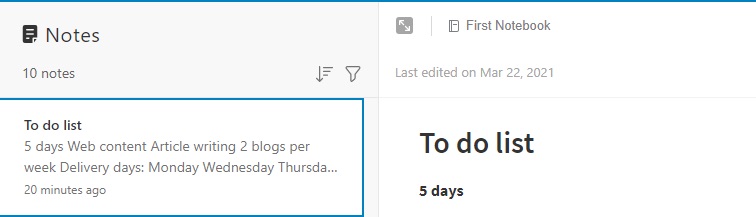
After you have successfully created a note, it's best to begin writing. You will find the options like Title, Template, Description, etc. For instance, we have an example for you here.
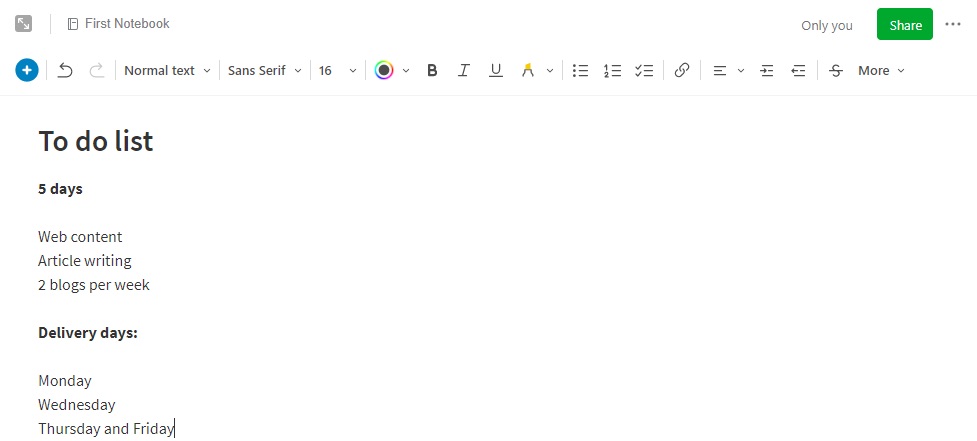
Evernote is not just writing, basic tex,t or making notes, it is much more than that. It enables you to add files, images, audio files, or build tables and link out to online content. The formatting option is also available. It is more or less like any other document where you can write, edit, and share. If you do not find anything then you can simply click on the three dots to the right of the formatting toolbar to find more options.
To in-depth depth, you can click on the ‘Template’ option and you can begin with a pre-made layout for anything from a calendar to a project budget to a meeting agenda. Templates can be of great help if stuck anywhere.
view your notes, you can click on the ‘Notebooks’ option available on the Leon side of the page and then click on the notebook that includes your note details. You will be able to see your note.
How to add shortcuts in Evernote
We often do not find important notes in a hurry. Hence, it's best if you create shortcuts for the same.
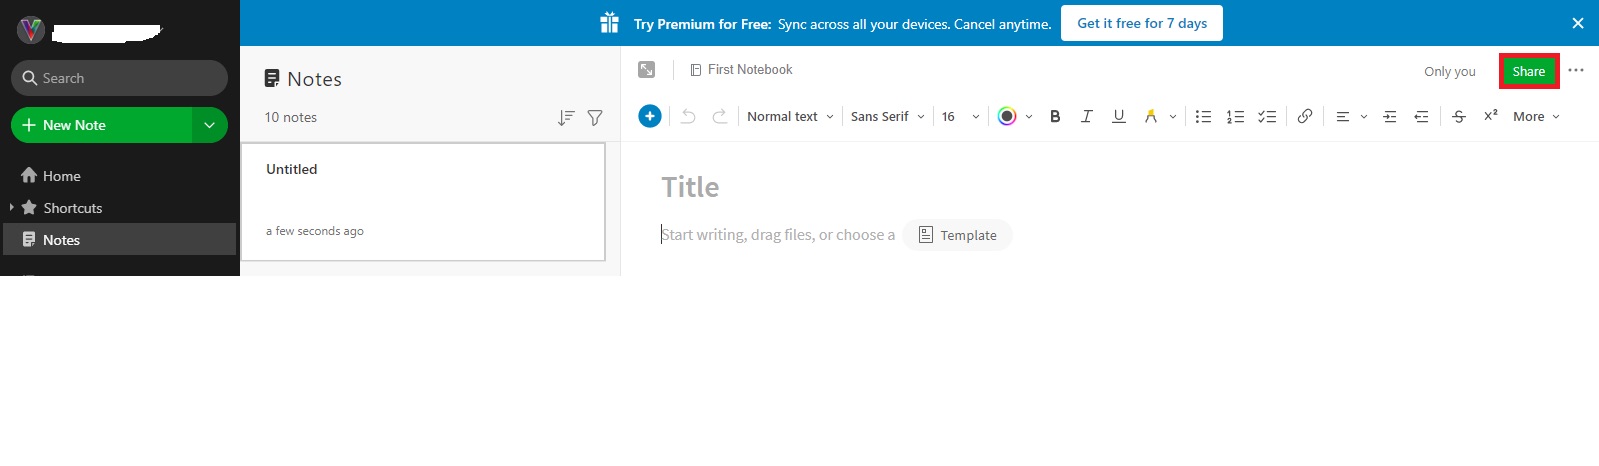
To create a shortcut, you can click on the three dots available on the top-right side, and choose the ‘Add shortcut’ option.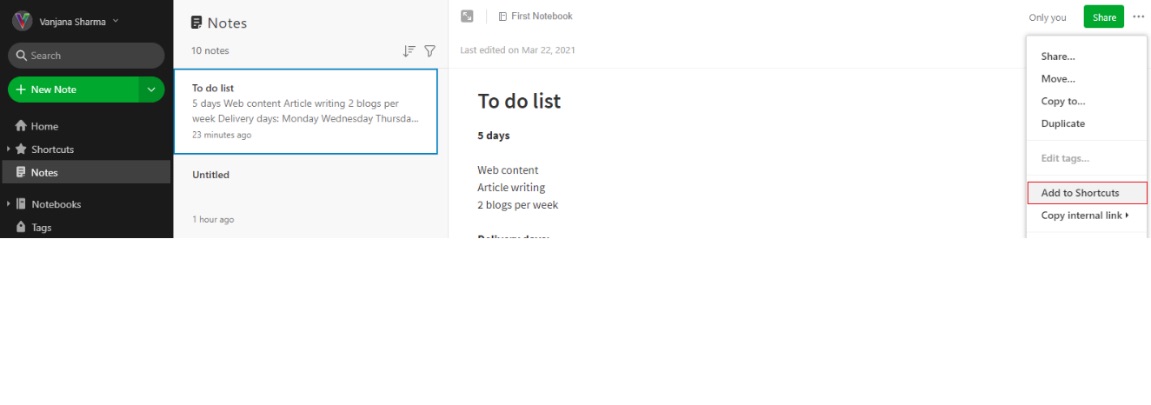
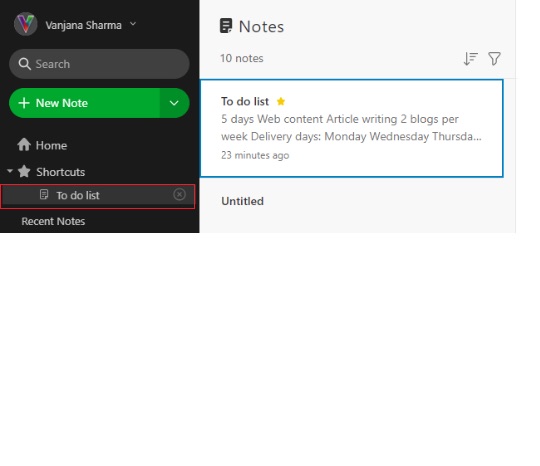
Now you will see your selected note under the Shortcuts option on the left side.
How to add and filter by tags in Evernote
It also provides you with the option to add tags to your note so that the search becomes easier.
To add tags, just select the note, and you will see the ‘Add tag’ option at the bottom of the page.
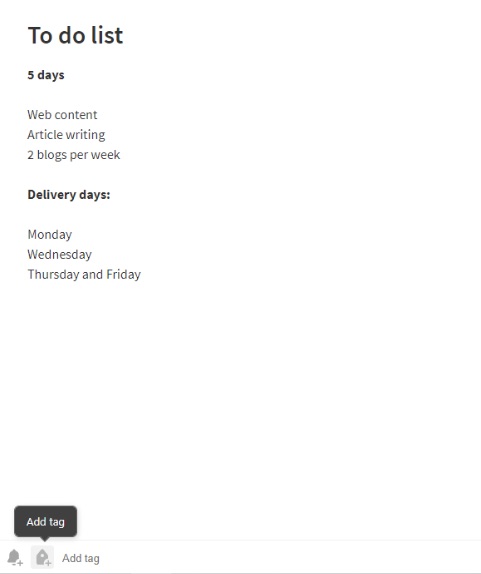
You can simply start creating your tags. Also, you can consider the tag suggestions given by Evernote.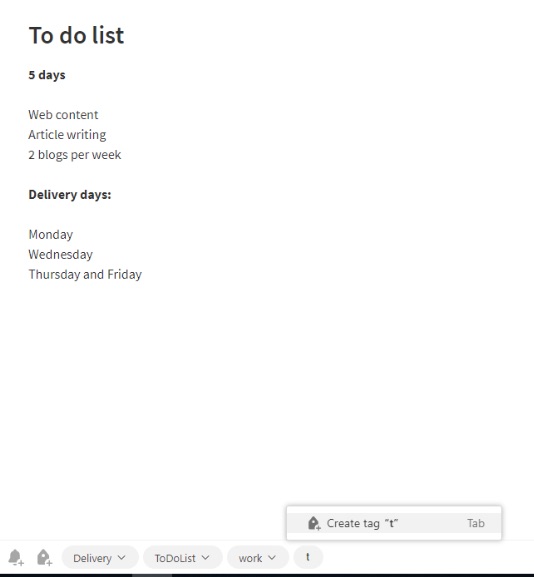
Evernote also allows you to remove tags by clicking on the ‘Remove’ option. On the other side, you can even click on the ‘Tags’ option on the left side to view all your tags and notes linked with them.
How to search in Evernote
After you have created many notes, it becomes tough to locate the exact one you are searching for. The search option is available to help you find your particular note. A column will appear to the right under your search term and you should see your note.

How to share notes in Evernote
Once you are done with your to-do list, you might want to share it with people. You have the option to share the complete notebook with someone. All you have to do is select the entire notebook and then click on the three dots and then click on the ‘Share notebook’ option.

Now you have to enter the email address of the person you want to share the notebook with. You can also modify the permissions as per your need. Next, you have to click on the ‘Send invitations’ option.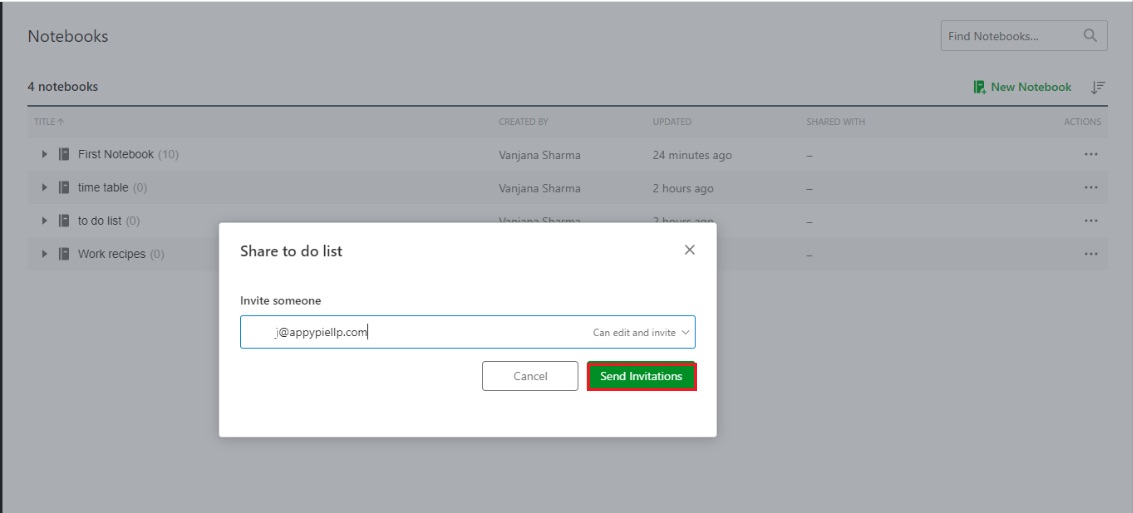 Next, you will be able to see how many people have the access to your notebook. To review with whom you have shared the notebook and permissions they have, you can click on this icon at any time.
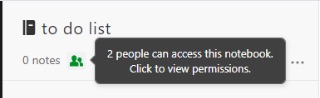
Also, please note that even if someone does not have an Evernote account, still he/she can view the link in their browser.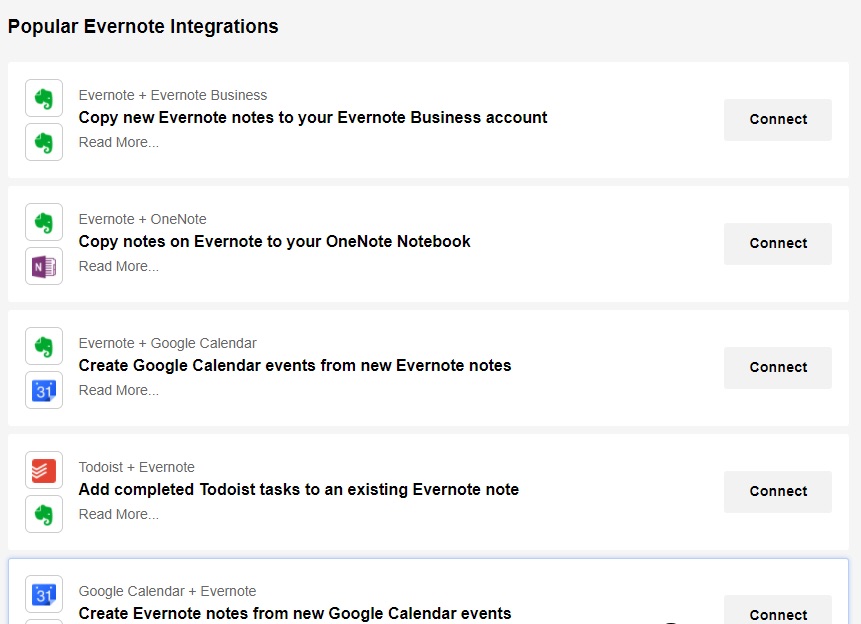
Evernote is one of the best note-taking apps that lets you capture and prioritize ideas, projects, and to-do lists so that nothing falls through the cracks. It organizes notes into notebooks and then notebooks into stacks. Evernote helps you focus on what matters the most and gives you instant access to your information whenever you need it. With Appy Pie Connect, Evernote becomes more efficient, giving you the power to organize and act on tasks more efficiently. Our automation platform enables you to sync your Evernote with a wide range of app from different categories, including CRM, task management, and time management in just a few minutes. On top of that, Evernote integrations will help you free up valuable time that you can use to focus on more important tasks.