
How to Remove Background from an Image with AI Background Remover

A background is one of the essential parts of any picture. Therefore, when it comes to "how to remove a background", there are multiple reasons. Some might want to "remove background" for cleaning up their product picture, getting rid of clutter, or cutting something from the foreground to use it in a different layered design. We’ve seen a lot of everyday usage of background-removing techniques, such as in Instagram stories, YouTube Thumbnails, and product photos. We’ve seen a lot of everyday usage of background-removing techniques, such as in Instagram stories, YouTube Thumbnails, and product photos. Many wonder "how to remove white background from image" or even "how to remove text from image without removing background". Learning "how to remove a background from an image" can be a valuable skill for these purposes.
Appy Pie Design software has one of the most fantastic AI photo editor tool known as Background Remover. If your picture is in a single layer and you're wondering "how to remove background from picture", you must just click a single button that says "remove background", and you’re all good to go. This makes it easy to "remove background from image" with just one click. That means it’s just one click away, and you’re all set to "how to remove the background of a picture"! Also, Appy Pie Design lets you tweak it further, such as painting some parts of your background. Instead of performing a complete "background remove", you can remove only a tiny amount of it.
Now that you have a little idea of what’s inside, let’s walk you through the background remover. Here’s all you need to know when it comes to AI Background Remover, a top-notch AI background remover tool.
How to Remove Background with Appy Pie Design?
You need to follow three easy steps to remove the background from the photo:
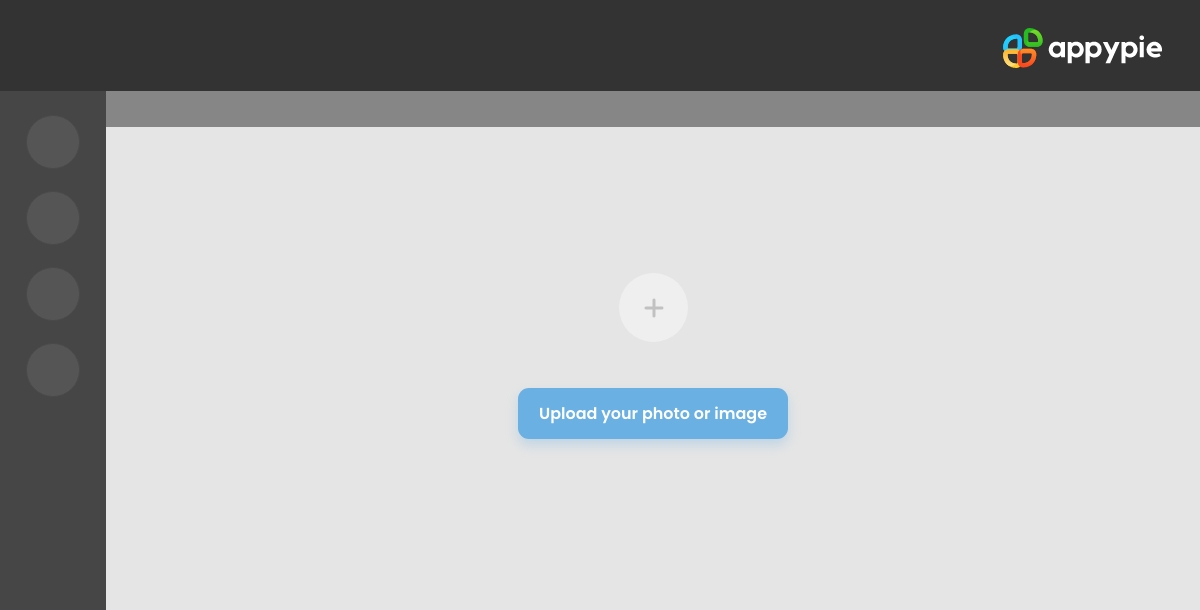
- Upload your photo or image

Sign in to our "How to Remove a Background" remover online and upload a picture. You can upload images of any size or format to our background remover dashboard.
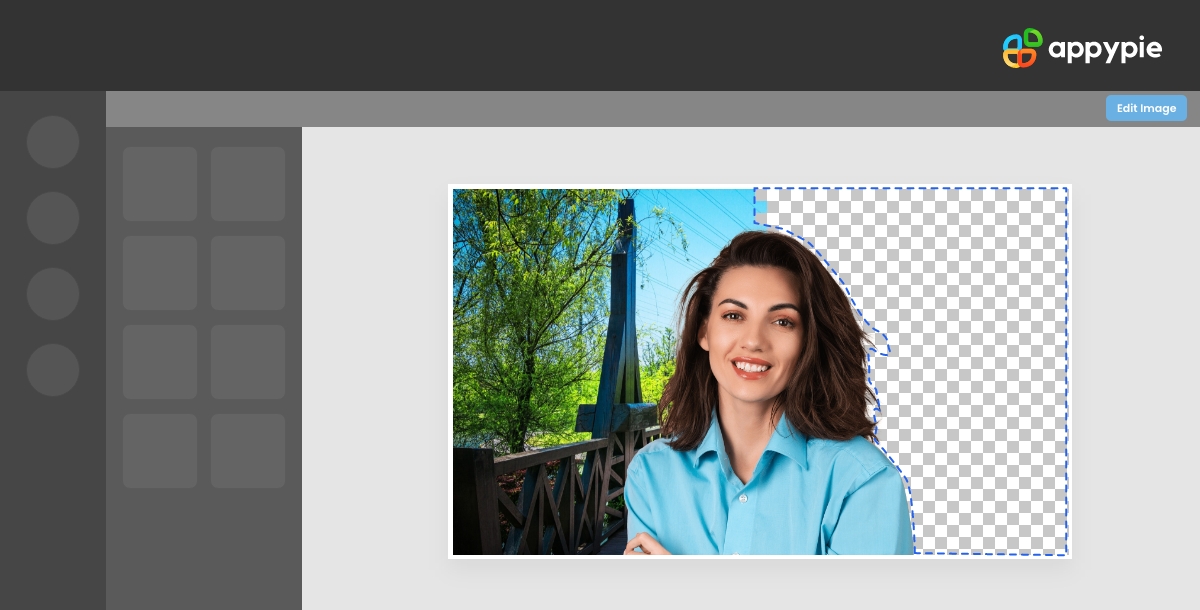
- Select the background you want to remove
Mark the parts you want to "remove background" from the background of your photo. You can either entirely or partially eliminate the background as per your requirements.
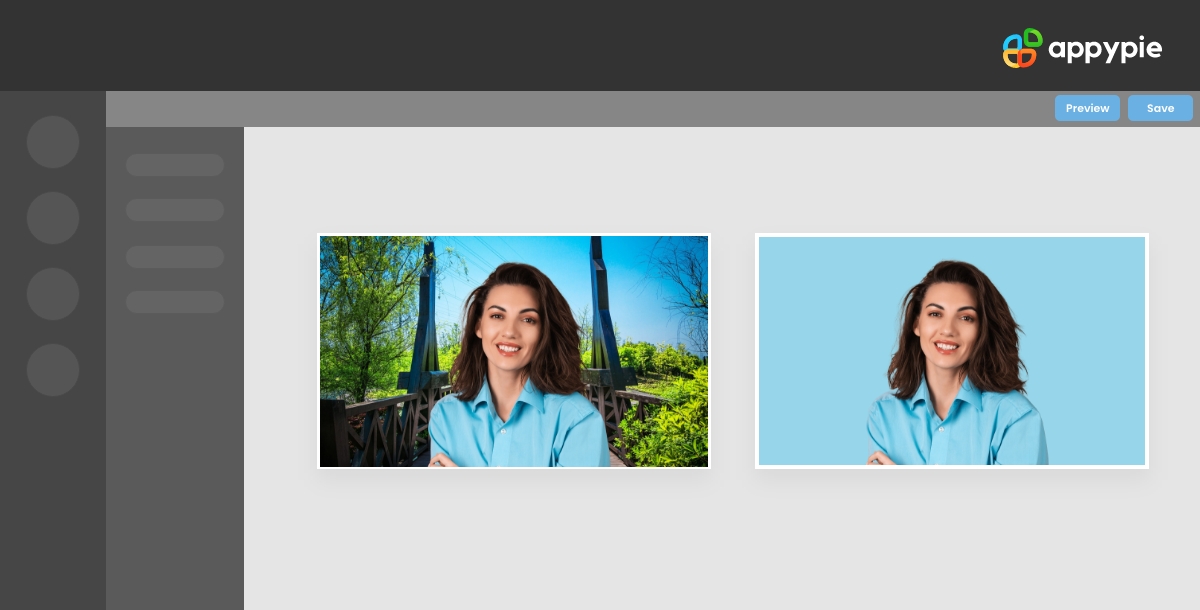
- Preview and save the final image
Preview the image for final adjustments, especially if you're wondering 'how to remove white background from image'. Then, download the image in your preferred format. You can select any format for downloading your final image.
Replace Your Background with Photos, Videos, Colors, or Texture
After using our free background remover tool, you’ll get a white and gray checkered background against your image. This is what a transparent background looks like, especially if you've been wondering 'how to remove a background from an image' or 'how to remove text from image without removing background'. So now you can upload a new background for your picture or download the image as it is to preserve transparency.
There are various things you can do with no background images. Let’s see what and how:
- Create a Solid Color Background
With the layer panel tool, you can go to the image color picker section and select your choice of color underneath your picture. If you're looking to "remove background from image" using the "AI Background Remover", then click Apply, and there you go.
- Set Your Texture
After creating a color background for your picture and wondering 'how to remove background from picture' or 'how to remove the background of a picture', go to the layer panel and select the texture tab. Choose the one you like the most, adjust it further, and click on Apply.
- Make a Video Background
Create an app background or video background for your photo with our "background remover" and add that extra who-wheee effect. Simply upload your video or browse from the library and select your favorite. Click on the add the video button and place it behind your image using a layer panel. Use the "background remove" editing tool to crop and adjust it further.
- Set a New Photo Background
Go to the "AI background remover" tool and click on replace. Next, choose the source and adjust your background image using editing tools.
- Create Multi-layered Designs
Once you’re done with background removal, you can place a new background. Your image against a transparent background will be saved so you can use it whenever you want to start it again. First, follow the steps mentioned above and add the no background image. Next, adjust your photo and add graphics or text on the background. Your new multi-layered file will be auto-saved then. You are not limited with only one photo but you can do the same task with the photo collage as well.


Some Best Practices for Background Remover
Though the background remover feature is considered magical, it doesn’t always work the way you want it. Here are a few tips to help you remove your image background more effectively.
Objects and Subjects: Images that work the best are those which have a clear subject. The subject could be anything, such as people, products, cars, animals, houses, etc. Therefore, always choose those subjects that are closer to your camera.
Contrast: Photos with a pleasing contrast between foreground and background are ideal. Images that are too light or too dark won’t actually translate. So, before editing your vision, always consider removing the background first so that you can ensure the shadows, brightness, highlights, and contrast are balanced. Else your image would not be as attractive as you want.
Backgrounds: Instead of going for busy backgrounds, always go for plain ones so that your background erase should not look confusing or disjointed. Clean is what you should aim for.
Simplicity: Photos with fewer people are always considered to be better than those with large groups because separating the subjects is easier in earlier ones.
Positioning: Pictures in which the subject is breaking off at the edge are considered better than those in which it is cutting off in the middle, for instance, behind a desk or where the subject will look odd when the background is removed.
So, one of the best ways to get your background remover victories is to try and practice. Don’t give up and play around until it doesn’t work the way you want. We all have learned from Harry Potter that magic always takes practice.
5 Reasons why do you need a Background Remover tool?
Removing the background is one of the most common image editing tasks. It’s used in so many different ways that it would be impossible to list them all. But here are some common examples:
- To get Transparent or White Background
The first use case is obvious. Imagine you have created a cool looking piece of design in any photo. You have added text, images, and all sorts of beautifying details. But what if you want to place that design on top of a different colored background? Then you will not be able to do so unless you remove the background from your image.
Sometimes the background is distracting, ugly, or just drab and you want to make it disappear. For example, if your website is giving some kind of information or instructions, you might want to make the background color pure white so that it becomes easier for the readers to digest the information.
- Removing Background from an Image for Text Recognition
We need to remove the background from the Images for Text Recognition purposes. For example, in this Article, we will learn how to remove the background from an Image/Picture and then try to recognize the Text present in it. For example, we have an Image of a Handwritten Document and we have to read the text present in that image. So, first, we need to remove the background from that image and then try to recognize the text present in it.
- To Make a Profile Picture Job-Application Ready
A job seeker should always try to remove the background from the Profile Picture before applying for a job. This will save some time, as the employer will not spend much time and effort in finding a good profile picture of the candidate. An employer will check the profile picture of a candidate before going through the documents.

- Removing Background from an Image before Stitching
Another very important use of removing background from an Image is before stitching multiple images together. Before Stitching Images together, we need to remove the background from all those images so that there is no irregularity in the stitching process. This will give us a seamless output as if all those Images are taken at a single shot without any background. Or we can say that we are removing the unwanted part of the image i.e. the Background from the final output so that our output looks very tidy and neat.
- For Commercial and Personal Usage
The uses of this effect are mostly commercial and personal. You might be a graphic designer who wants to play around with the images in your portfolio. Or you might be a photographer who wants to add an effect to your images for personal or commercial reasons.
The first use of the background remover is for the general public, like you, who want to remove the background from an image in order to make it transparent. The second use is for experts in photography, design, and graphics. They want to play around with their images for various reasons, one of them being adding effects or using them for their portfolio.


Related Articles
- A Beginner’s Guide to Google My Business
- Who Evaluates the Evaluations? Objectively Scoring Text-to-Image Prompt Coherence Metrics with T2IScoreScore (TS2)
- How Workflow Automation Eases Remote Work for Businesses?
- How to Conduct Effective AB Testing in Mailchimp for Email Marketing Success
- How Job Search Apps Help You Find Your Dream Job?
- 504 Gateway Timeout Error: Understand, Fix, and Prevent
- Types of CRM and Selecting the Ideal One for Your Company
- What Are dApps and What Are They Used for?
- Unlocking the Power of Interactive Voice Response for Your Business
- Omegle Alternative: 16 Best Websites Like Omegle and How to Create One without Coding