
How to Design a Certificate: A Step-by-Step Guide with Design Tips

Certificates are not merely pieces of paper, they're a record of your achievements and milestones worth celebrating. You may be a teacher recognizing a student's academic excellence, a business leader acknowledging an employee's outstanding work, or an organization awarding a learning design certificate, it is important to learn how to design a certificate that meets all the design standards and upholds the dignity of your organization.
But where do you begin? This comprehensive guide will help you learn everything you need to transform a blank page into a standard certificate that leaves a lasting impression. While discussing the steps of how to design a certificate, we will explore essential elements like certificate standard size, design certificate border options, and tips to design certificate template. Moreover with the advent of advanced AI Design Tools, designing a certificate has become hassle-free with a suite of tools that help you add every element swiftly.
Table of Content
What is a Certificate?
A certificate is a type of award in the form of a well-crafted and beautifully designed piece of paper (both hard and soft copy). It is generally given to appreciate good work, recognize people, and reward particular actions and behaviour. A certificate is considered one of the best ways to acknowledge a remarkable achievement and boosts the receiver’s confidence.
From big to small businesses, from primary schools to universities and at many other places, certificates are distributed frequently. Moreover, you can design a certificate for your organization with a Certificate Maker without any prior design experience and produce a remarkably designed one that aligns with your vision.
What does a Certificate contain?
Certificates serve as formal documents acknowledging accomplishments or participation. Their visual elements play a crucial role in conveying this message effectively. Here's a breakdown of the key components typically found on a certificate:
- Subtle Background: This often features a light design pattern or texture that adds visual interest without distracting from the main content.
- Relevant Title: This clearly states the purpose of the certificate, such as a "Certificate of Achievement" or "Certificate of Completion."
- Cause for Award: A brief statement detailing the reason the certificate is being awarded. This could be achieving a specific grade, completing a training program, or demonstrating outstanding performance.
- Name of the Receiver: This prominently displays the name of the individual being recognized.
- Name of the Issuing Organization: Identifies the entity awarding the certificate, such as a school, company, or professional association.
- Date: Specifies the date the certificate is issued, marking the achievement or milestone.
- Signature: A signature line may be present for an authorized representative of the issuing organization to add a personalized touch.
Moreover, you can explore a range of online pre-designed certificate templates that already have this content and edit them to add your details.

What is the Importance of a Certificate?
You might be thinking how can a piece of paper be a source of encouragement for anyone? However, a certificate is more than just a paper, it is used to appreciate individuals who have done exceptionally well either in their field or in social surroundings. A well-designed certificate serves two crucial purposes:
- To recognize the good work
- To motivate people to continue doing good
If you own a business, you need to keep on distributing various certificates to your employees. It can help in continuously encouraging them to strive for excellence.
How to Design a Certificate Using Appy Pie’s AI Certificate Maker?
To design a certificate on your own, you need not hire a graphic designer or visit any store. You can create as many certificates for as many occasions as you want on your own. You need to create an account on one of the best graphic design platforms- Appy Pie. By following a few easy steps, you can create your certificate in just a few clicks.
Step 1: Go to Appy Pie’s Certificate Maker Page:
Head over to Appy Pie's AI Certificate Maker page. This user-friendly platform provides all the tools you need to bring your certificate vision to life a perfectly designed all-encompassing certificate.
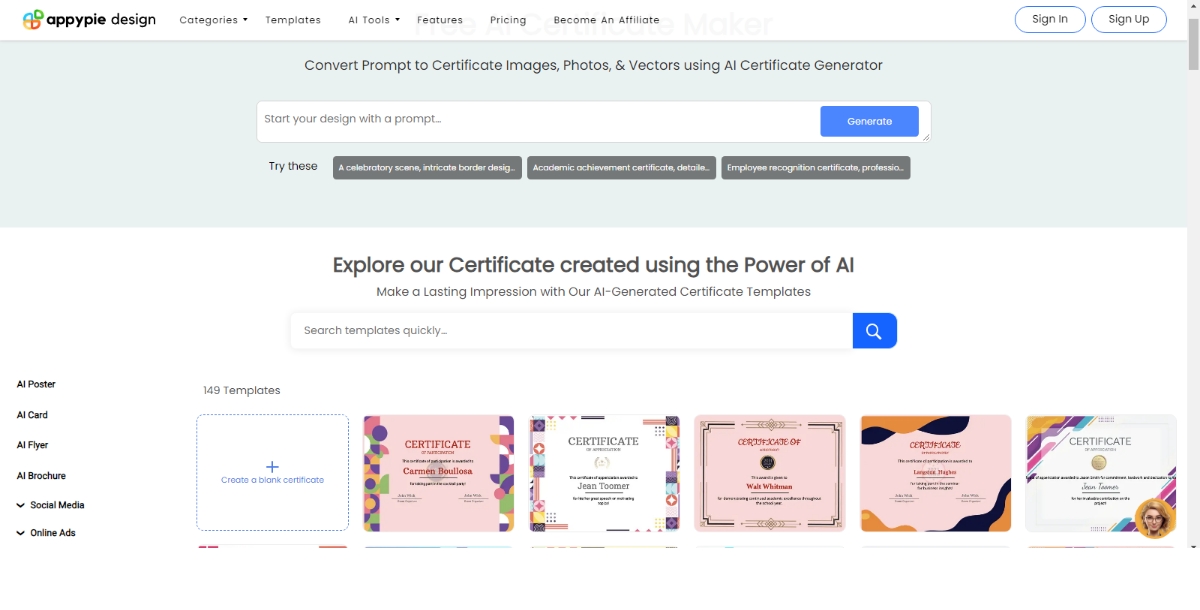
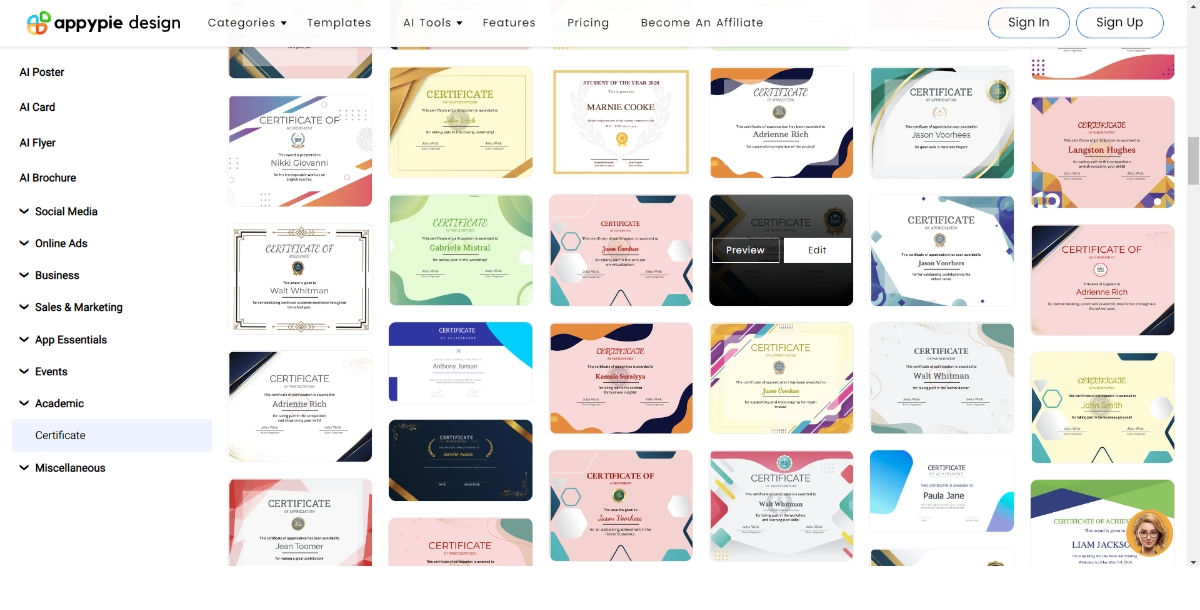
Step 2: Find Your Perfect Template:
You can now explore Appy Pie's extensive library of certificate templates. Browse through a variety of pre-designed options to find one that aligns with your needs. Hover on the template of your choice to get two options, ‘Preview’ and ‘Edit’. Once you have previewed it, click the ‘Edit’ option to proceed further.
You can even use AI-powered template generation. Simply provide a brief prompt outlining your desired certificate style and content, and the AI will produce a unique template based on your specifications.
Step 3: Log In or Sign Up (It's Quick & Easy!):
You will now be directed to the login window. If you're a new user, create an account with the ‘Sign Up’ option with your email ID or you can simply sign up with a Gmail account. Existing users can log in with their credentials to access the editor.

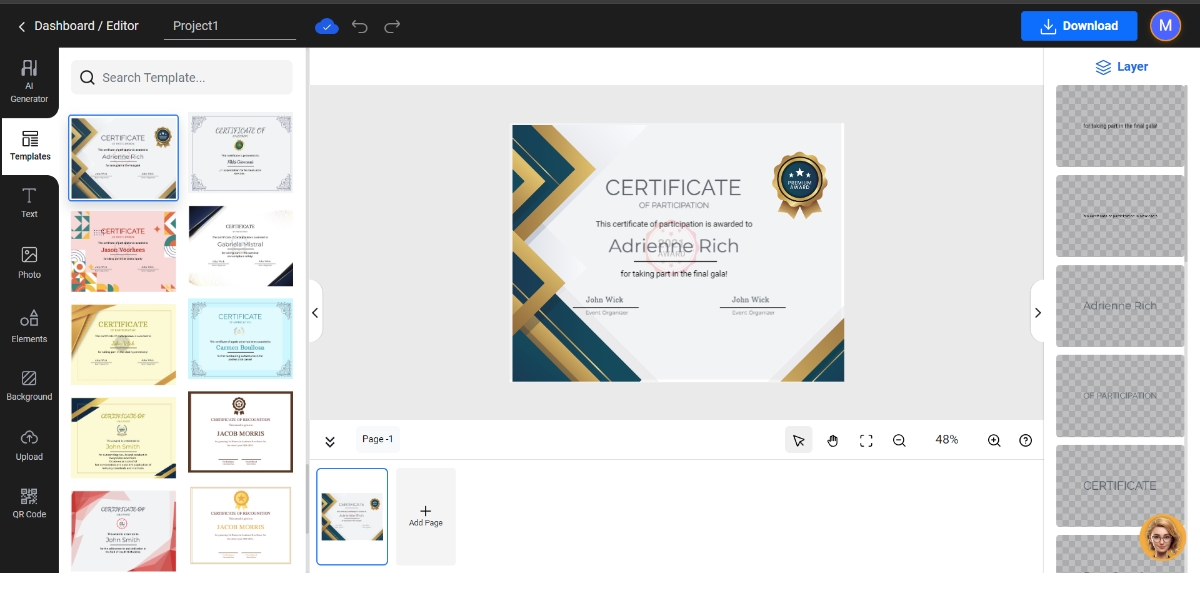
Step 4: Welcome to the Editor
Upon logging in, you'll be greeted by the intuitive editing interface. This is where your chosen template comes alive! You can customize the design to match your brand identity and desired style. Change fonts, colors, and layouts to create a certificate that truly reflects your organization’s personality.
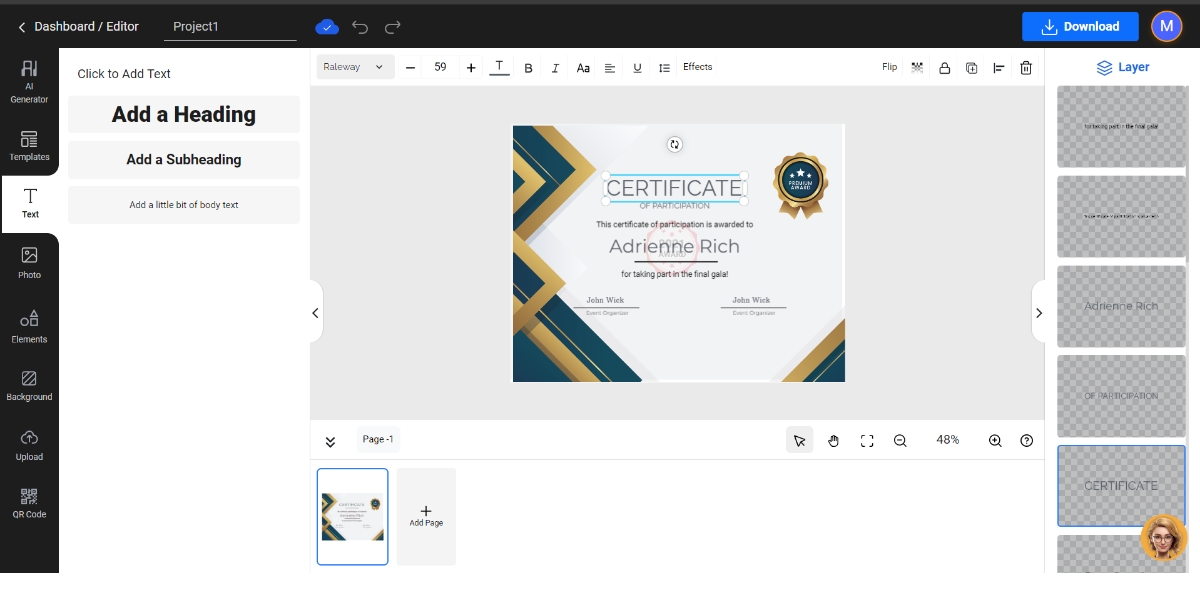
Step 5: Add or Edit Text to Fill in the Important Details:
Communicate the purpose of the certificate. Use the ‘Text’ option to input essential details like the certificate title, recipient name, award description, date, and issuing organization. To add a more personalized touch you can even try the AI Font Generator to get a font style that matches your brand’s style.
Step 6: Enrich Your Design with Stock Photos:
Incorporate eye-catching visuals to enhance your certificate and celebrate the achievement. Add relevant stock photos from the ‘Photo’ option related to the award or field of recognition. For an extra touch of personalization, explore the AI Image Generator to create unique, customized images specifically for your certificate design.
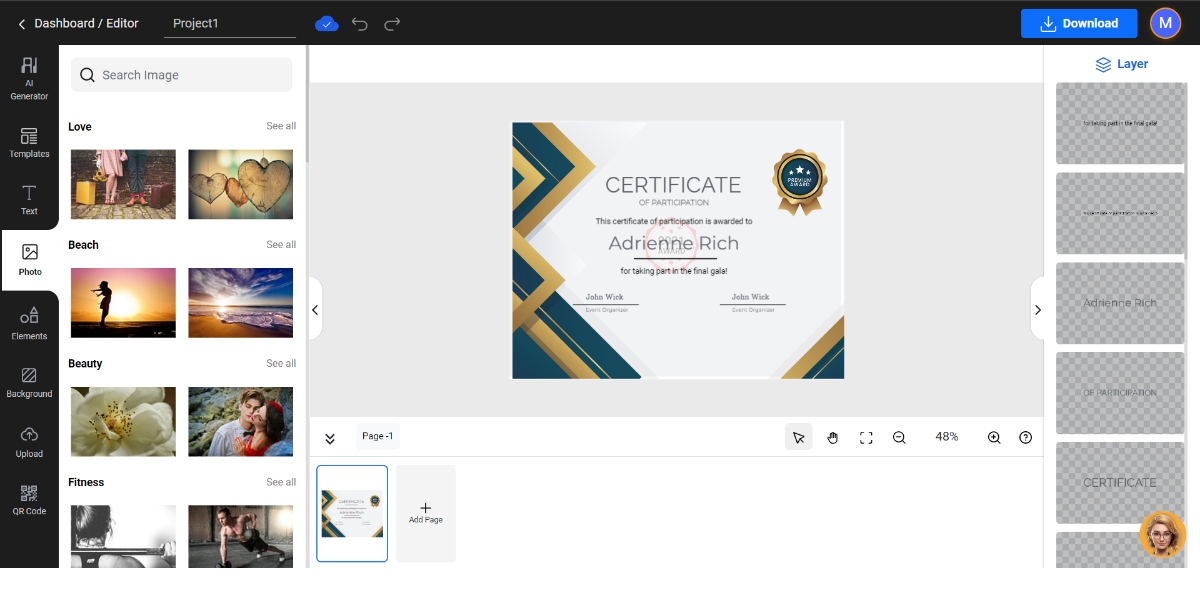
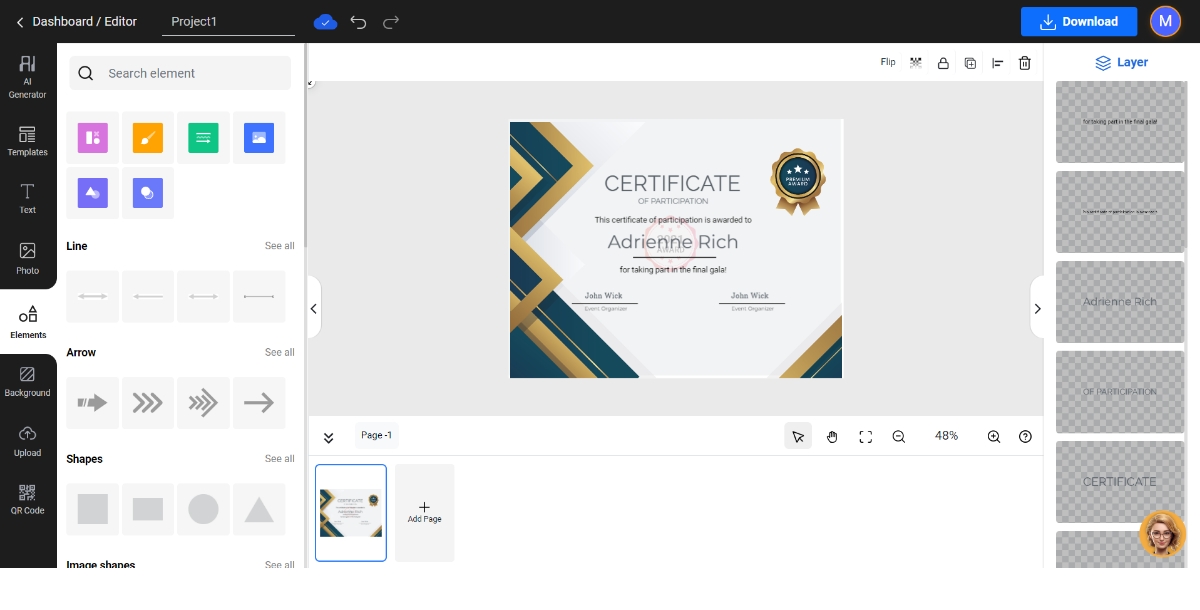
Step 7: Make it Unique with Design Elements:
Use the ‘Elements’ option to add special touches that elevate your certificate and reinforce your brand image. Explore a variety of design elements to create a truly stand-out certificate.
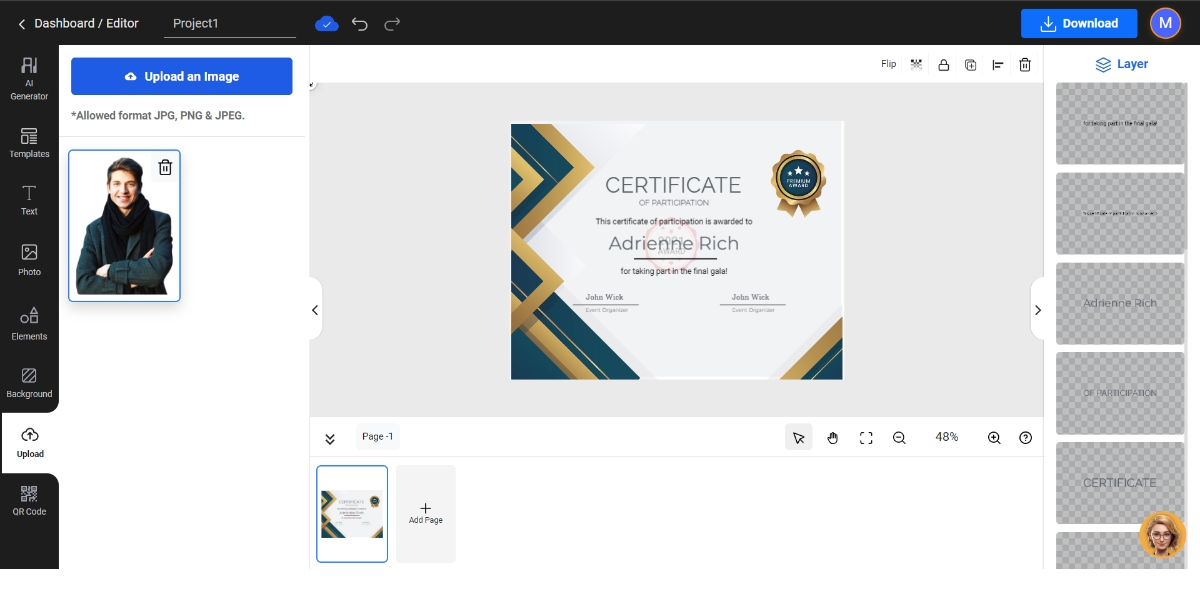
Step 8: Upload Your Organization’s Logo / Picturte:
Upload your company logo or a custom image to give your certificate a personal touch using the 'Upload' option. You can browse your device by selecting the 'Upload an Image' option that appears after selecting the 'Uploads' option. Your selected image will be displayed under the 'Upload an Image' option. Select the image from there to add it to your certificate template. This step further strengthens brand recognition and adds a professional touch to your design.
Step 9: Preview and Make Final Edits Before Downloading
Before finalizing your certificate take a moment to preview the certificate. This ensures everything looks flawless. Once satisfied, go to the ‘Download’ option for saving it.
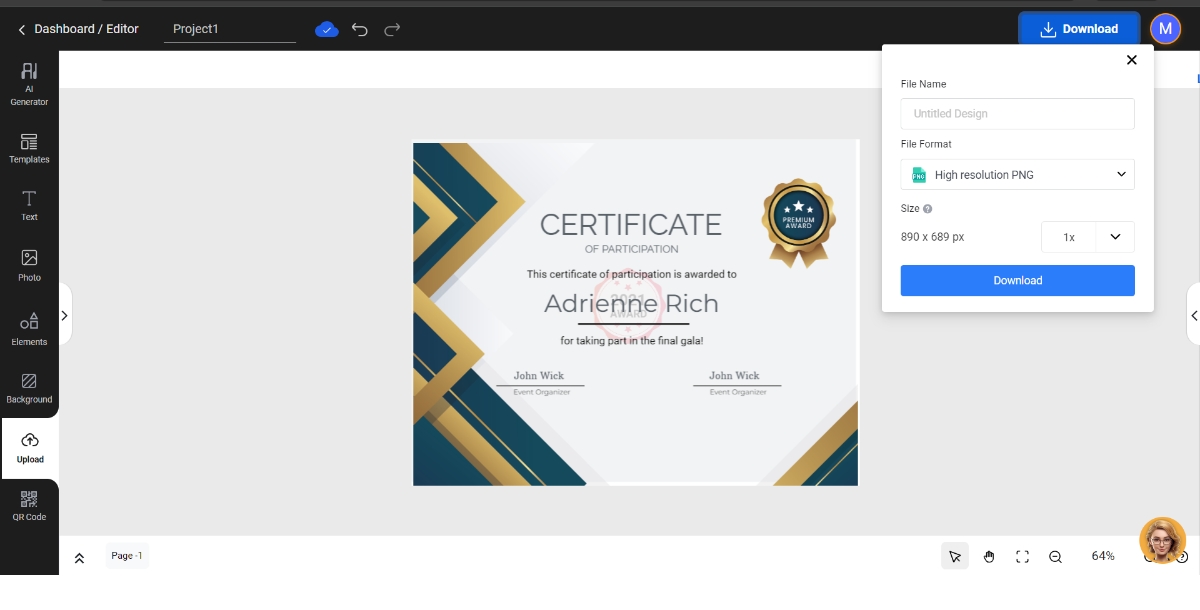
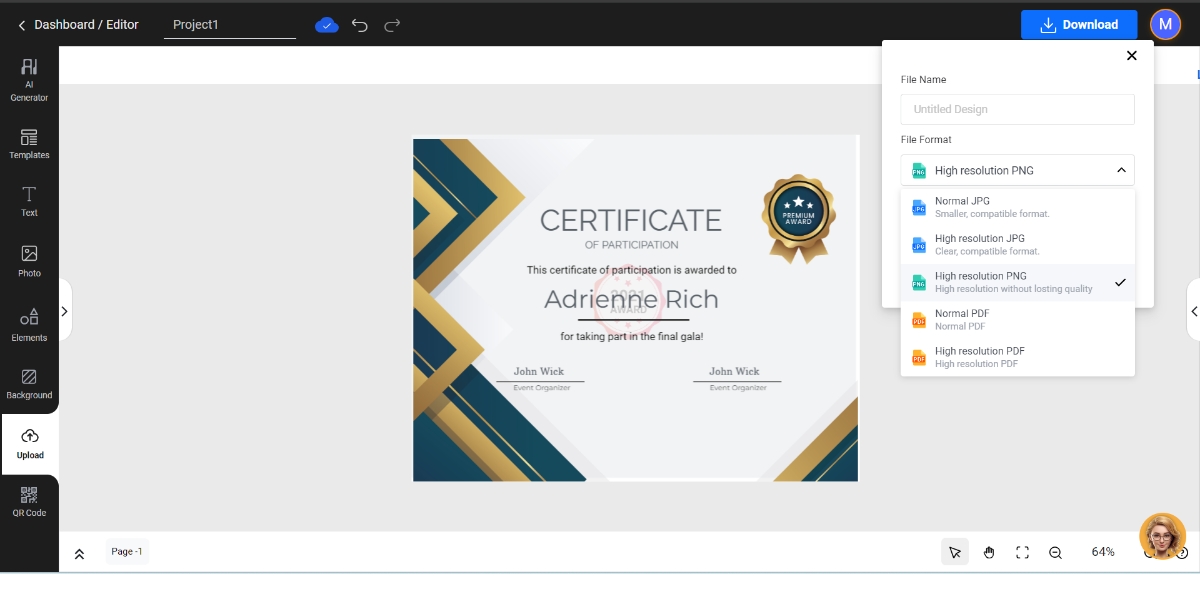
Step 10: Select File Format to Finish Downloading
Upon selecting the ‘Download’ option, you can enter your file name and then select your file format like JPG, PNG, PDF to finally save it to your device.
Expert Tips to Design Your Own Certificate
A certificate should be designed in a way that upholds the brand values of your organization. This can be achieved by following the design standards and aligning them as per what your organization stands for. To design a certificate as per the professional standards, you can follow a few major tips listed below.
- Select Subtle Background: To give a certificate an elegant look, you must choose a subtle background. You can either pick a combination of complementary hues or the thematic image as your background. You can even explore an online Background Maker that also gives you numerous options to choose from various background templates as well.
- Use Classy Font: Text written on a certificate must look classy and decorative. It should be able to signify the level of appreciation. You should pick a bold font for the name of the recipient and the title of the certificate.
- Choose Vivid Colors: Your design of the certificate must not look boring. It would be designed in a certain way that it can immediately match the feelings of the recipient. Choose the colors that either match the theme of your brand or can make your certificate look vibrant. You can try the Color Wheel tool to get the perfect color scheme for your certificate design.
- Add Illustrative Elements: Give the certificate an all-new look by adding small unique elements and illustrations that stand relevant. You can add your business logo, small graphics like a badge or trophy, and much more to a certificate.
- Brand Your Certificate: If you design a certificate to appreciate your employees, then don’t forget to add the relative elements that can easily showcase your brand’s image. You can add your brand colors, theme, logo, and other elements to your certificate.
Summing Up
Designing a certificate on your own is as easy as pie. You just need to select the relevant template for your certificate and edit it till the time you feel that the certificate is perfect for appreciation. You can experiment with a few designs before finally settling on one. So, next time if you need to create a certificate, just log in on Appy Pie and start creating!
Related Articles
- Cyber Monday: Tips to Drive Sales in 2022
- A Beginners Guide to Answer Bot Automation
- Outlook vs Gmail: Which Email Service is the Better Choice in 2024?
- Top 10 Secret Websites to Make Money Online in 2023
- How Chatbots Help Businesses Find Customer Insights
- How to Start a Call Center: A Step-by-Step Guide
- 10 Best Employee Onboarding Software in 2024
- How To Use Paper Framework and Digital Applications To Level Up Your Productivity
- 11 Best AI Chatbots for Education in 2023
- Mastering Customer Relations With AI Chatbots And CRM Software: Strategies And Benefits
Most Popular Posts
- What is Brand Logo and How to Create a Logo for Your brand?
- How to Restore Tabs on Chrome: Restore Your Last Session and Pages
- What is Metaverse and How Does it Work? [The Metaverse Explained]
- How to Use Gamification to Boost Your Customer Loyalty Program?
- How Job Search Apps Help You Find Your Dream Job?