
How to Create Detailed Google Calendar Events Using Appy Pie Connect

By Abhinav Girdhar | Last Updated on April 4th, 2024 9:16 am | 3-min read
Hashmark Event Colors
Recognise the hashmark with its color to create an event within the Google Calendar app.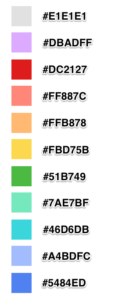
Change Date & Time to specified format
Mostly, the Connect accepts the Date only in a specific format. Likewise, Google Calendar (your destination app) accepts the Date only in yyyy-mm-dd format. If you’re selecting your Date format from the dropdown menu, then ensure the acceptable format otherwise you’ll face an error on your screen.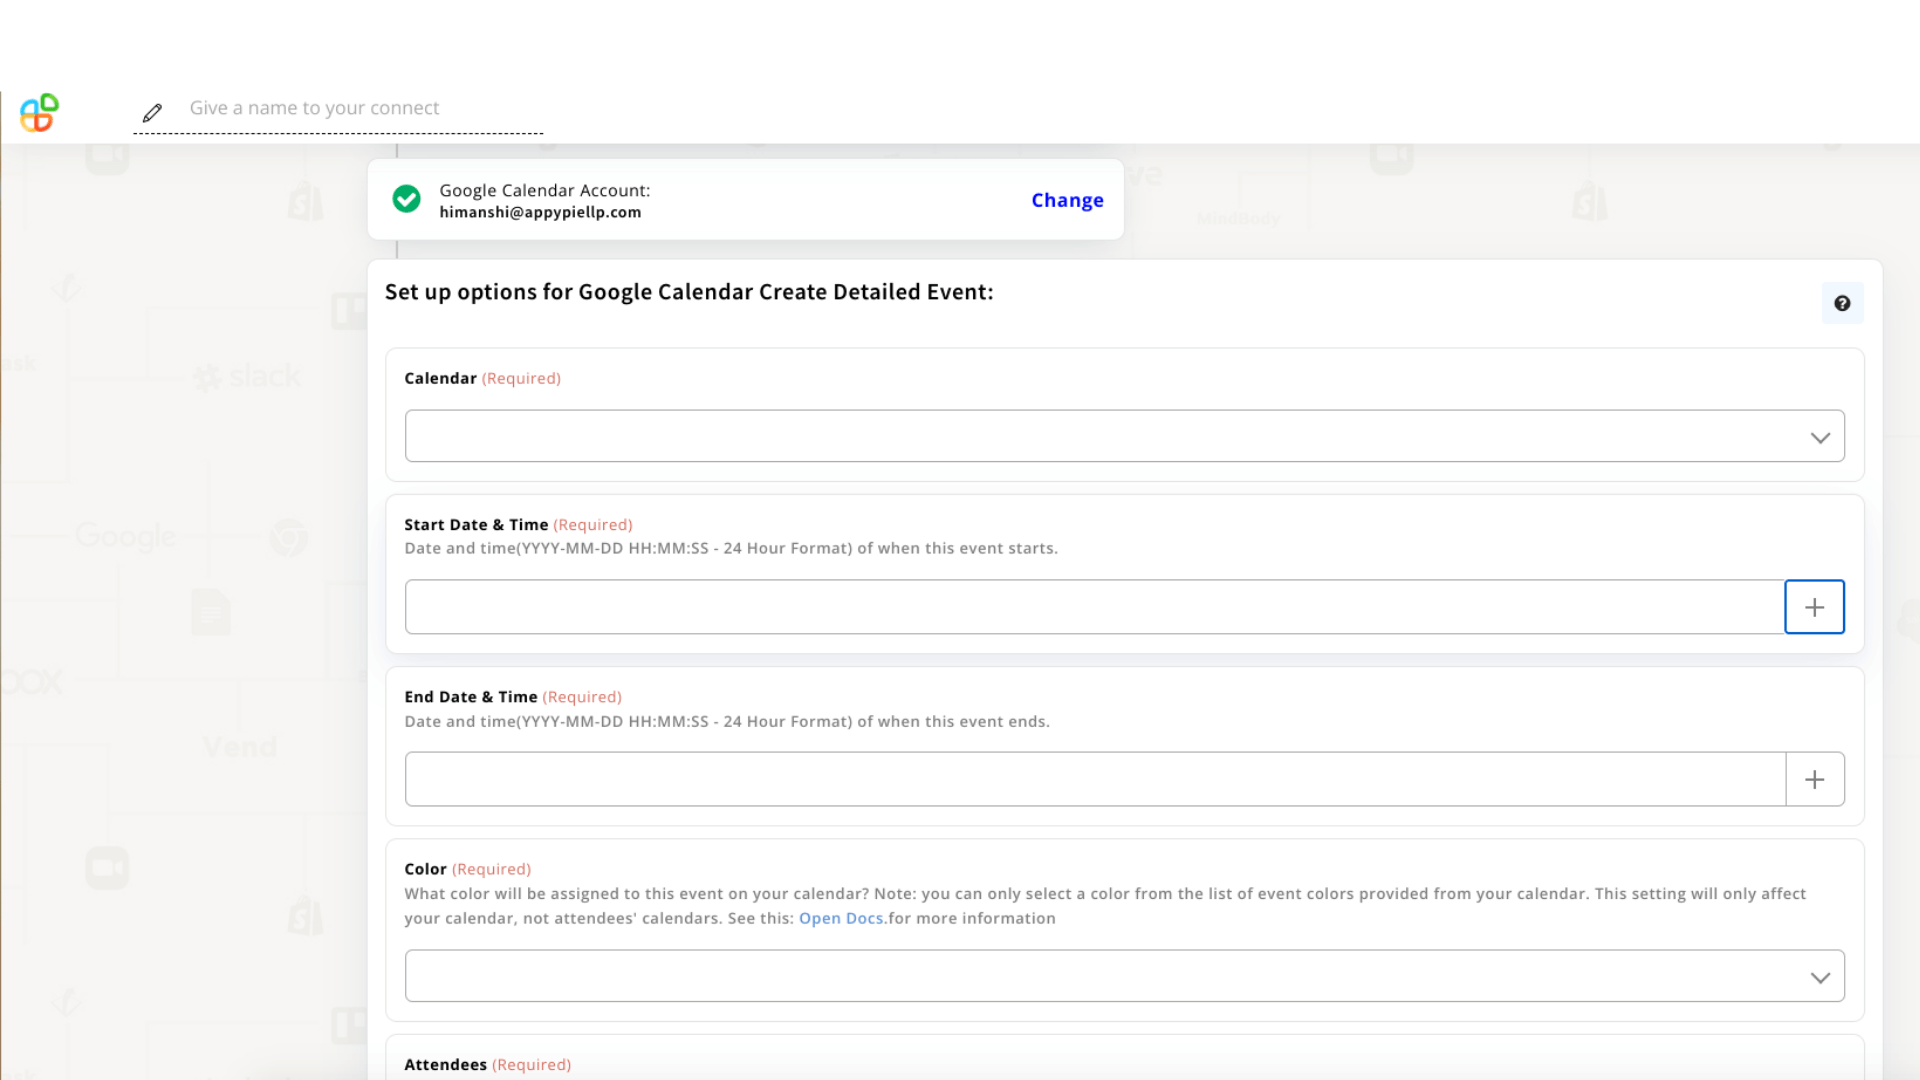
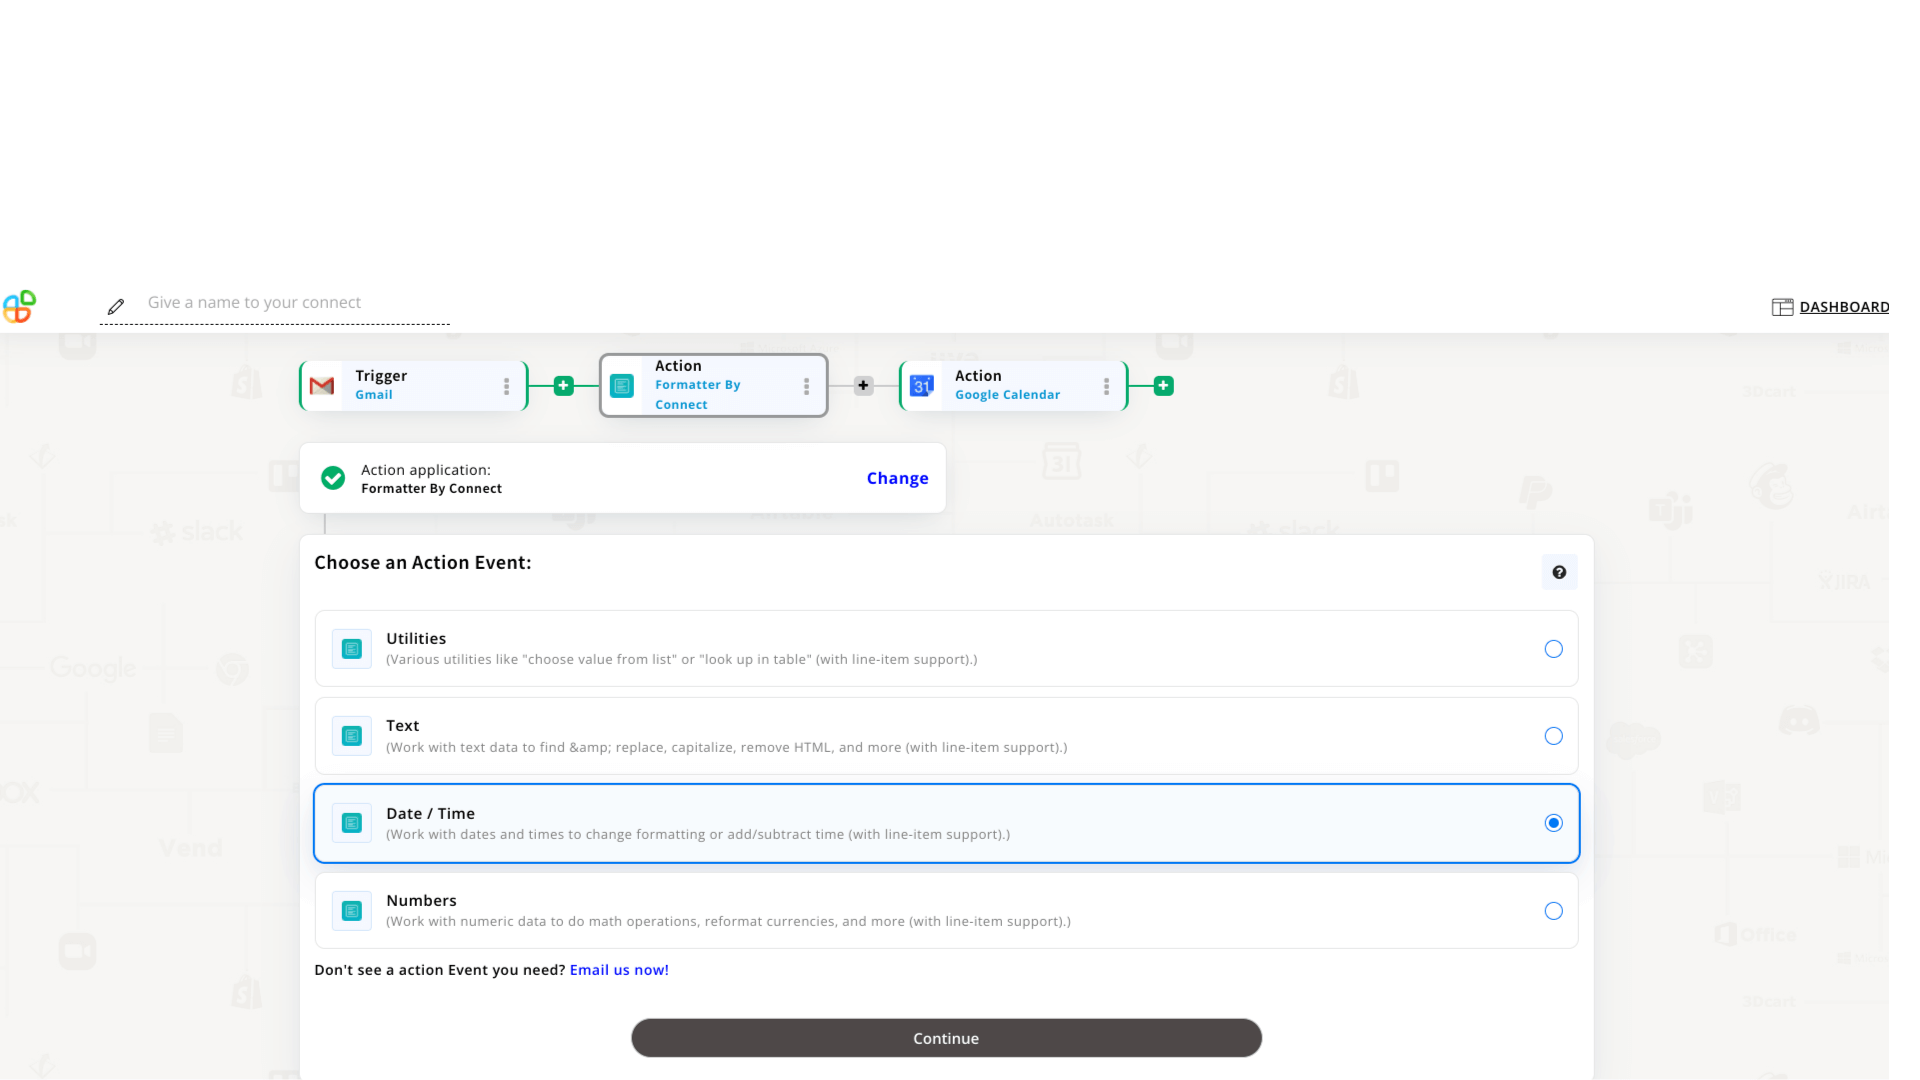
Say ‘NO’ to error on Date & Time format
In this scenario, you’ll need to add the Formatter by Connect (Appy Pie in-house applications), check out the following steps:- Pick Date/Time as an action event.
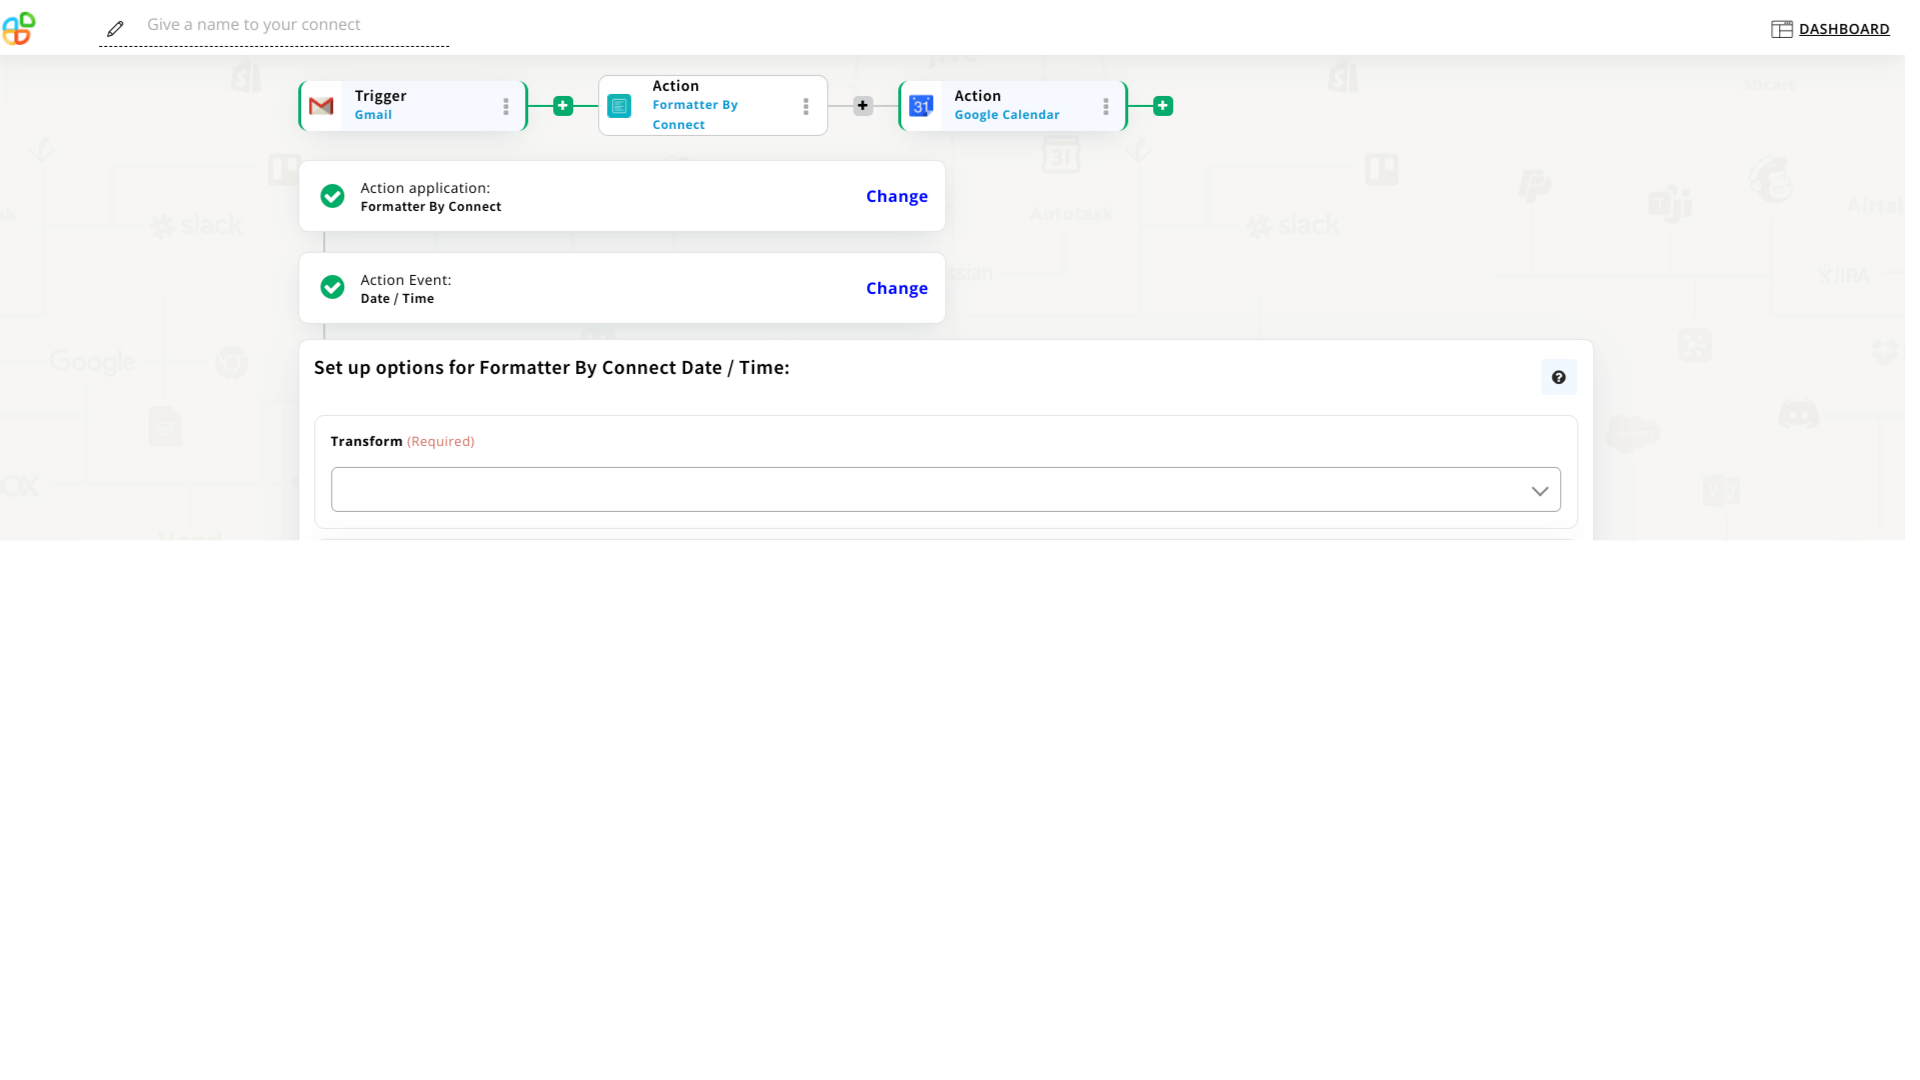
- Choose the required format from the dropdown menu of the Transform field.
- Now click the Continue option.
- Here, at Google Calendar’s Date & Time field you need to select Formatter by Connect action to work error free.
How to create a Delay in Google Calendar?
Ultimate situations arise where you need to delay your actions. For your convenience, Appy Pie has a Delay by Connect in-built application to assist your business in each phase. So, in cases like this you need to add an action app Delay by Connect before your destination action app.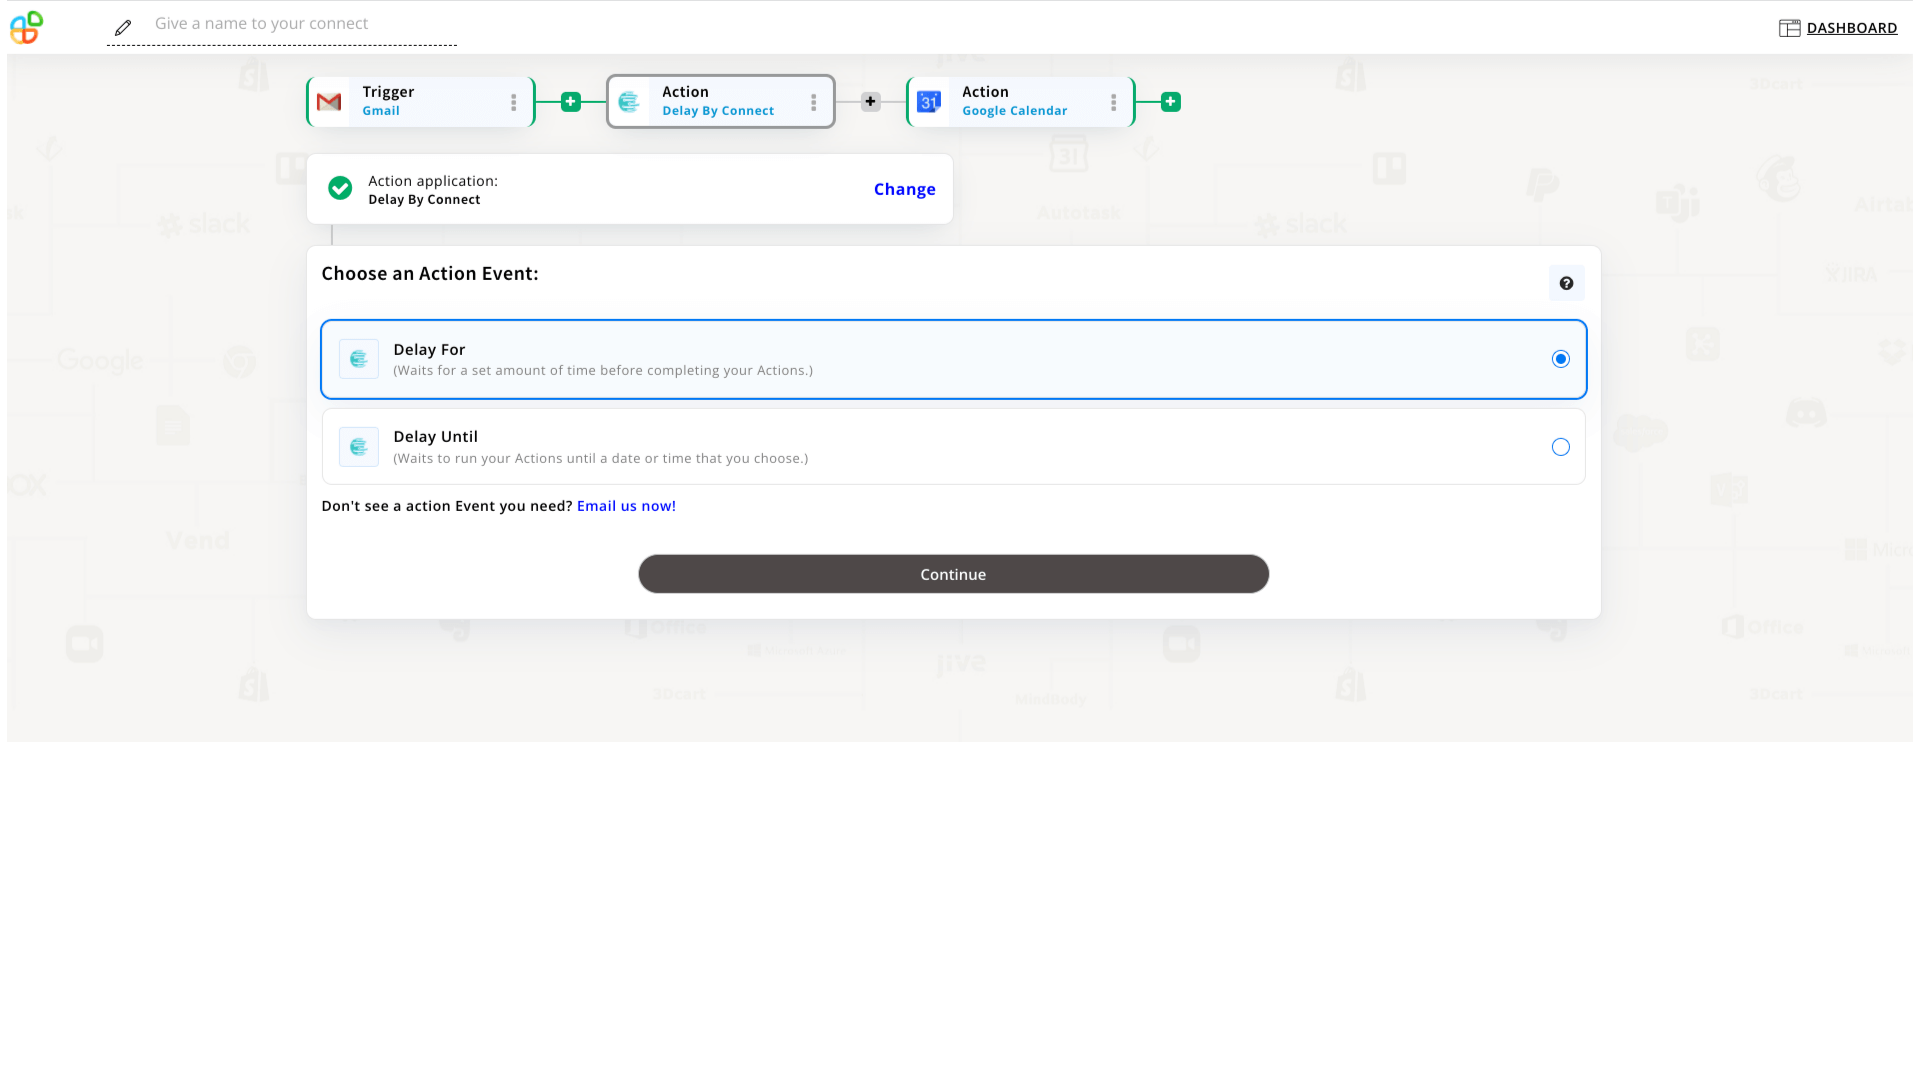 Appy Pie provides you two action events - Delay for & Delay until.
 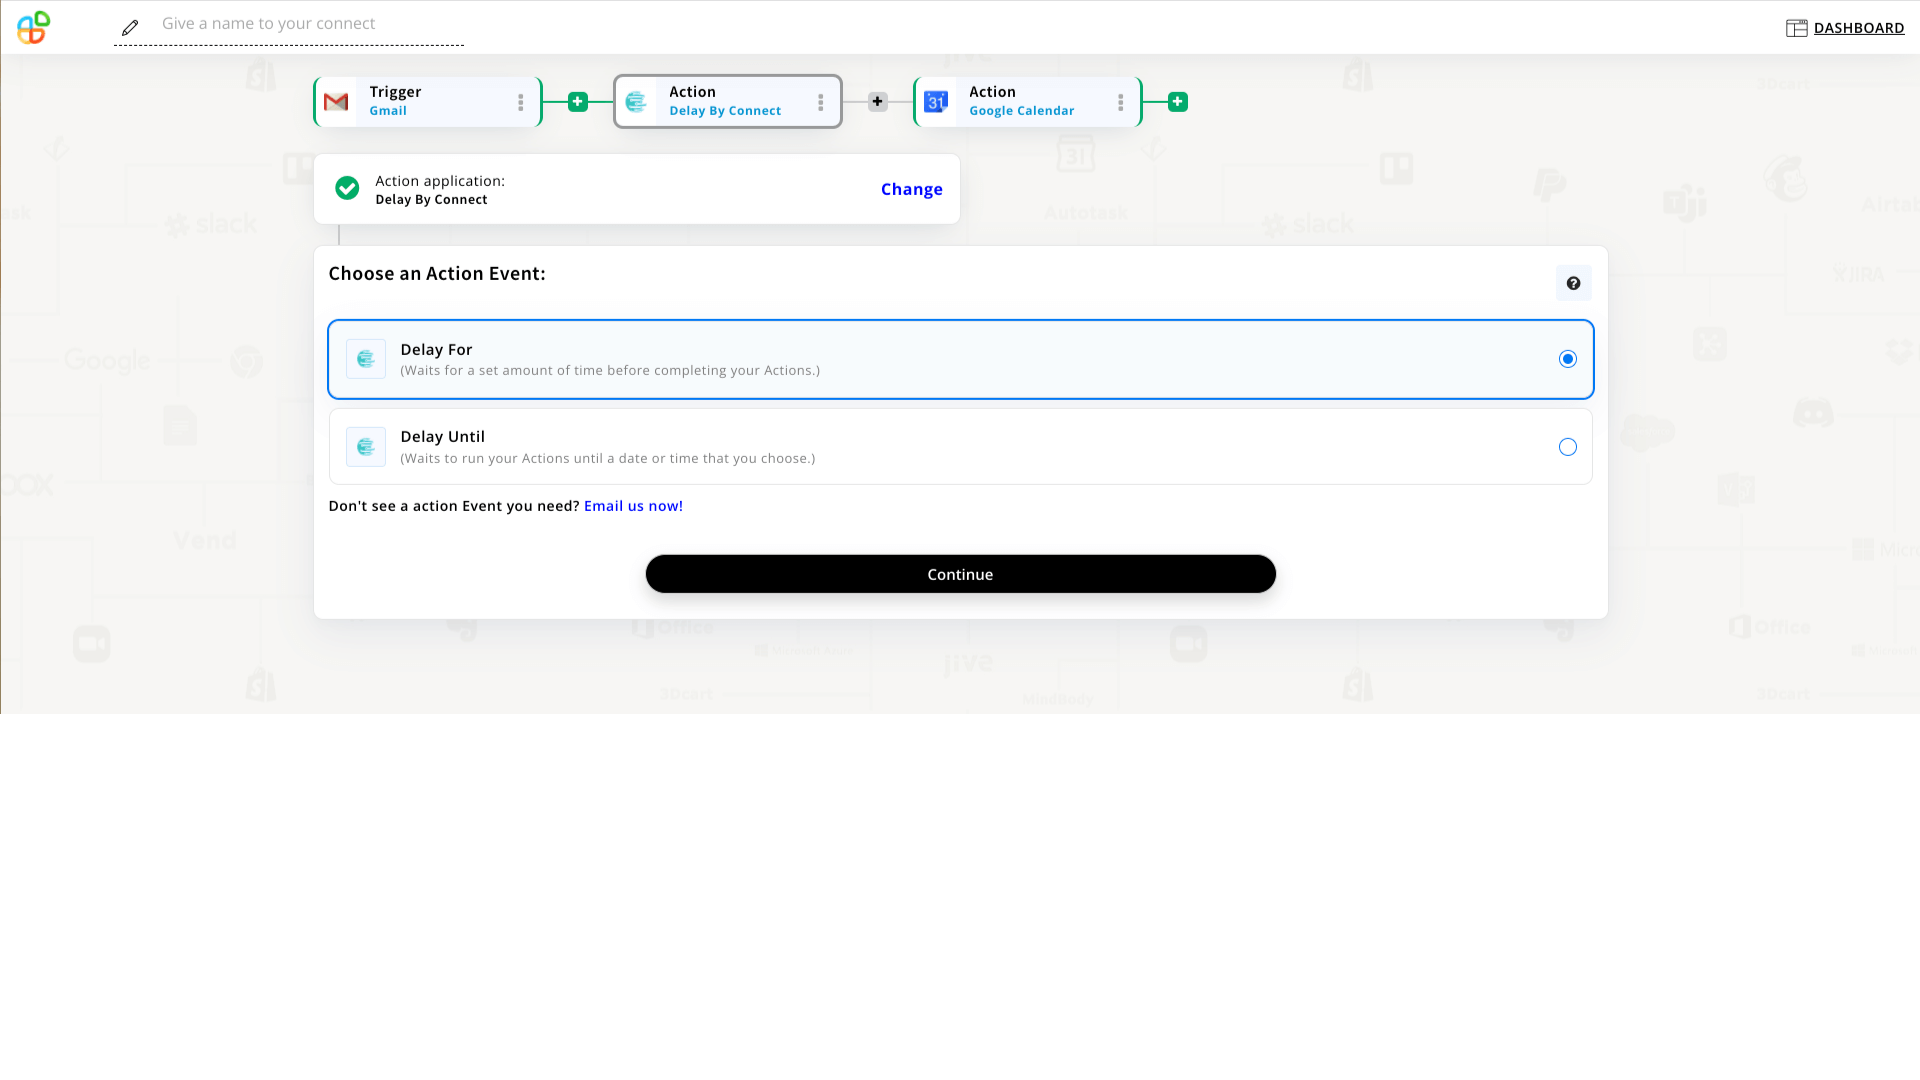 *Your application will work as per your selected moves, if you want to edit any event or format you are free to do so.
Note: read the instructions carefully before filling the required fields to avoid error. You’re always free to contact our support team for better assistance. Watch EventsYou’re free to retrieve the details of an event when the event is created, updated, deleted, started, or ended at ‘My Connect’ in your dashboard.
*Your application will work as per your selected moves, if you want to edit any event or format you are free to do so.
Note: read the instructions carefully before filling the required fields to avoid error. You’re always free to contact our support team for better assistance. Watch EventsYou’re free to retrieve the details of an event when the event is created, updated, deleted, started, or ended at ‘My Connect’ in your dashboard. Related Articles
- The 6 Best Facebook Apps for Business [A Curated List]
- How to Create an RSS Feed for Your Facebook Page
- Chatbots in Action: How to Enhance Your Marketing and Real Estate Game
- Top 10 Airtable Integrations to Improve your Workflow
- Choosing the Right Workflow Automation Solutions: Your Path to Efficiency
- Top 51 Best Free Bold Fonts: Mastering Impactful Design
- On the Content Bias in Fréchet Video Distance
- Understanding Color Meanings: A Simplified Exploration
- 35 Creative Photo Collage Ideas: Unleash Your Creativity
- The 5 Best Transactional Email Services in 2023